Here is my review and assembly of the aaawave 14GPU mining frame.
After putting together the 8GPU model earlier, this 14GPU model went together much faster for me. I hope this helps out anyone who is thinking about buying one of these aaawave mining frames. I also wanted to say thanks to the aaawave team for sending me out a couple frames that I could review. I was really impressed with the 8GPU frame I purchased from Amazon, and this was a pleasant surprise. They sent me “The Dredge” 14GPU model (Which is this review) as well as a new model “The Sluice”. This post is for the assembly and review of the aaawave Dredge 14 GPU model. The aaawave “Sluice” model will be coming next.
Disclaimer: This site uses affiliate links. This means I may make a small amount of money at no cost to you if you buy something after clicking a link on this site.
aaawave 14 GPU “The Dredge”
The Dredge can be purchased directly from aaawave : LINK
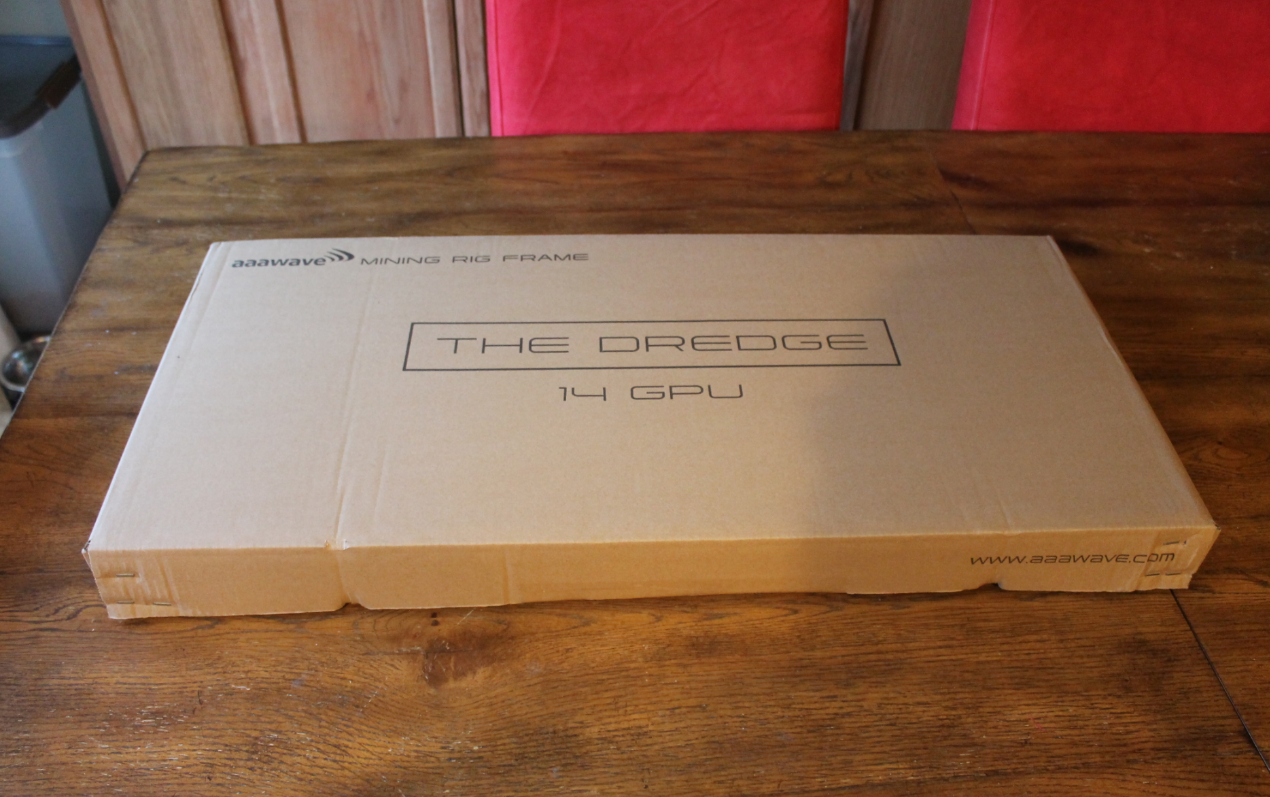
The packaging:
Just like when I ordered the AAAwave 8 GPU![]() model from Amazon, it was shipped inside another box. Here is the outer box. This box held both frames they sent.
model from Amazon, it was shipped inside another box. Here is the outer box. This box held both frames they sent.

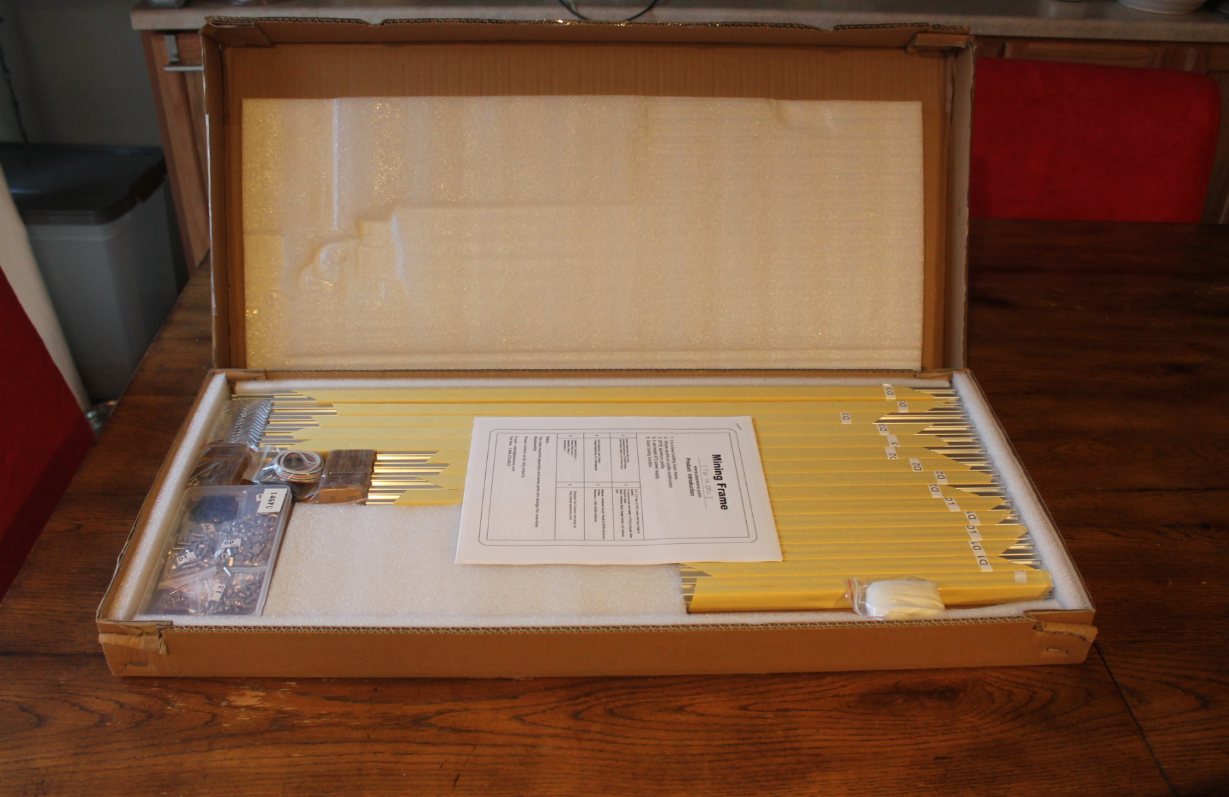
Here is the inner box. It was nicely protected and no issues.
Opening the box.. Everything is neatly organized and padded to prevent movement. Really great packaging!
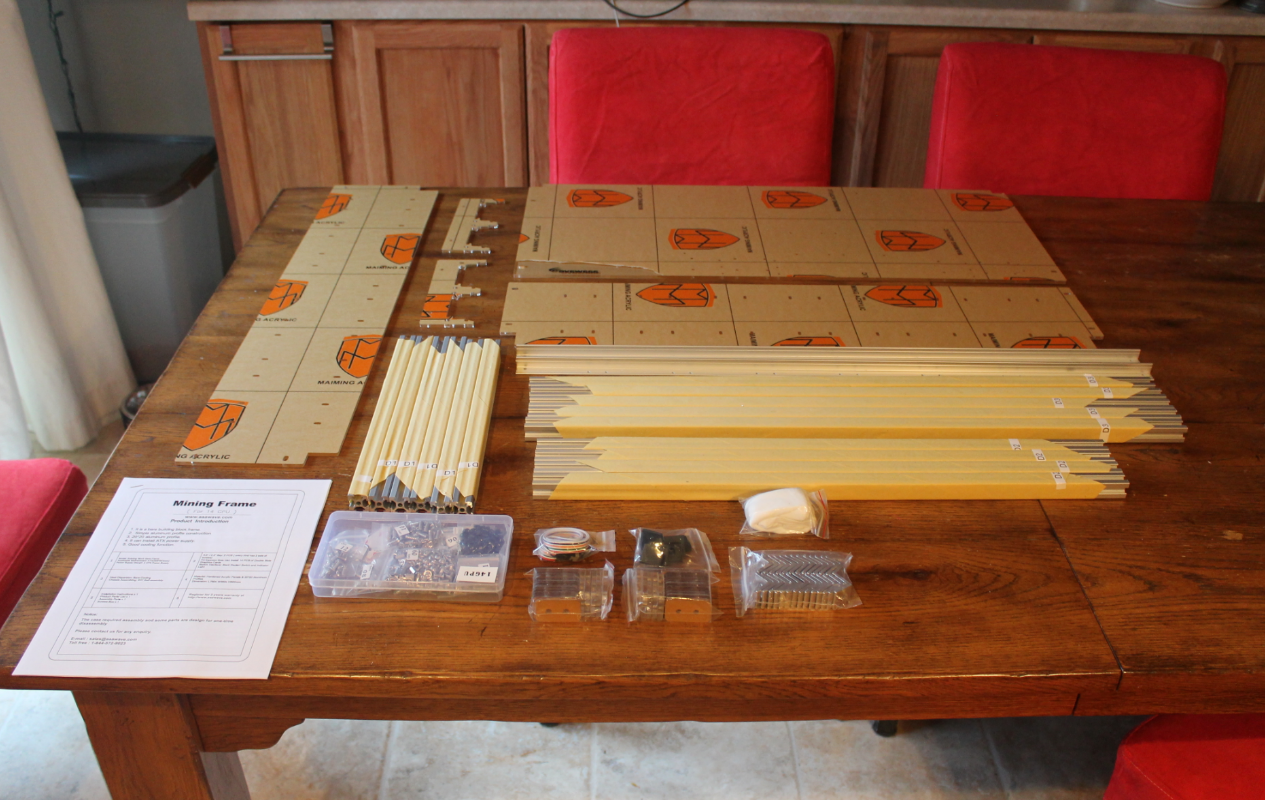
Here is everything removed from the box. Getting ready to start putting it together.
Disclaimer: I use instructions as guidelines :0) Some of how I did this may not match the instructions. Please follow the included instructions if you are assembling yours. I am not responsible for any issues that may arise from you assembling your unit.
First I started to remove the protective paper from the Acrylic parts.
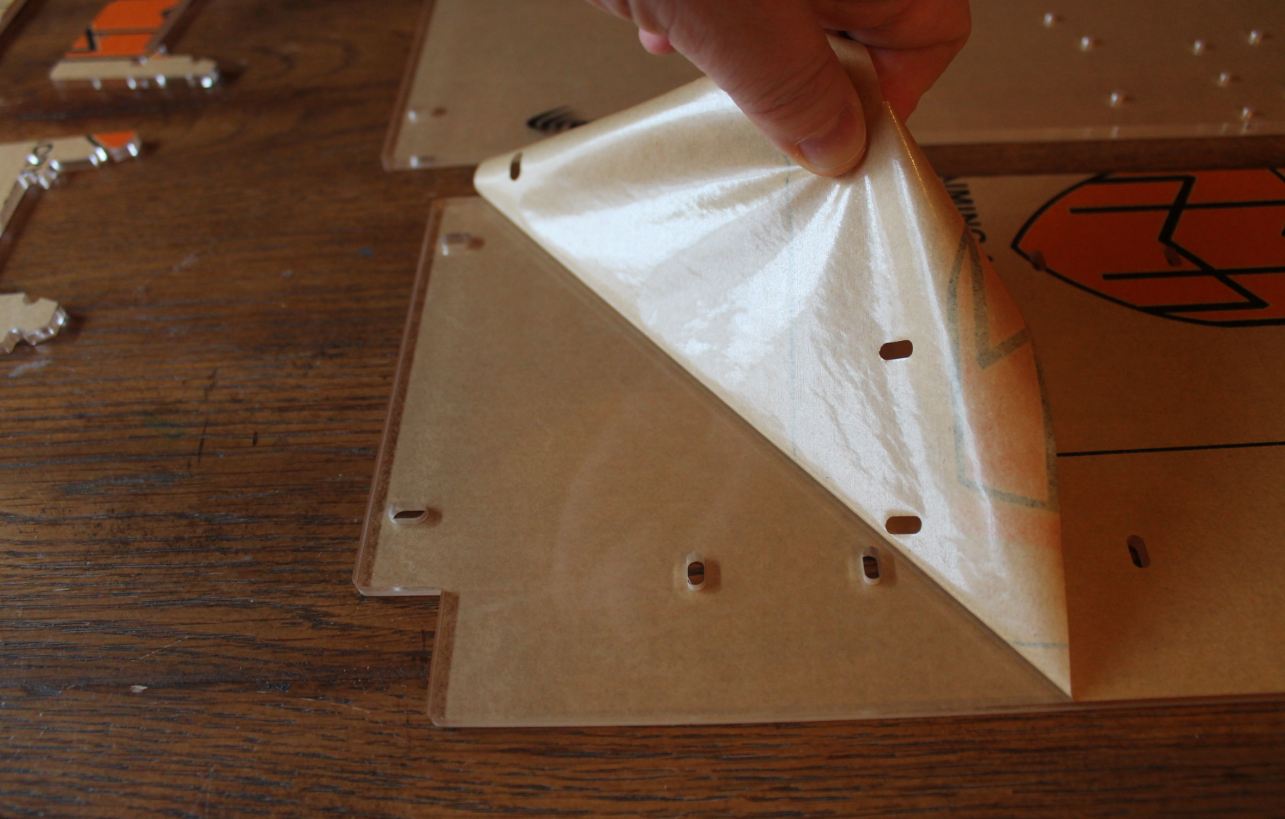
All the acrylic parts have their protective paper removed now.

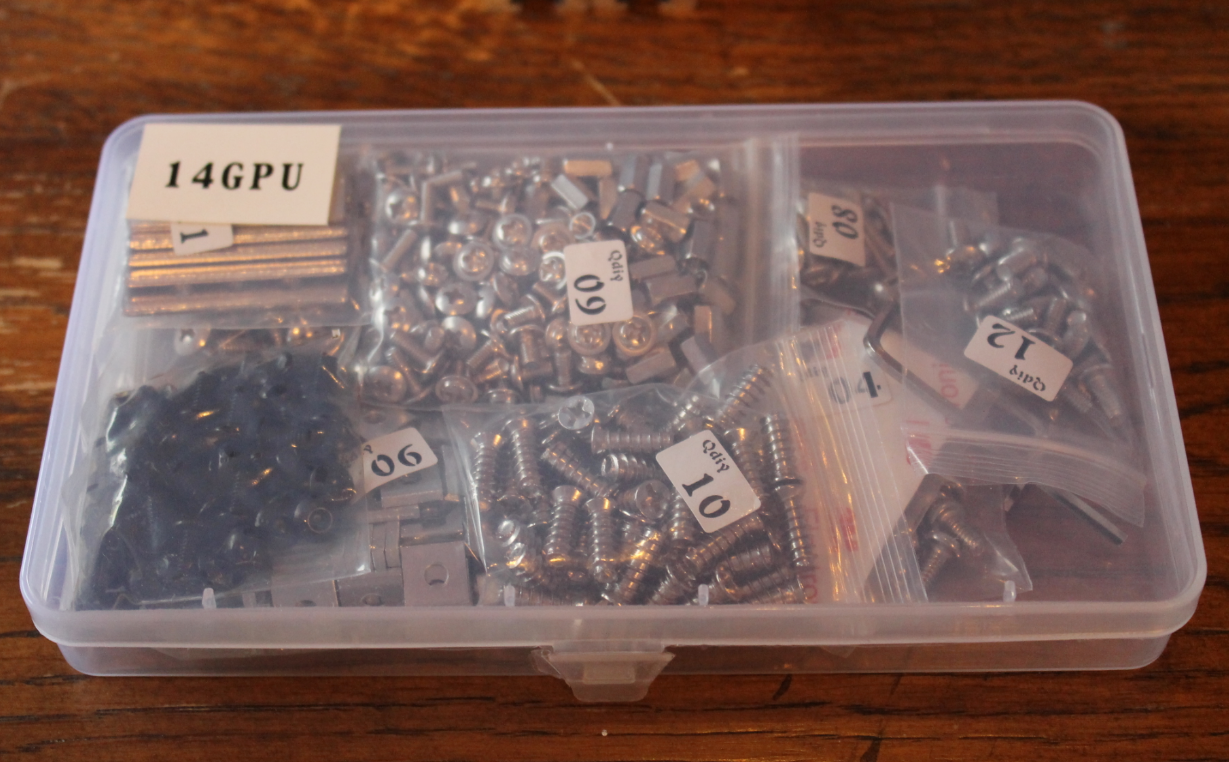
Another thing I really liked was how they packaged all the little parts in this included plastic case, and the parts are in labeled bags.
One thing I wanted to mention is that you might find some metal shavings in the box. I put this together on the kitchen table so I was not worried about them getting on my computer parts. But take care not to get them in your eyes or anything. It was not a large amount, but worth checking your metal pieces and blowing them off or wiping down if you find some. I have an air compressor so I just blew mine off after building it. Aluminum is a soft metal so I am not sure if there is any way to avoid this. You may cause some putting the pieces together also.
Here you can see a picture that shows a metal flake..