Assembly continued.
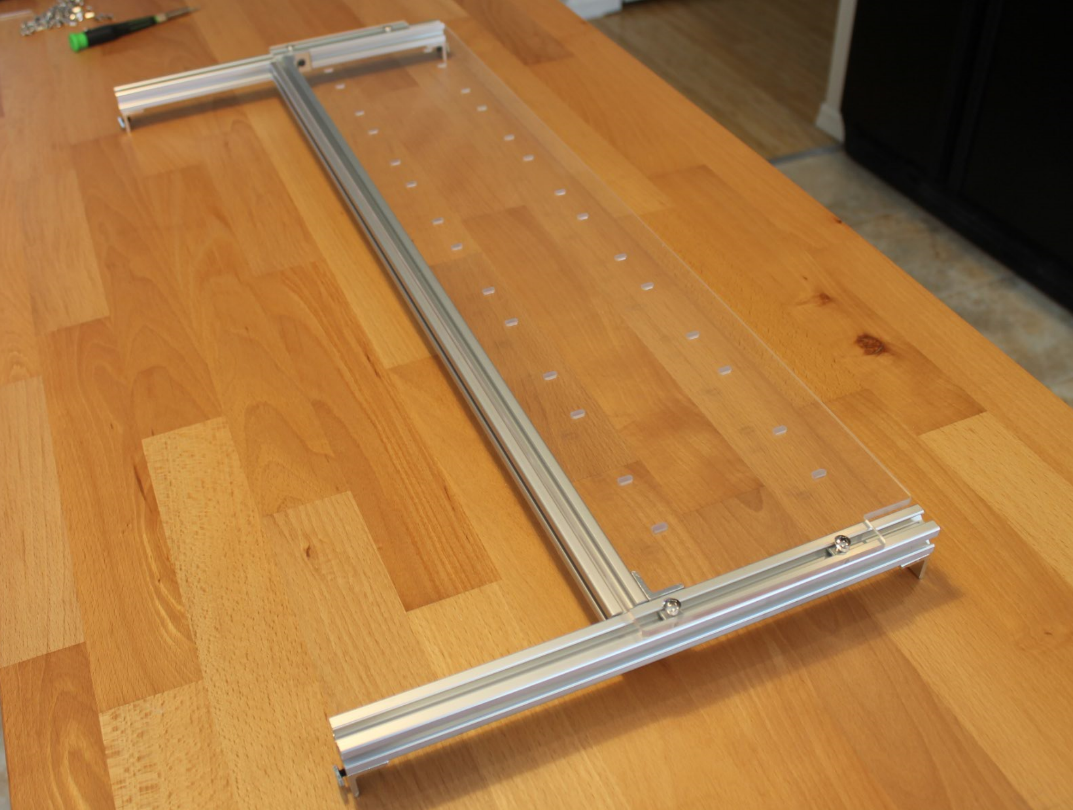
Next I connected my D3 with the power supply acrylic to the D1/D2 bars I had built earlier.
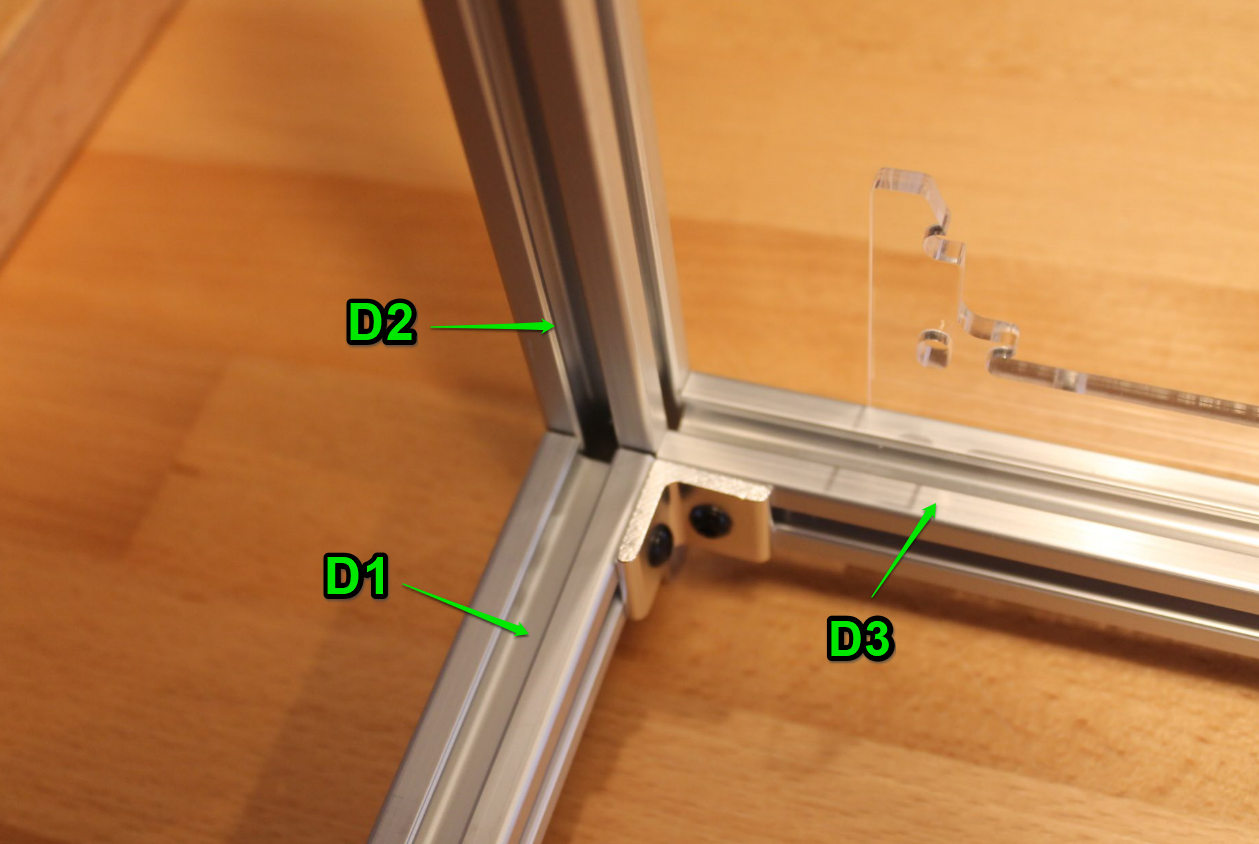
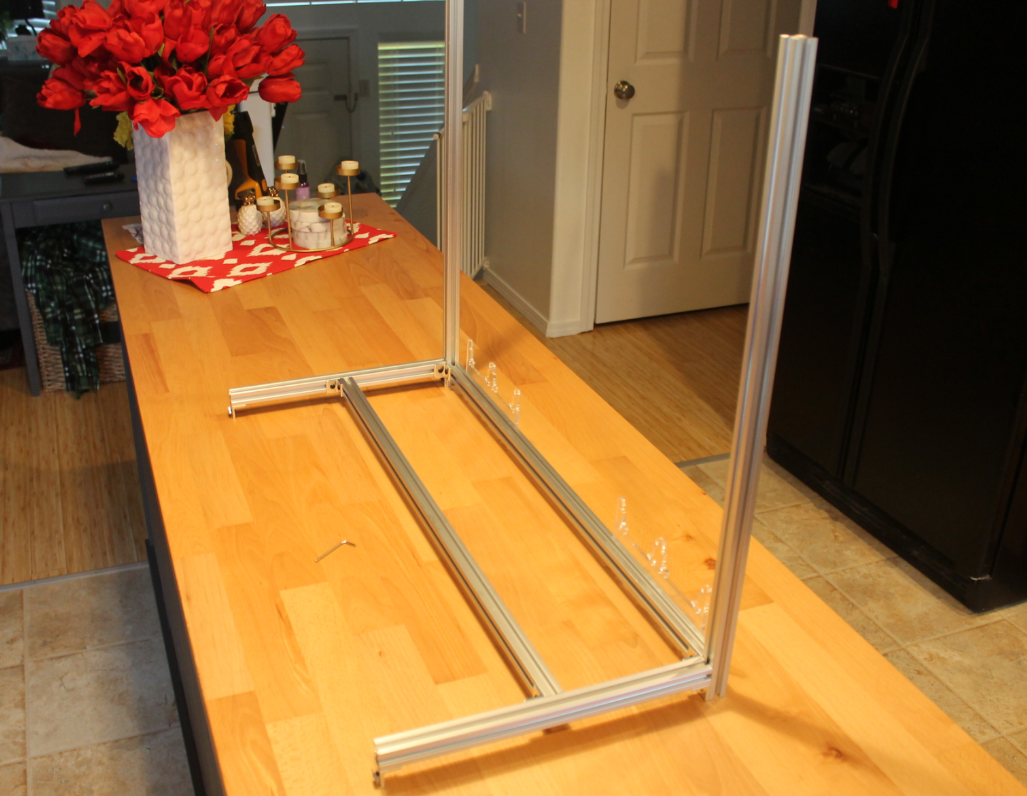
It looks like this at this point.
Next I slid in the other D3 bar.
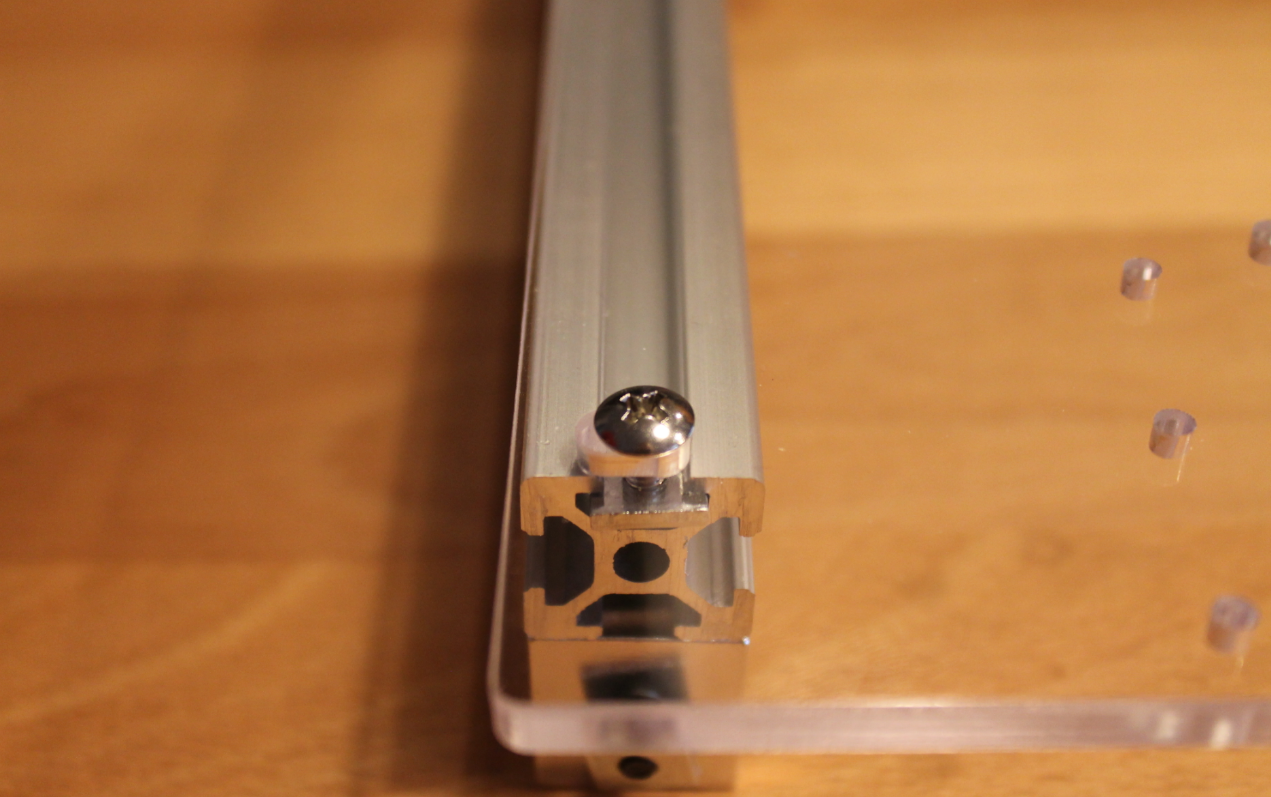
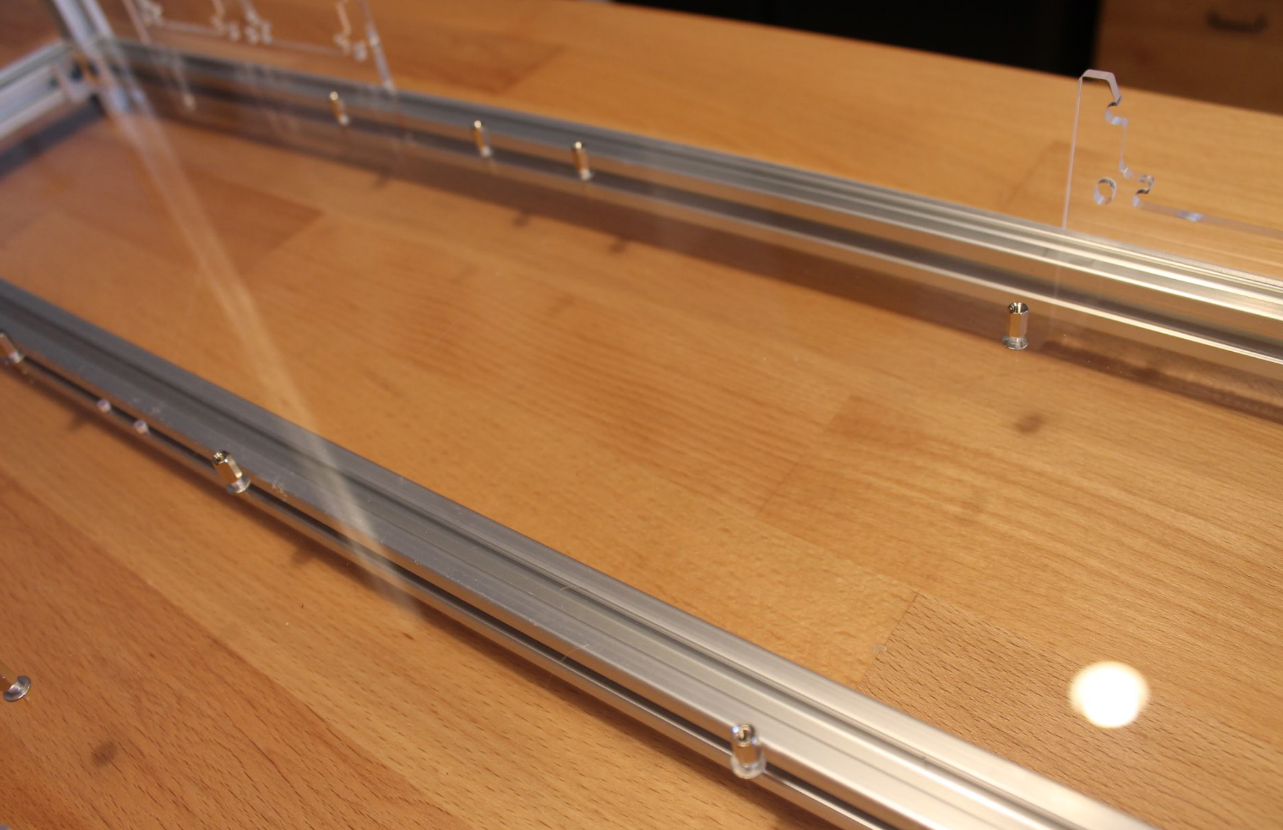
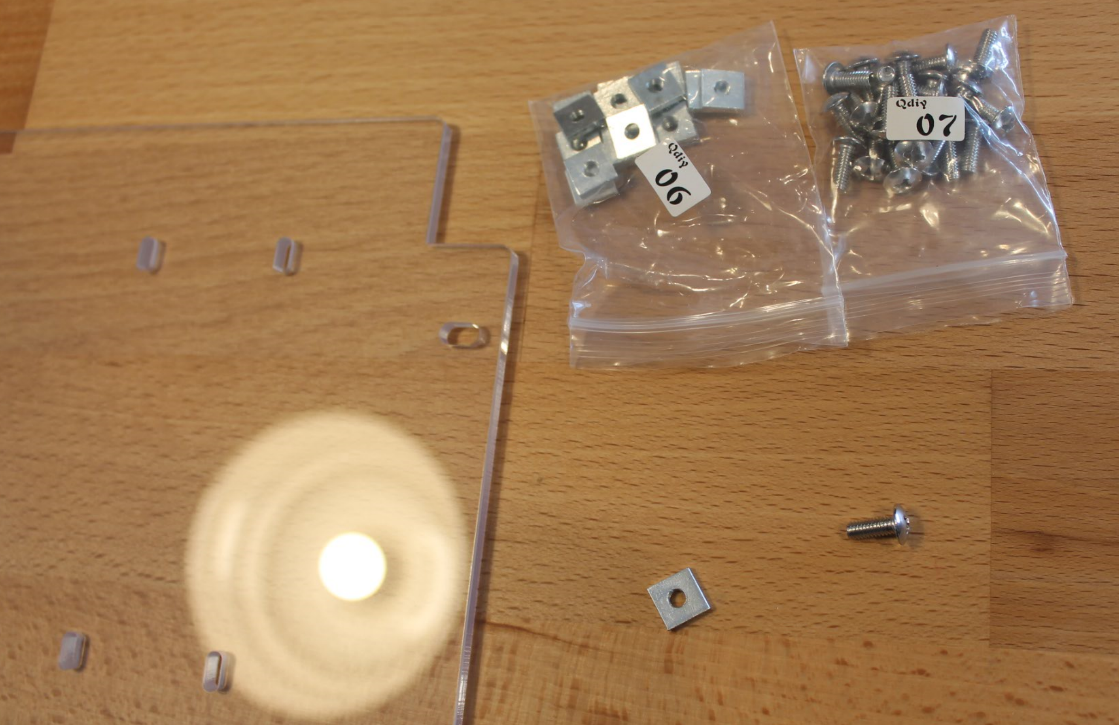
Next I added a Q6 and Q7 screw and nut to each corner of the bottom acrylic panel.

Then slid it on the D1 bars on the bottom of the rig.
At this point it looked like this.

I went ahead and added the Q1standoff’s to the motherboard at this point. I could have waited though. But you will notice they are installed in the pictures, so did not want to exclude it. The bag comes with standoffs, long screws and short screws. Long screws go under the acrylic and are used to mount the standoff to the acrylic. the short screw would be to mount the motherboard to the standoff. Here you can see the standoffs mounted with the long screws. I accidentally started by using the Riser card standoffs which were shorter and didn’t realize it until later and had to come back and swap them.
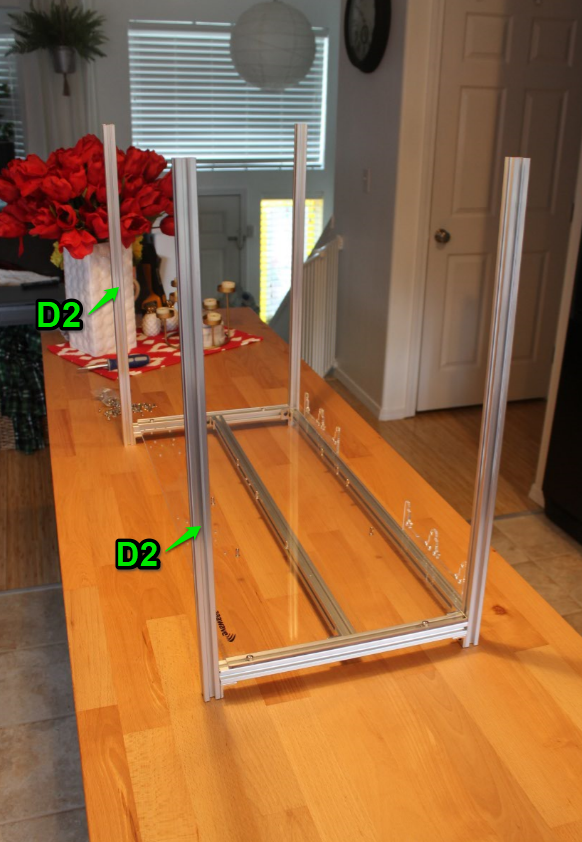
Next I added two more of the D2 bars. It looked like this.
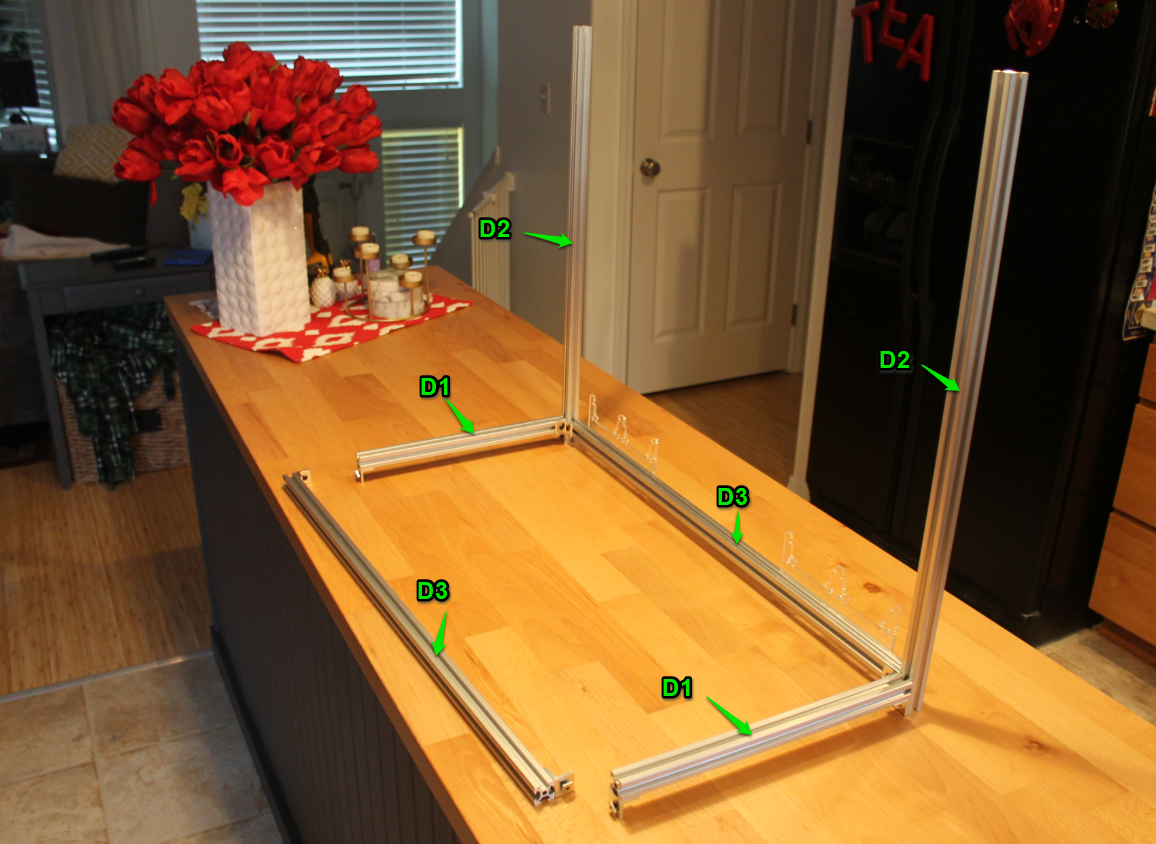
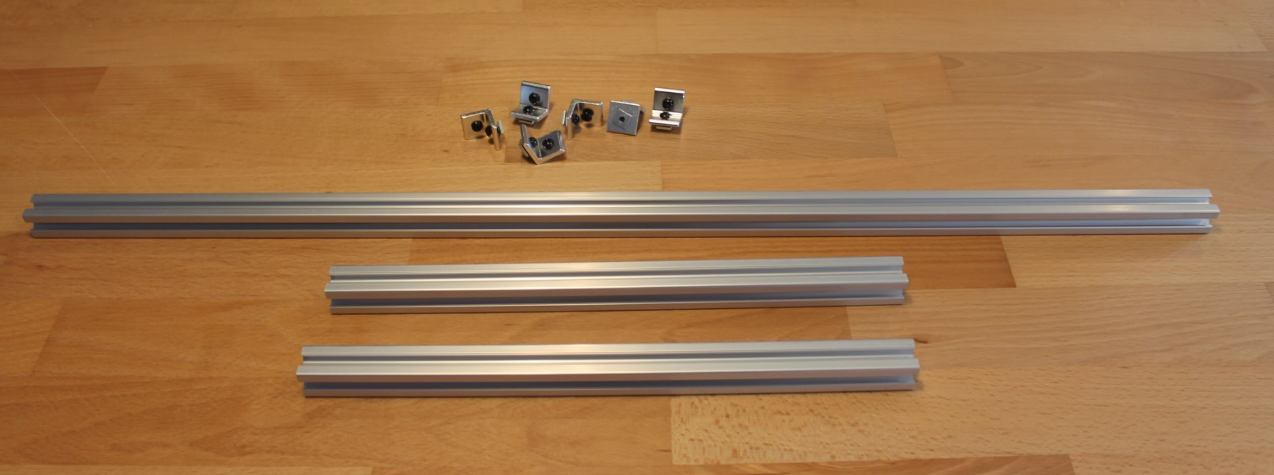
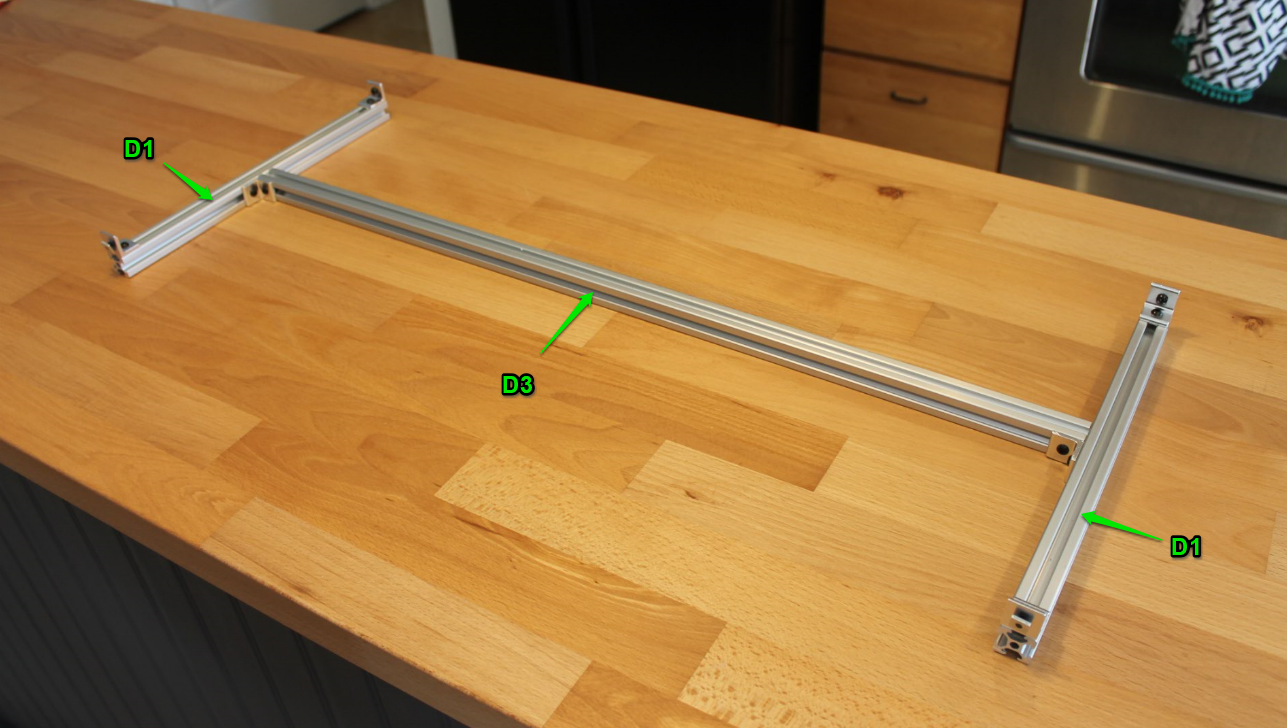
The I grabbed two D1 bars and a D3 bar, along with six angle brackets.
I put them together like this.
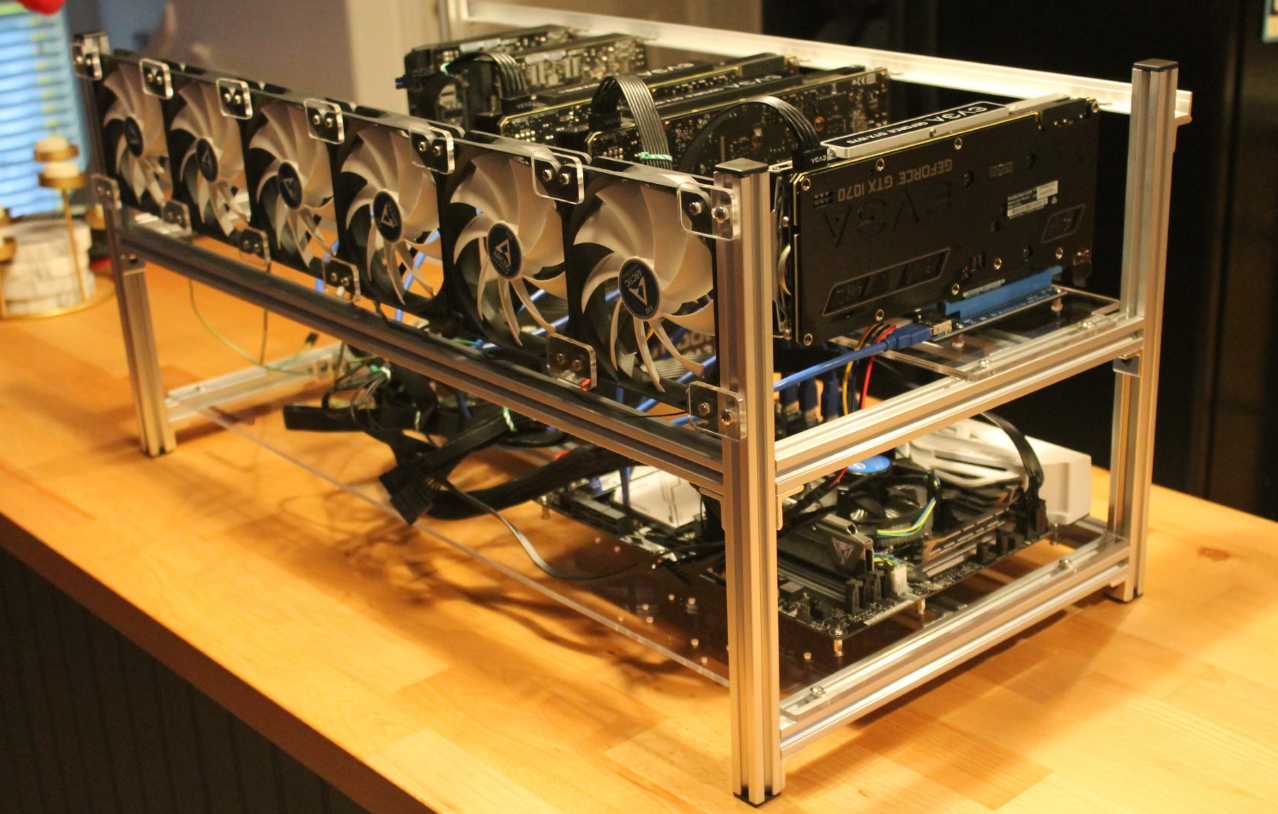
Next I needed to add the corner screws for the video card middle acrylic panel. Using Q6 and Q7.
After sliding it onto the D1 bars and it looked like this.