The assembly.
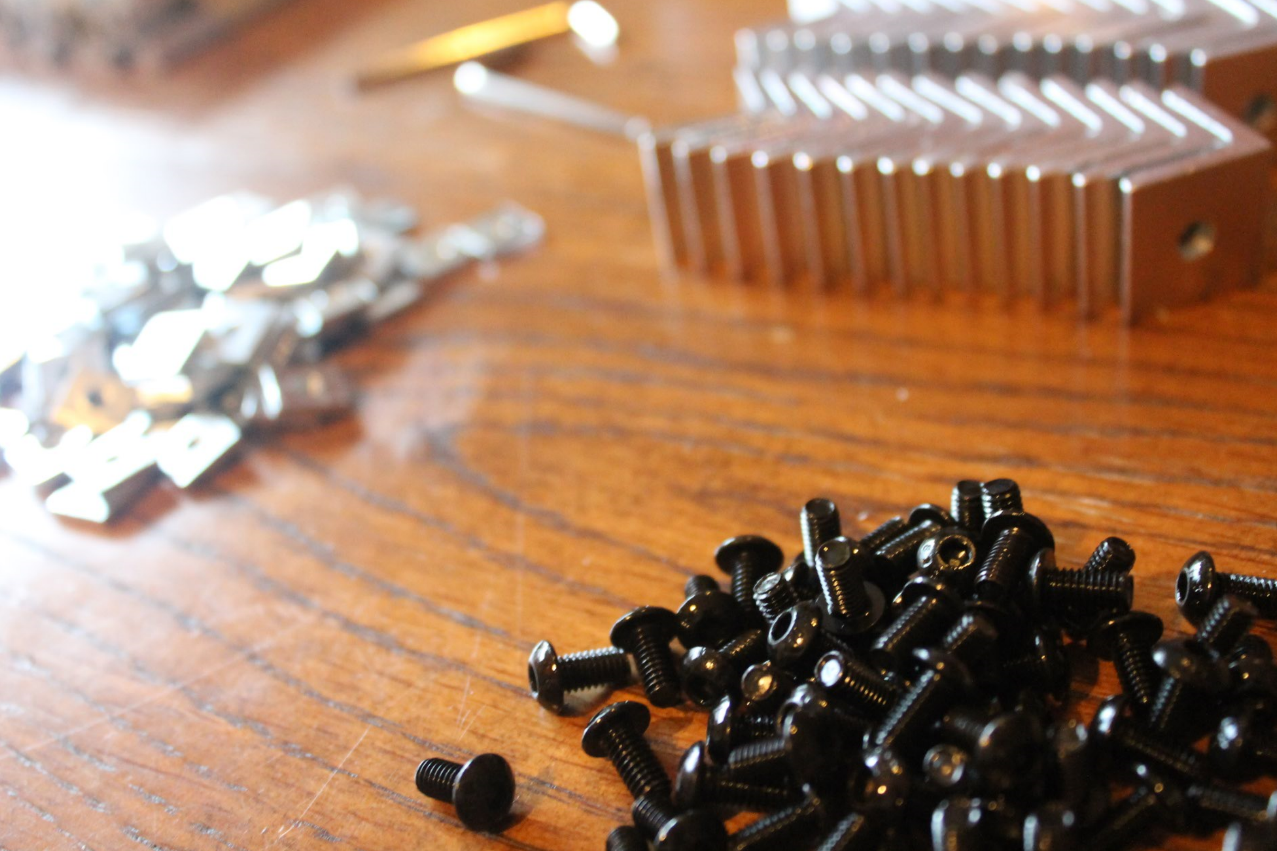
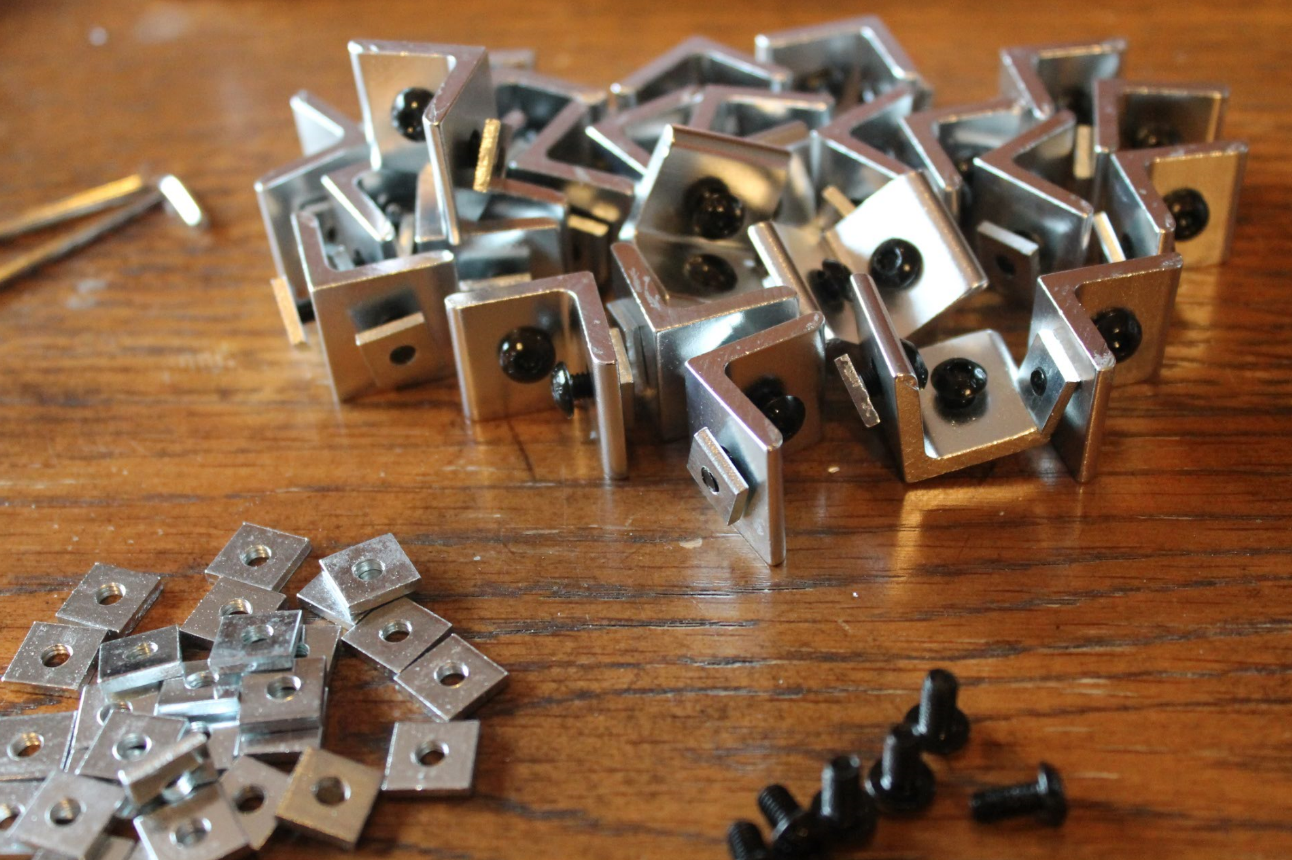
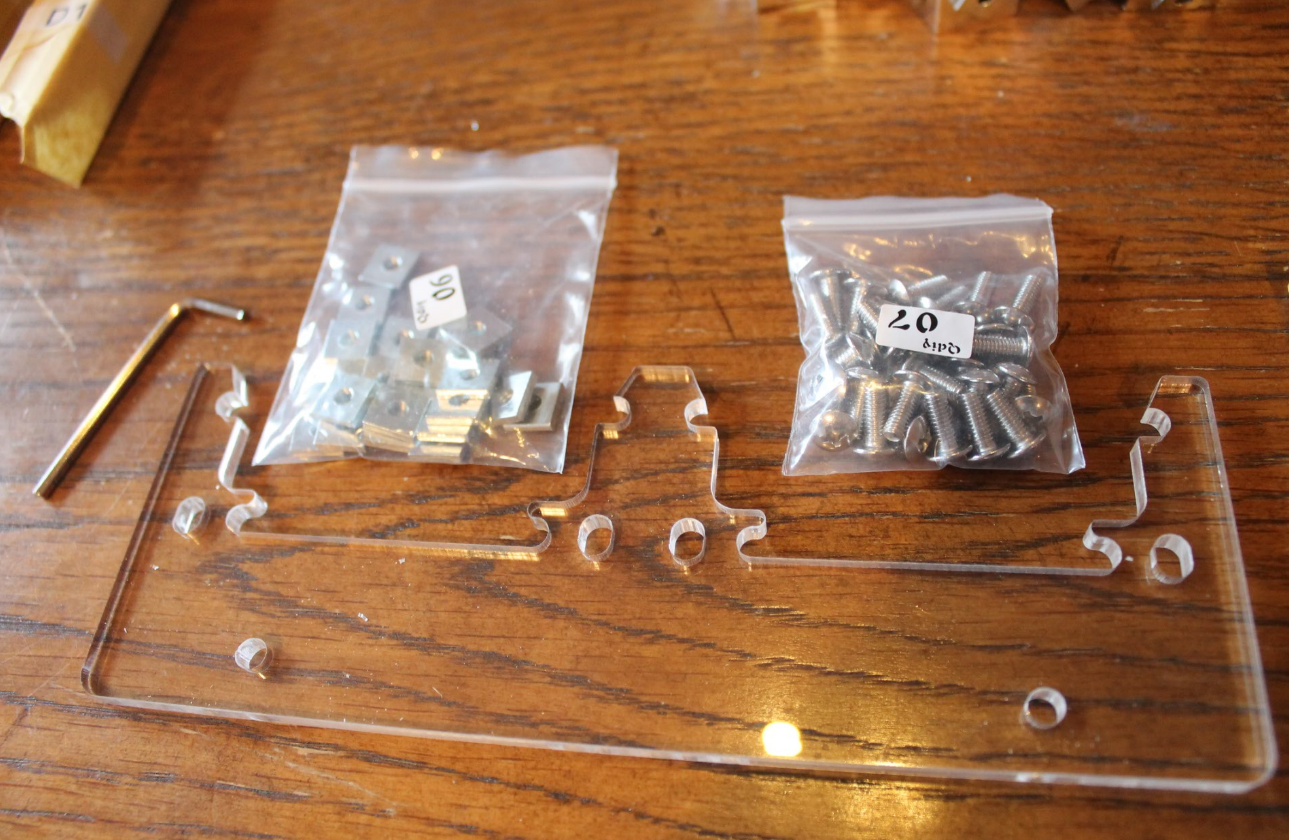
This time the build was a little faster as I had more of an idea of what to expect. First thing I did was start putting together all the angle brackets. I used the Q6 square washer and the Q5 hex bolts (2.5mm). Again like last time I used the included hex tools, but switched to my own once I started really tightening the screws as the ones included were kinda weak. Could you put it together with the included wrenches (They include two)? Probably, but I tend to tighten things like a gorilla.
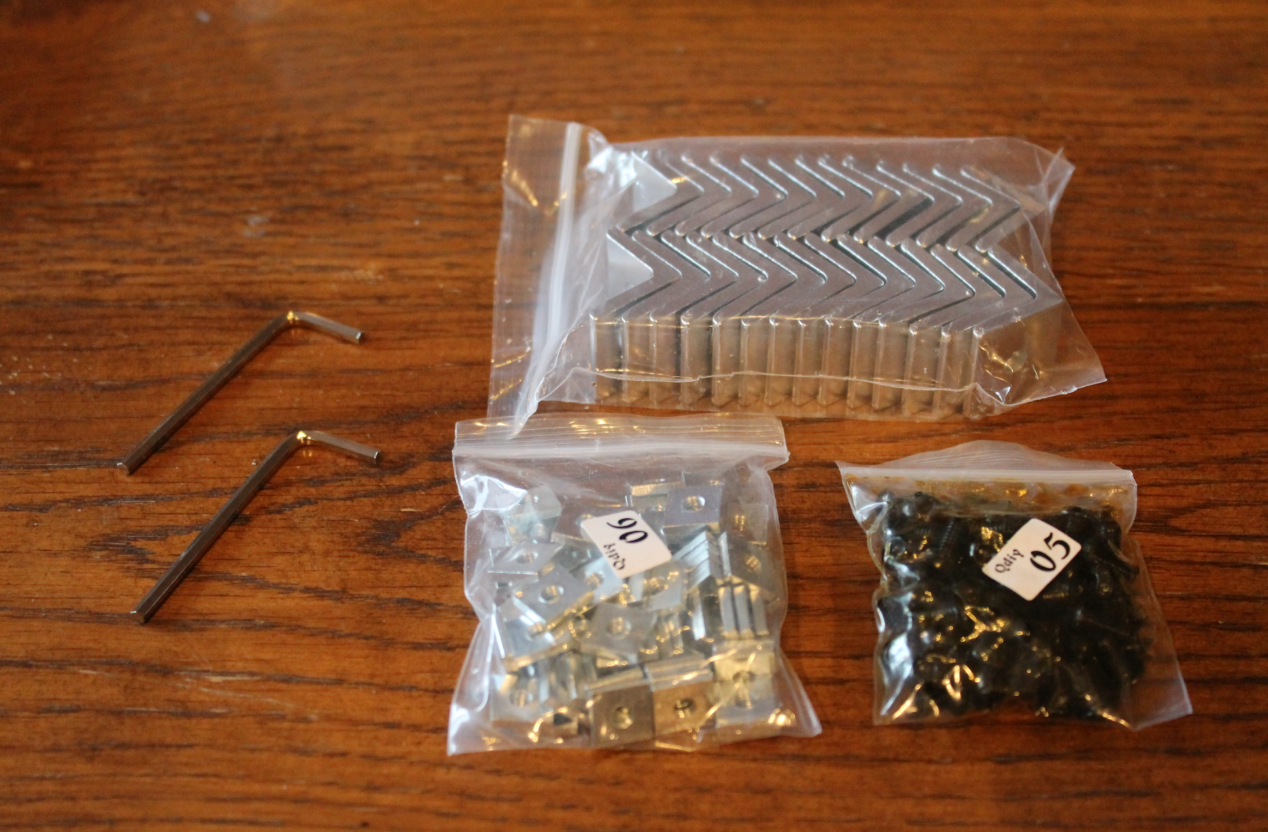
I just dumped out the Q5 and Q6 bags and got started adding them to the angle brackets.
I did all the angle brackets like this.
All the angles done and a few left over Q5 and Q6 to use on other parts.
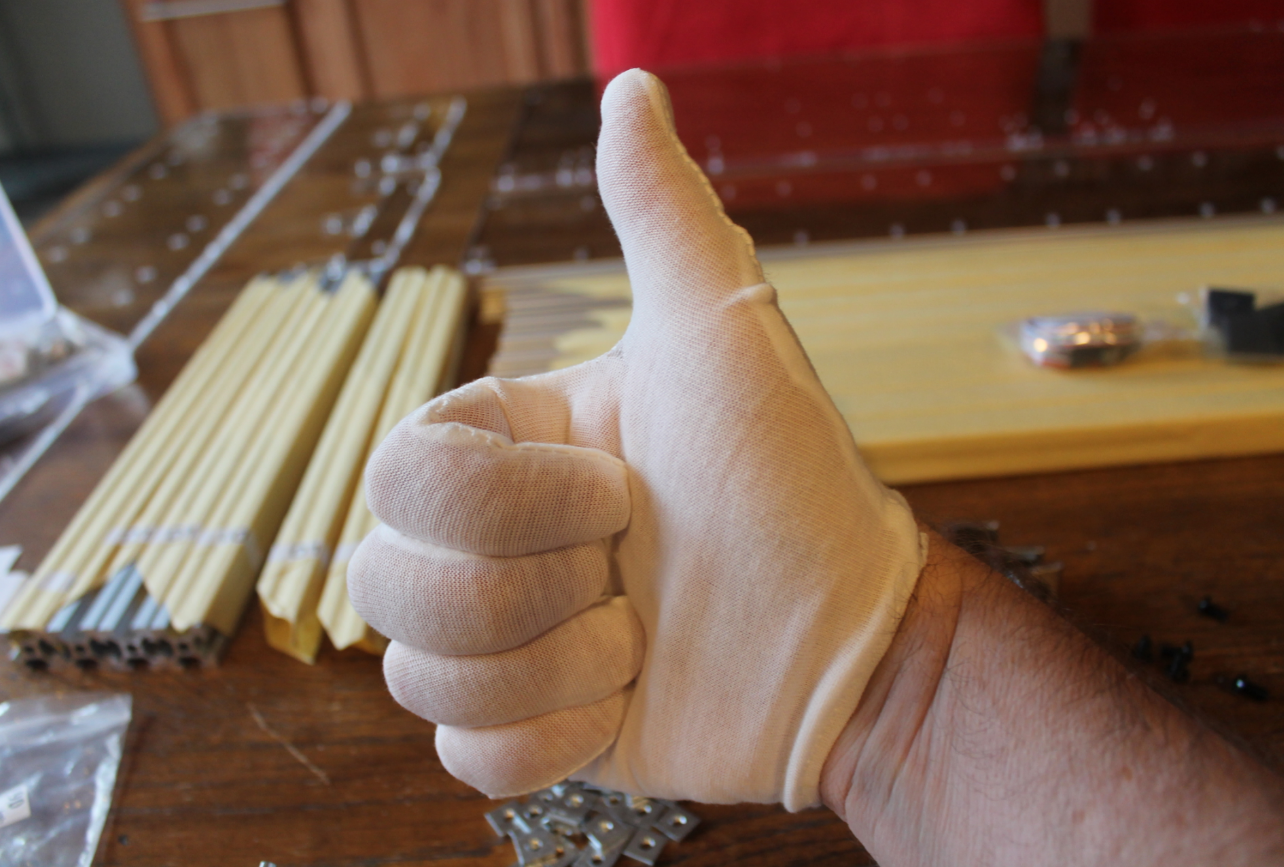
I forget to mention. They included these cotton gloves. I assume they are for you protection and to avoid fingerprints. A nice touch, but slightly small for my XL hands.
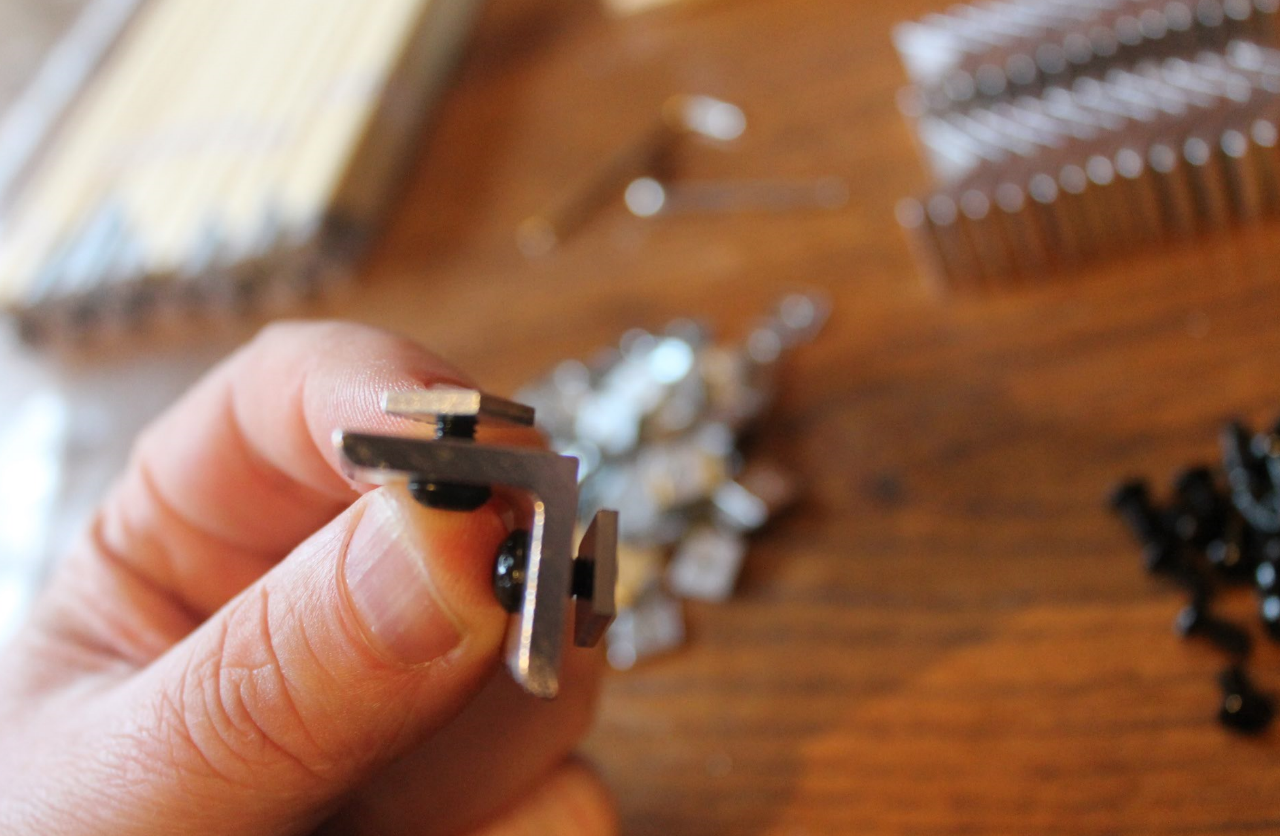
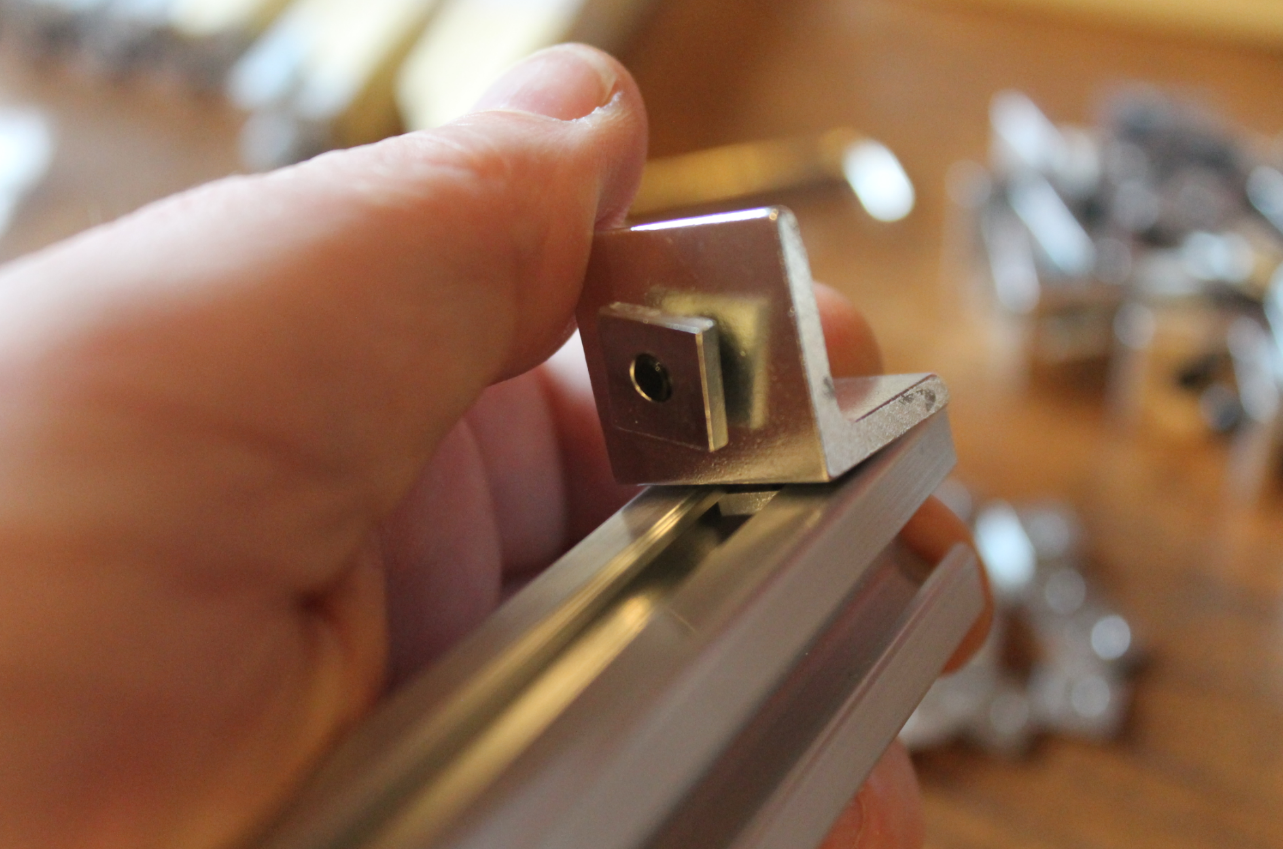
If you haven’t seen how these go together, its really easy. Basically the square nut fits into the grove like below. At the beginning I did not fully tighten anything. I just snugged it up and did a final tighten at the end. This way all the parts went together easily.
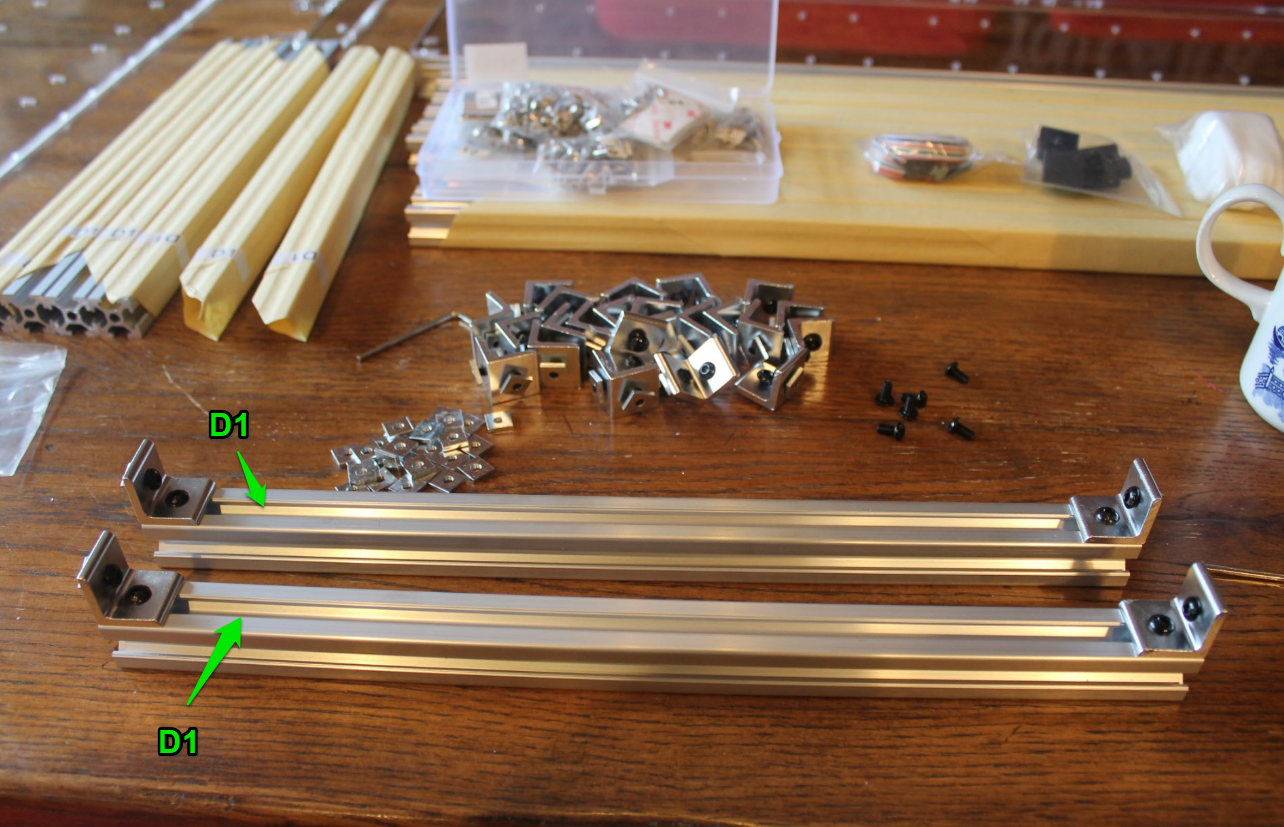
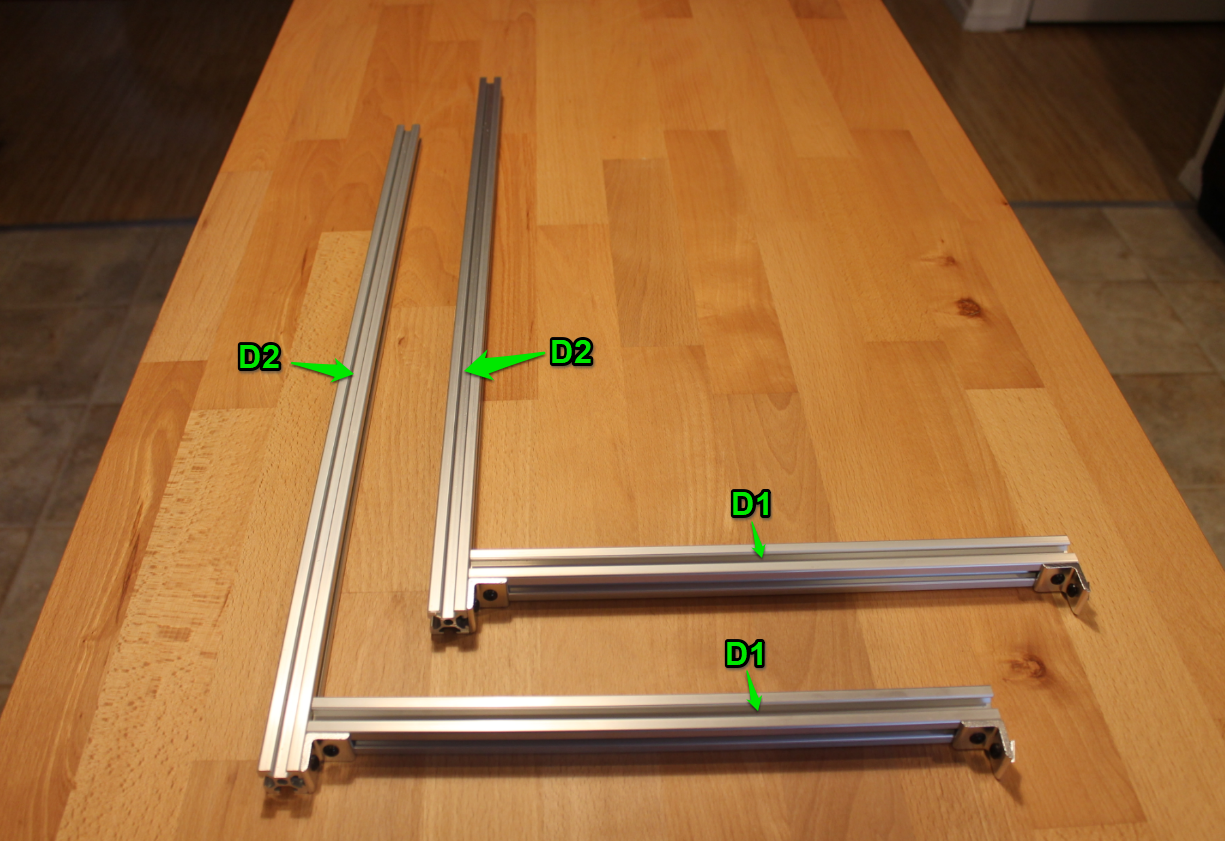
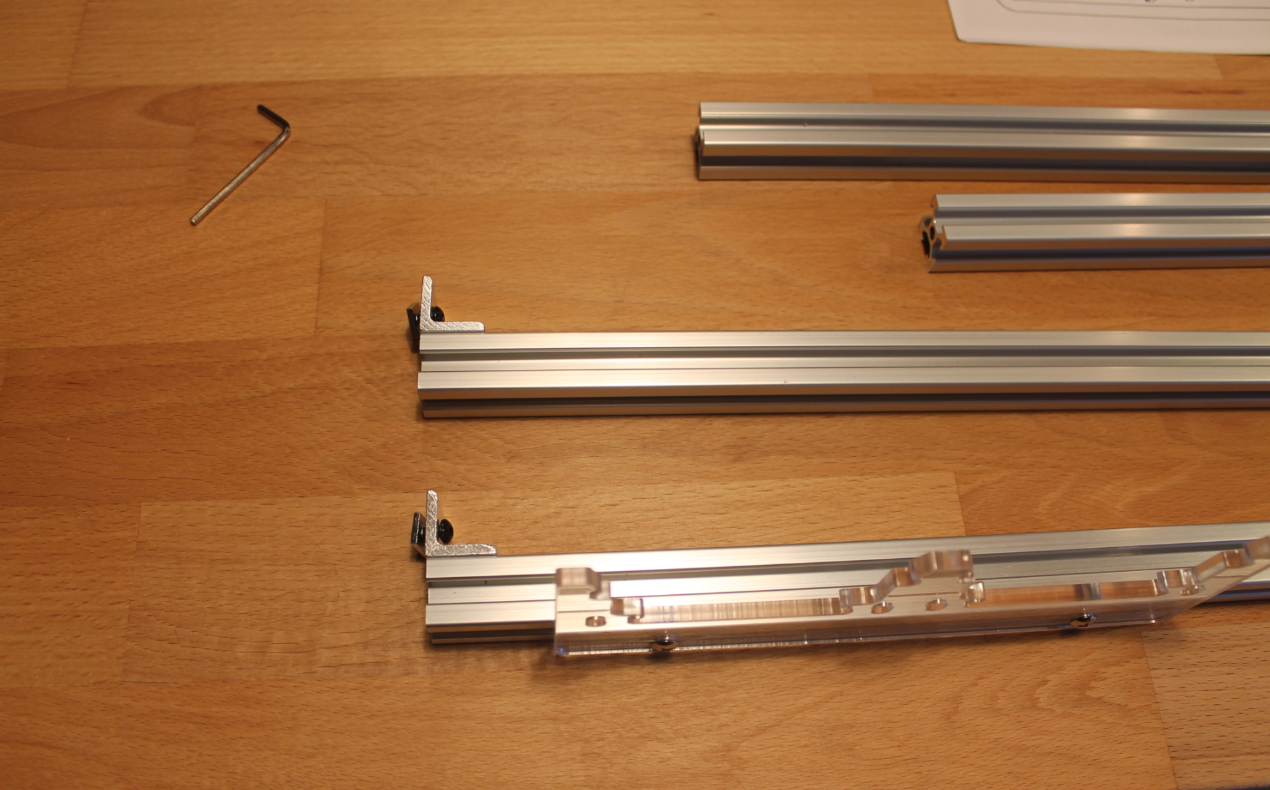
I stared by putting four angle connectors on two of the D1 bars like below.
Then I connected each of the D1 bars I just put connectors on to D2 bars. I made the angle flush with the bottom of the D2 bar.

I ended up with two pieces that look like this.
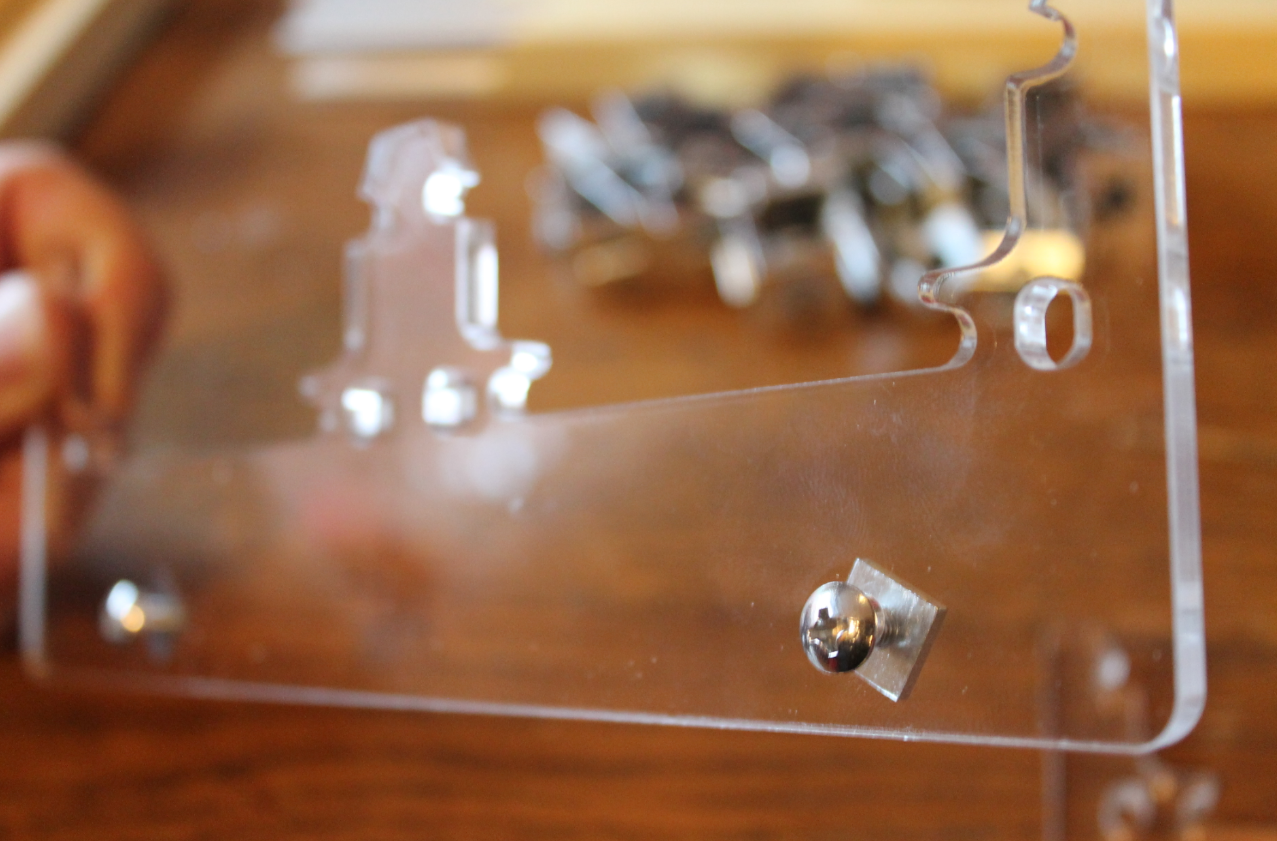
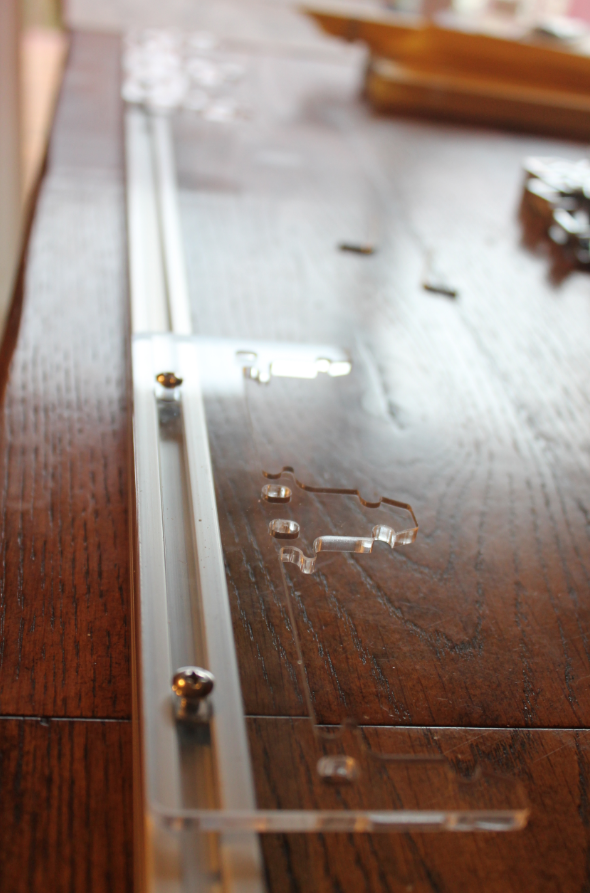
Next I started the two power supply Acrylic pieces. Using parts Q6 and Q7.
Basically I just did two Q7 and Q6 pieces per Acrylic panel. Like this.
Then I slid both of them into a D3 Bar.
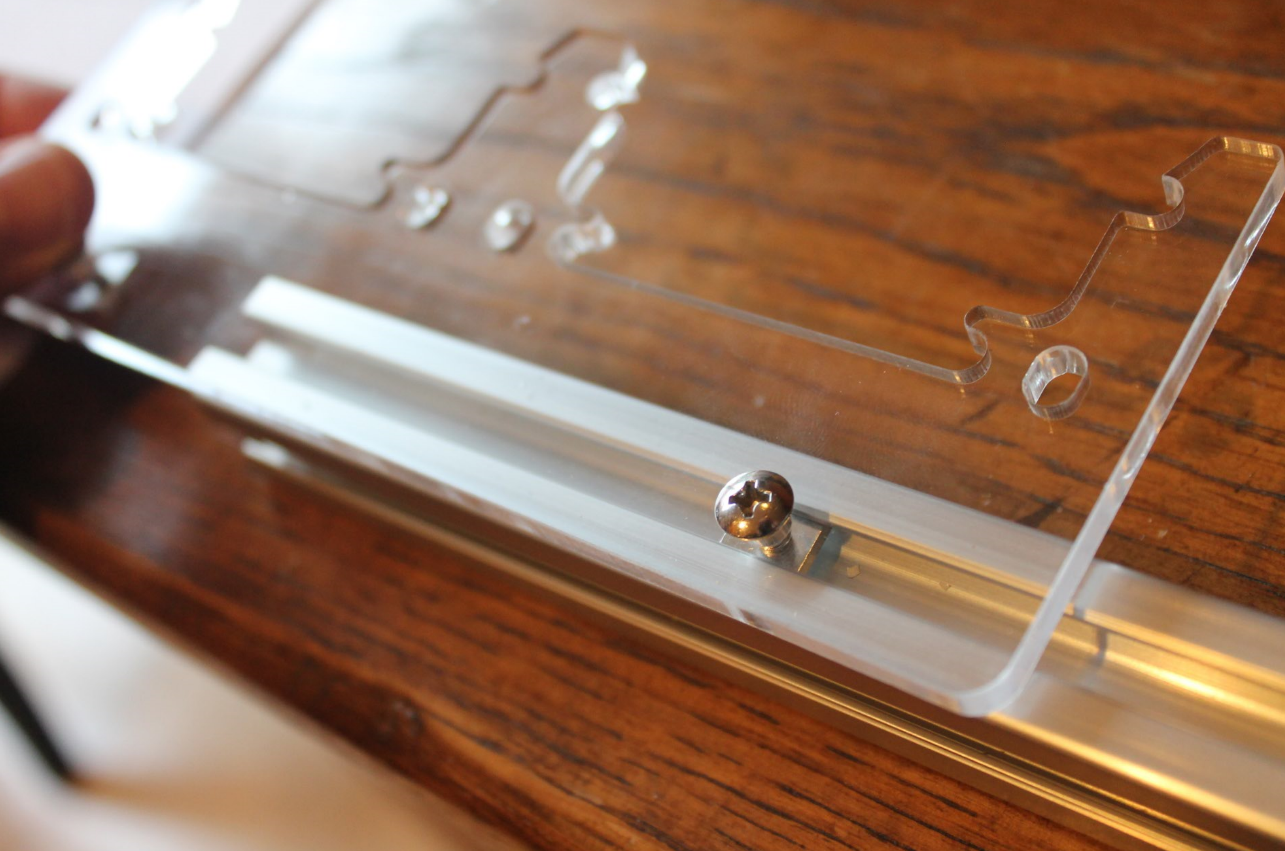
Here they are each at an end of the D3 bar.
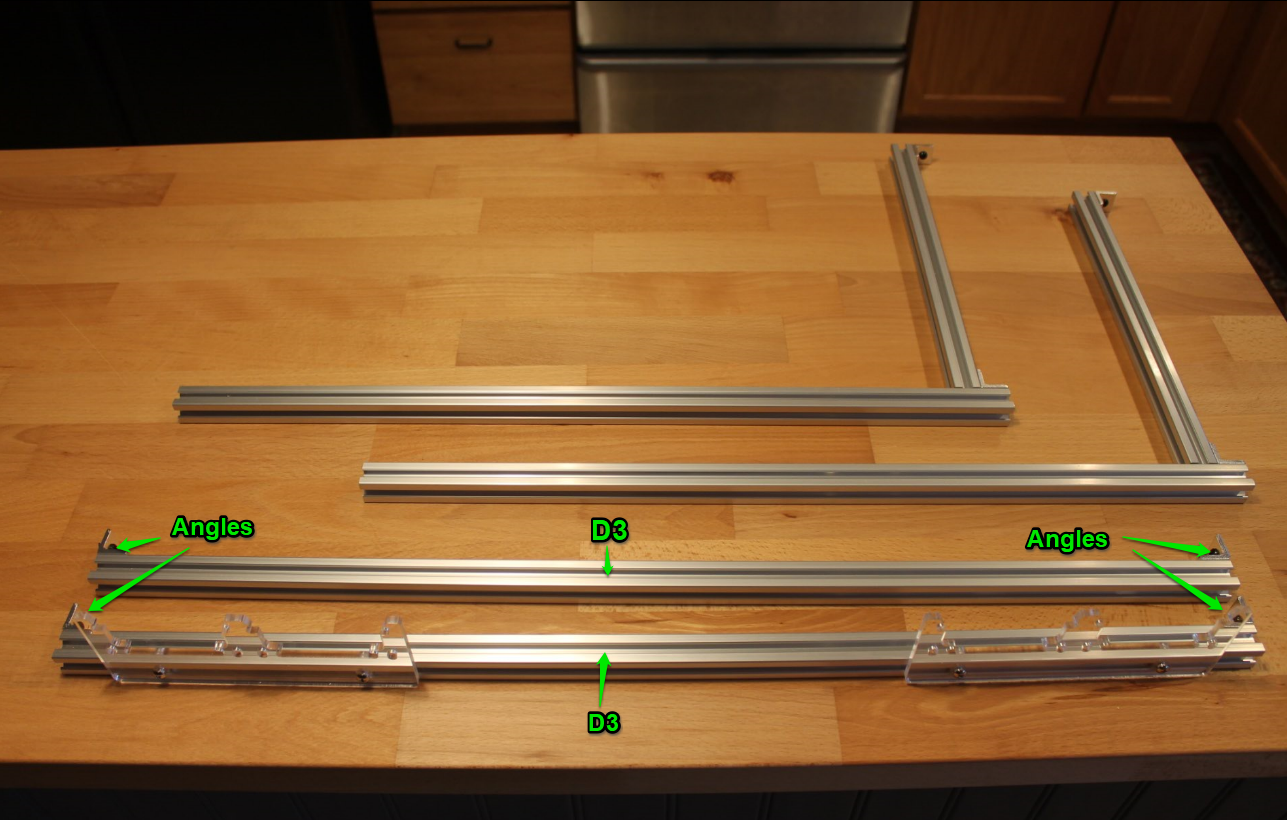
Next I added angle brackets to both ends of the D3 bar I just put the power supply acrylic on, and also another D3 bar. Like this.
They looked like the following.