Assembly continued.
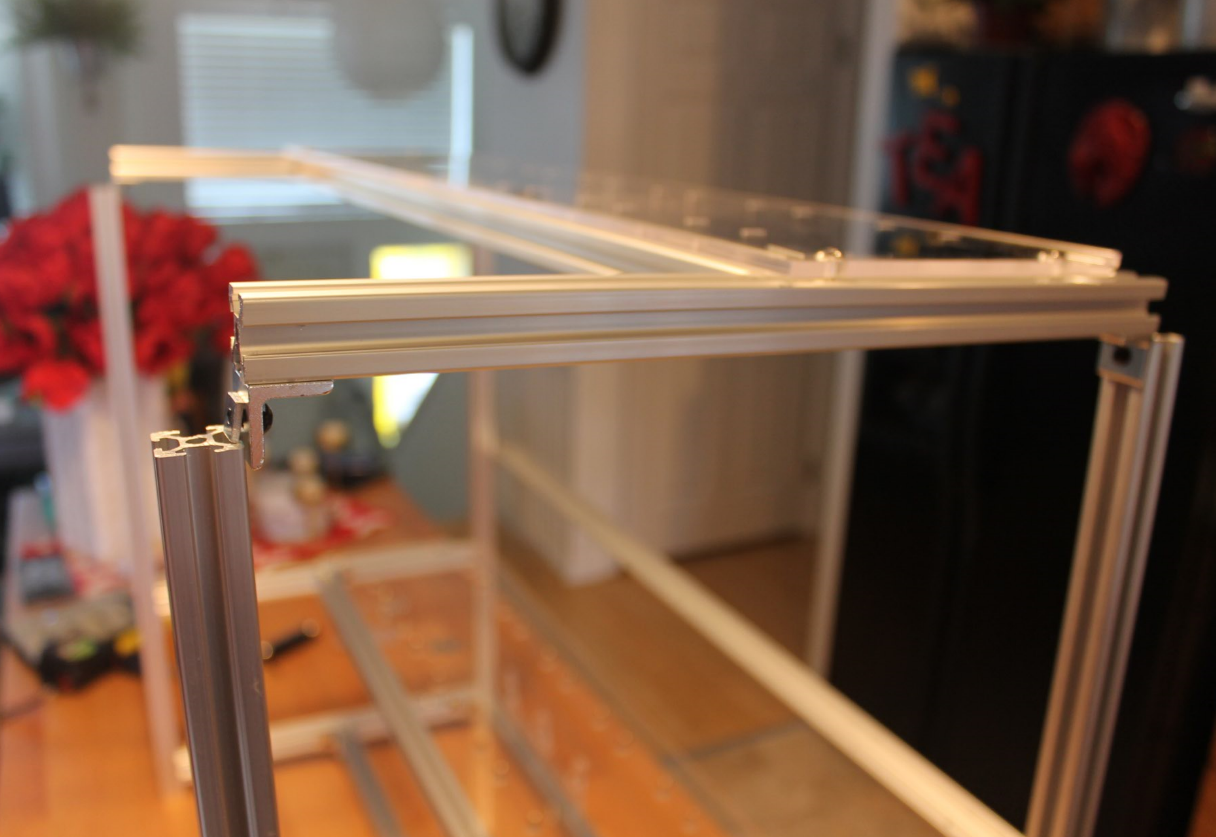
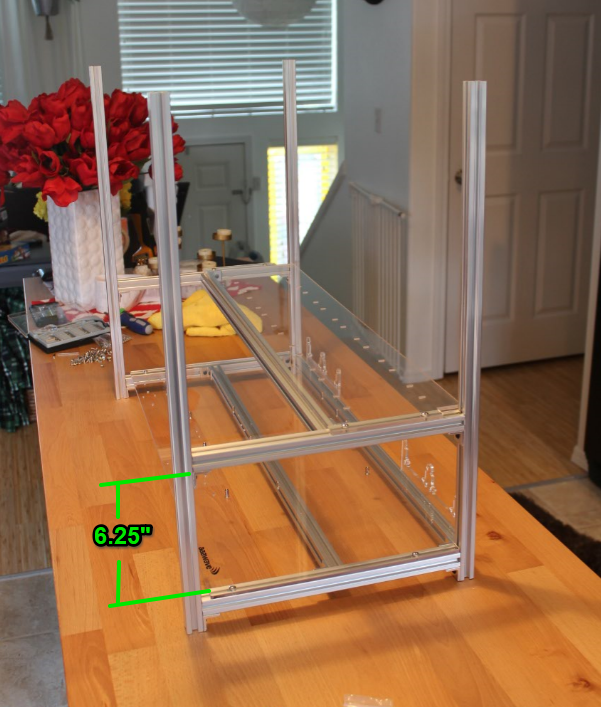
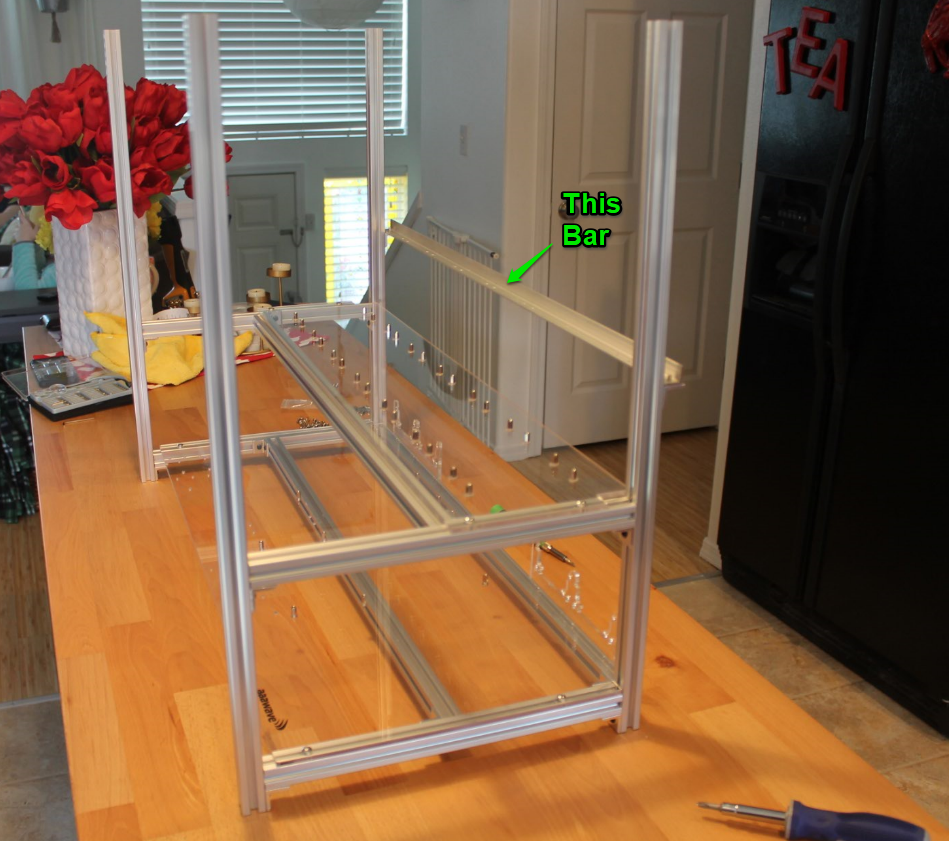
Next I took the whole piece above I made and slid it onto the main frame that had been built. I could have used a third hand to help lower this and line up the nuts into the grows, but it wasn’t to bad.

I slid it down to about a 6.25 inch gap from the top of the lower acrylic to the bottom of the bar above. You will want to make sure it will fit over your power supplies which are mounted sideways in this frame.
Someone just woke up looking all scruffy and walked in to say hi.

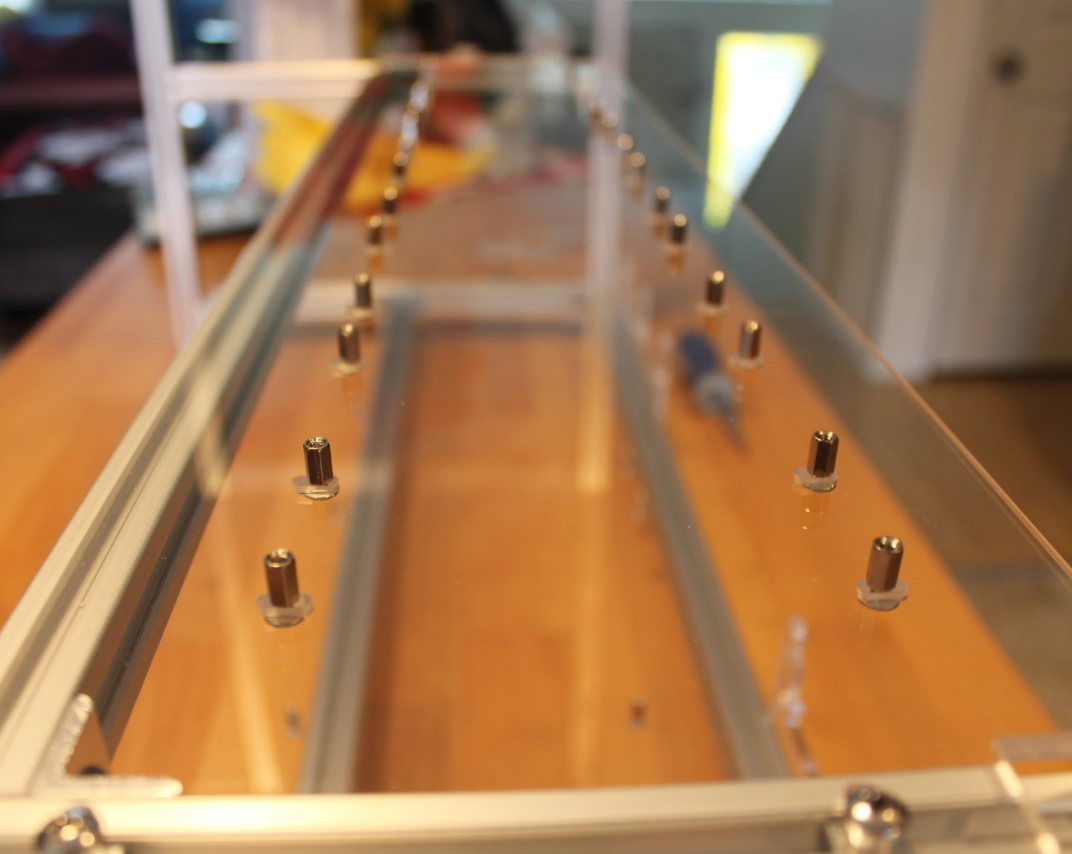
I went ahead and started putting in the standoffs for the PCI Risers using Q9
Just screwing them all in. I do not have any spare PCI risers, as they are on my other mining frame. But mine did not line up perfectly with the holes. But I was able to use two holes for each card and it still held really good. You may or may not have this issue. Depends on your riser hole spacing.
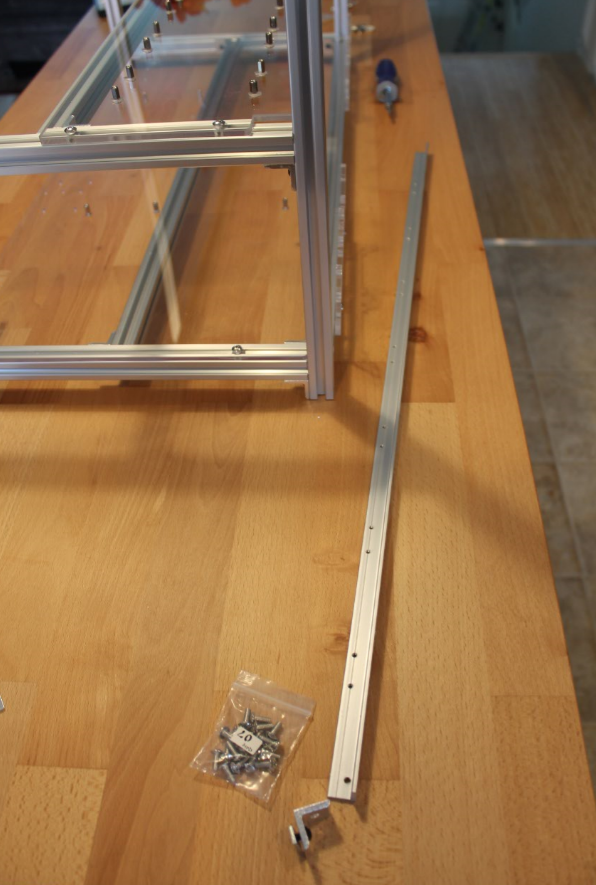
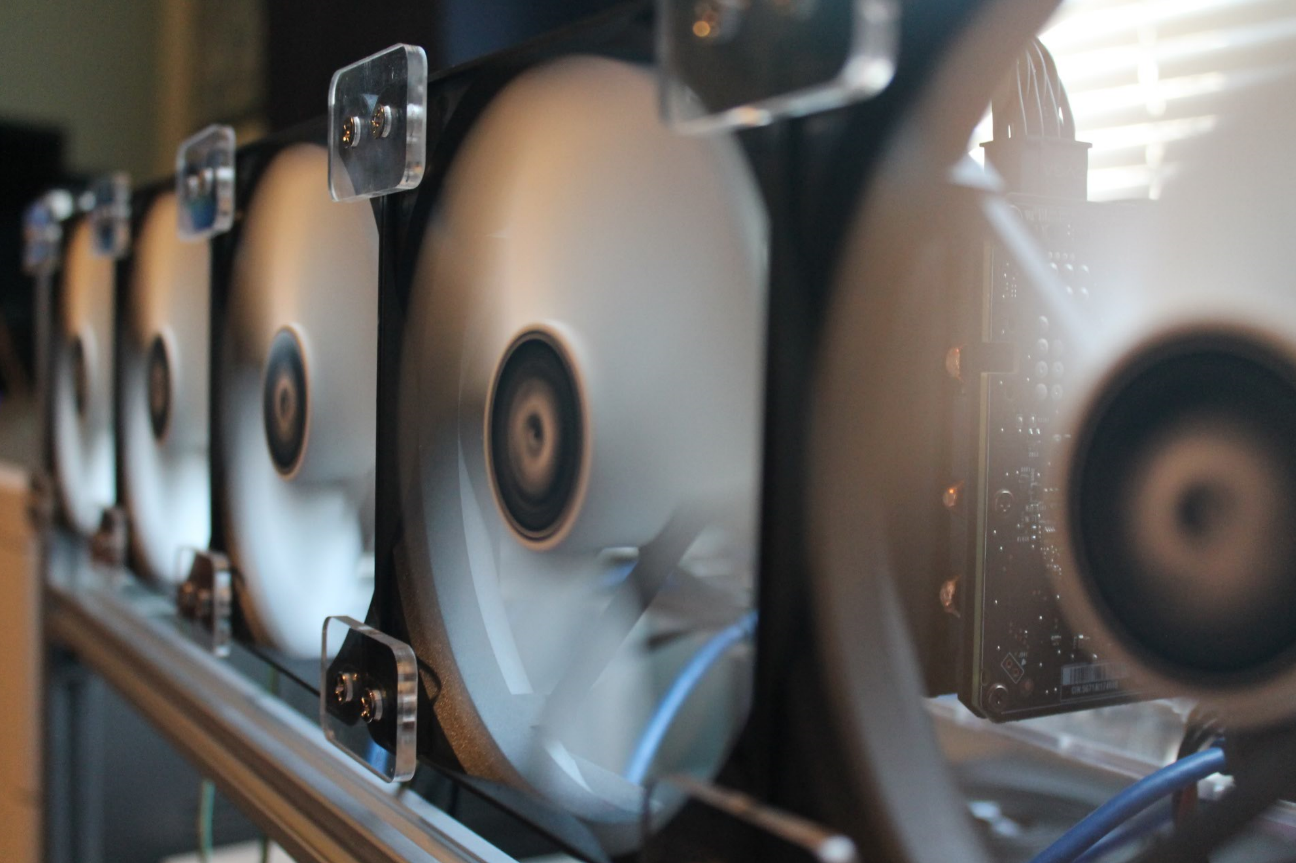
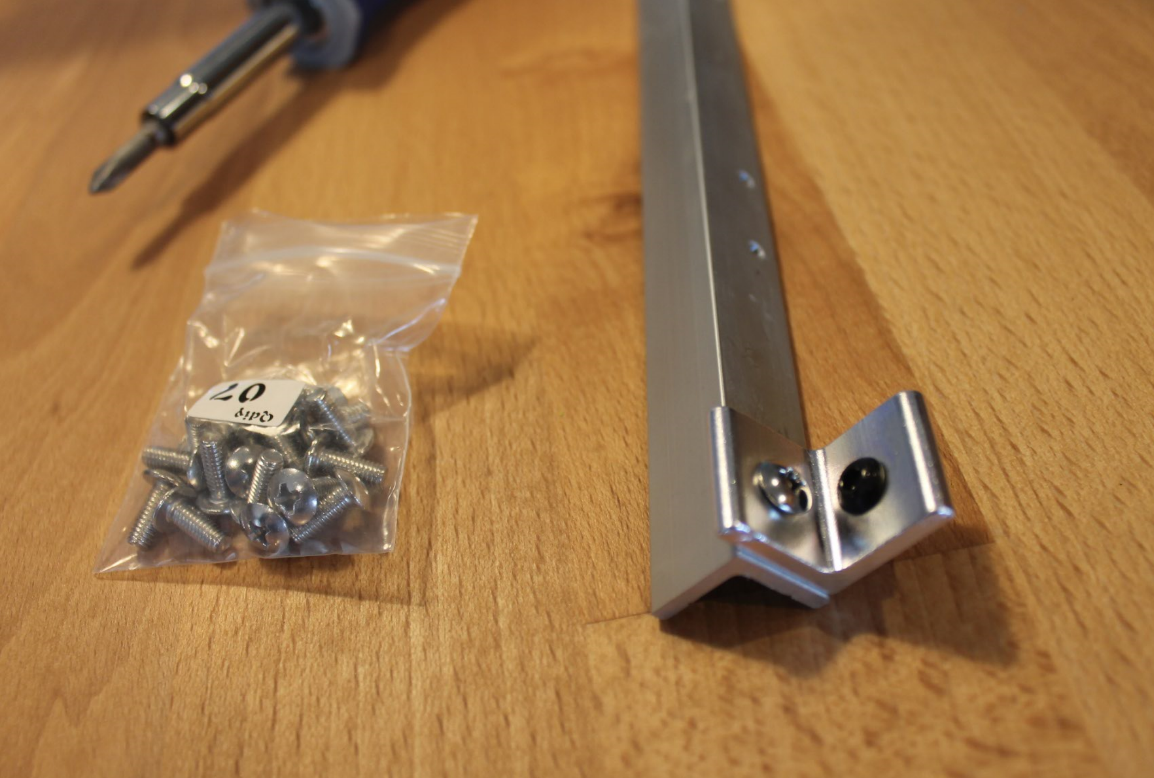
Next I used two Q7’s and two angle brackets to mount the Lower video card screw bar. (Don’t know you would call it) This thing.
The angles mounted like this.
I slid the bar down from the top and tightened it.
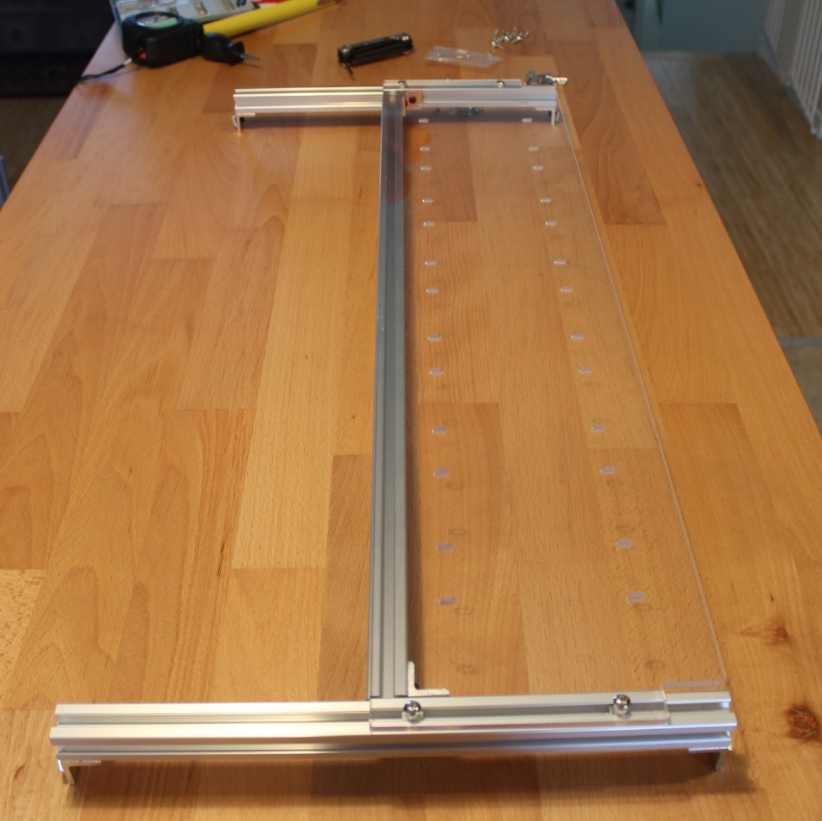
Next I made another two D1 and single D3 combo for the next layer of video cards. It used 6 angles.

I used the Q6 and Q7 again to add a bolt and nut to each of the 4 corners then slide the acrylic piece on.
Now slide this new piece above onto the rig from the top again and I was seeing the light at the end of the tunnel.