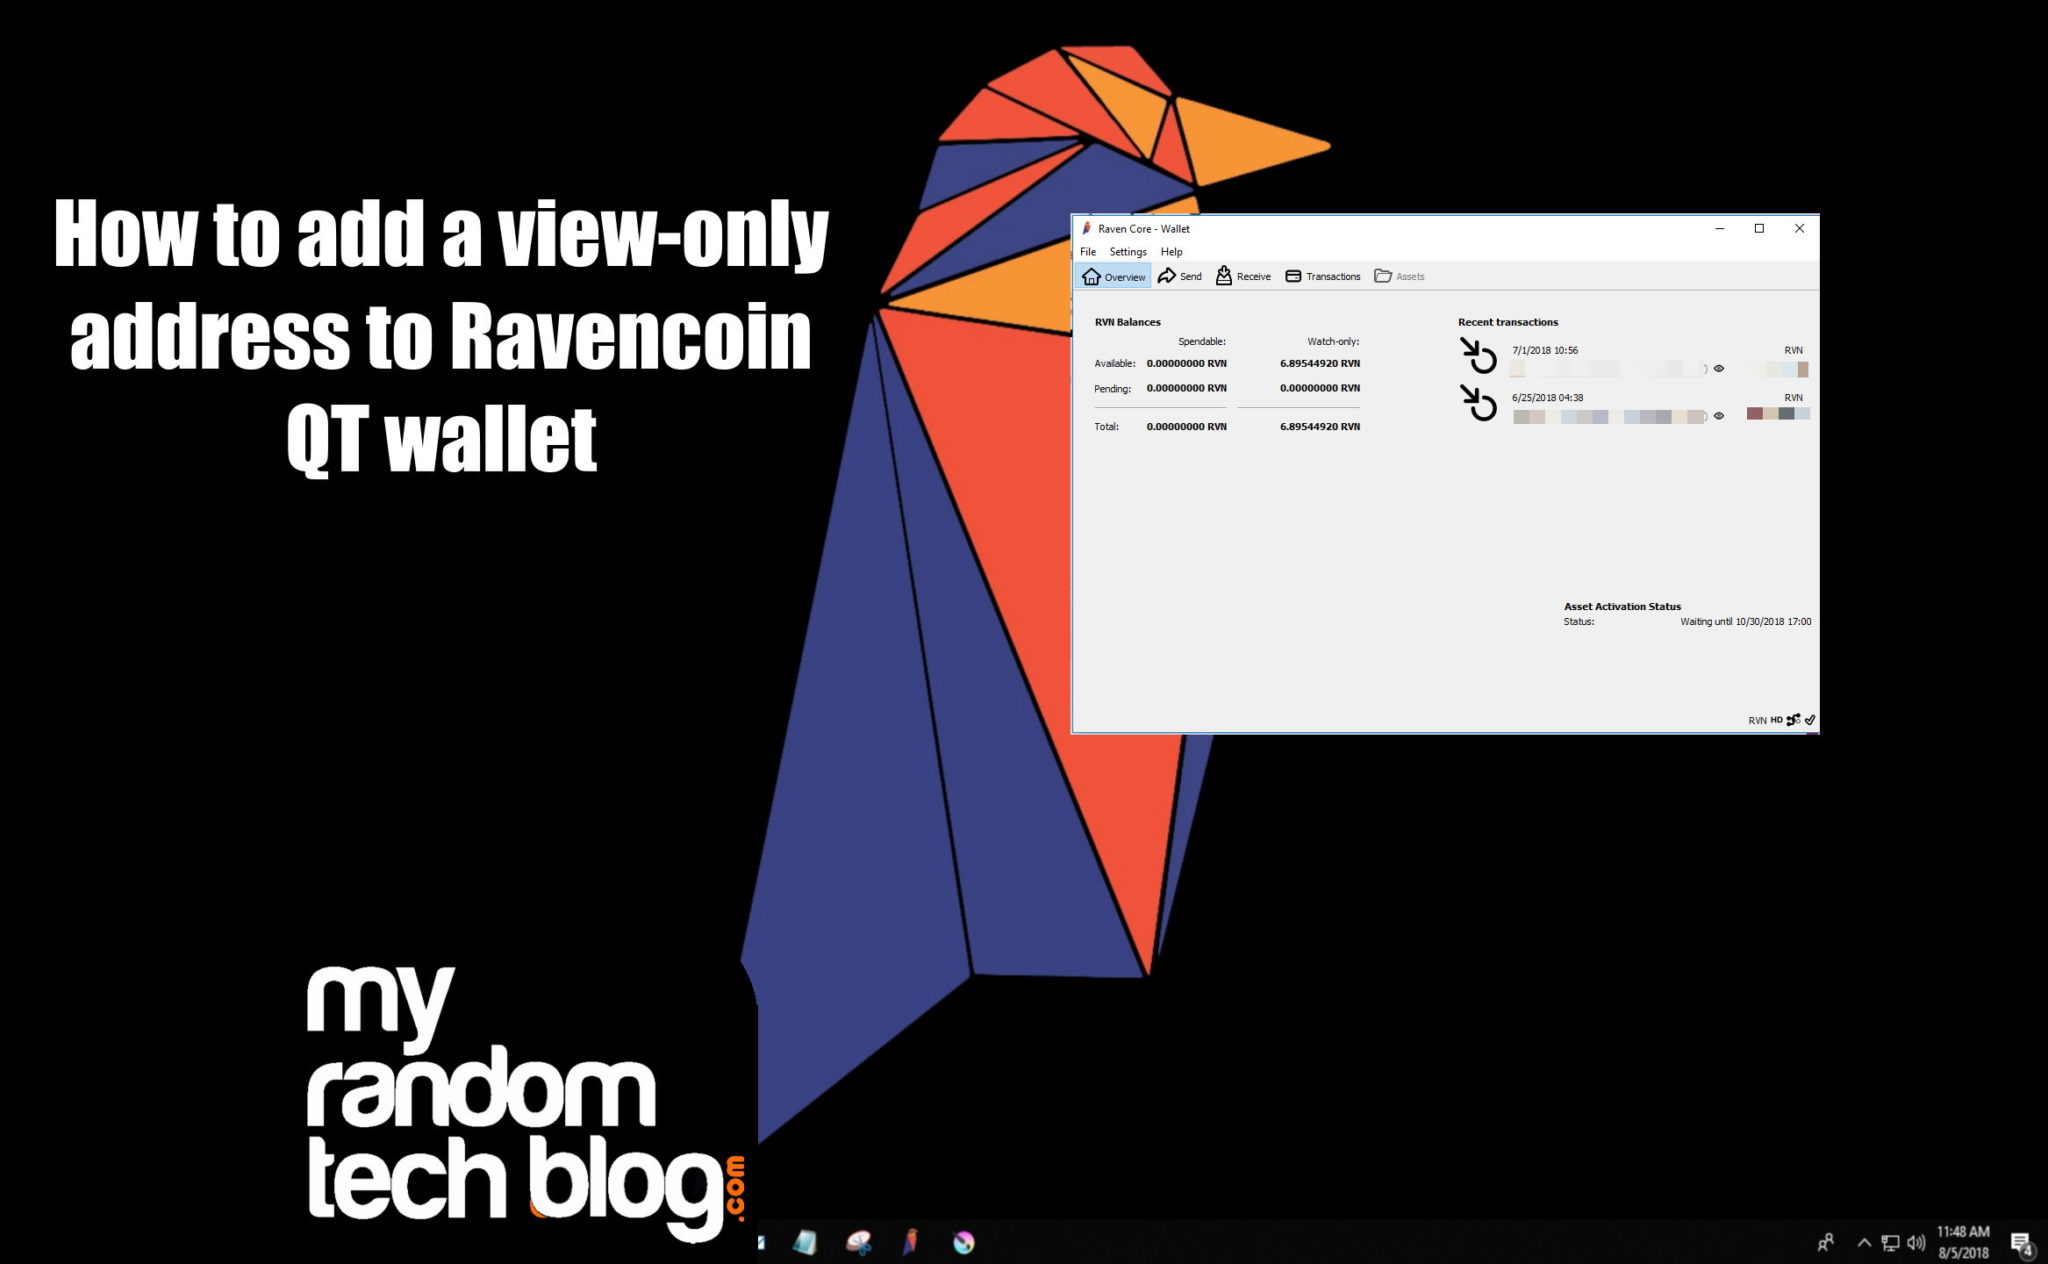
Here is how I added some of my public address’s to a separate QT wallet as view-only. Basically I wanted a way to view multiple wallet address’s I had, but did not want to have my private key on the computer for these addresses I wanted to view. I also did not want these to be able to be spent from in a wallet at this time. (I have my private keys stored away on multiple encrypted USB drives. )
Disclaimer: This blog is for entertainment purposes only. This blog does not supply financial advice. I am not responsible if you follow anything on this website and incur any loss or damages.
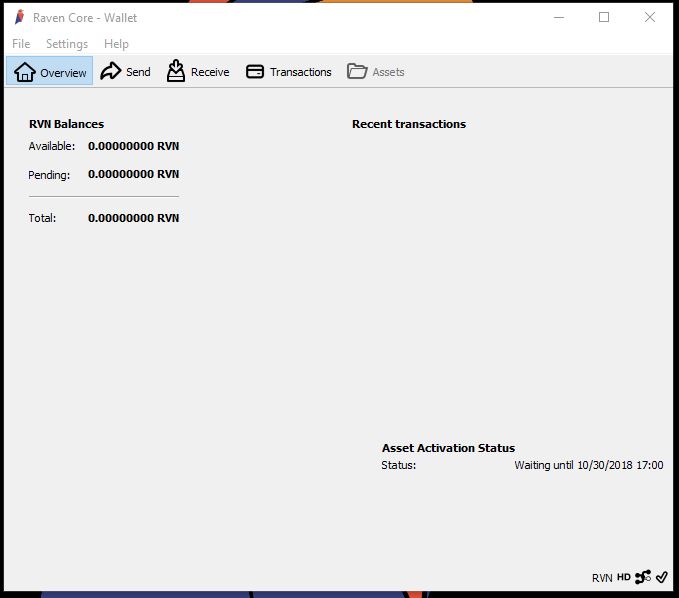
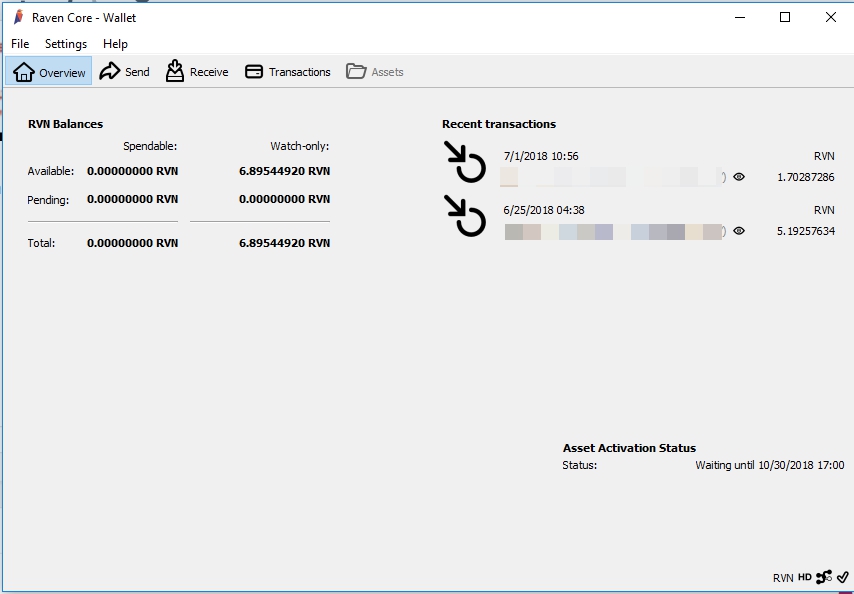
I started with a new install of the Ravencoin QT wallet that had no coins in it. This is what it looks like. Notice it only shows RVN balances in the Overview.
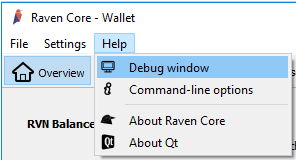
To add an existing public key as view only, you will need the public address key you are adding. You do NOT need the private key. Then you go into the Debug window by choosing HELP-> DEBUG window.
Once in the debug window, go to the second tab which is the Console tab. In the console tab you can type the command ” help importaddress ” and see the details of what the command does.
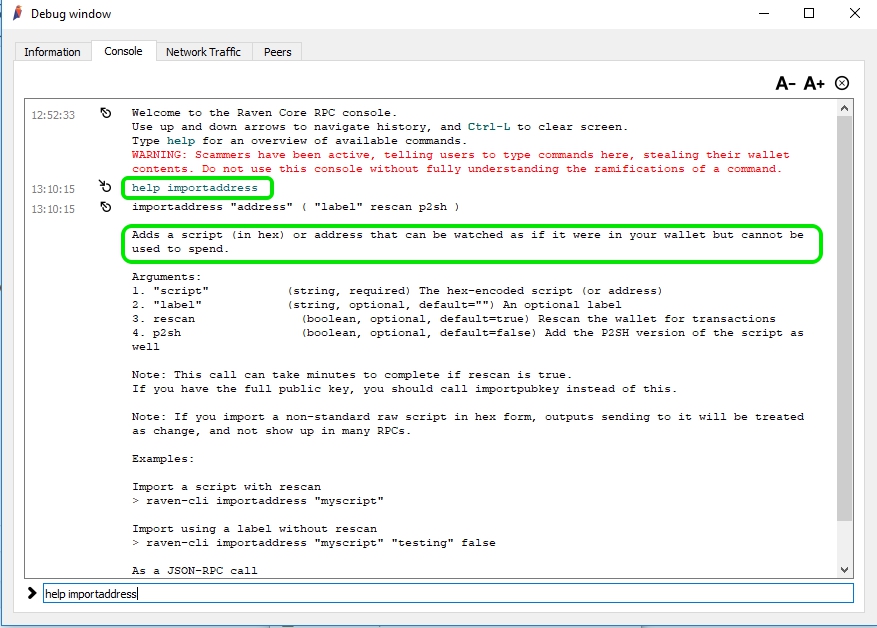
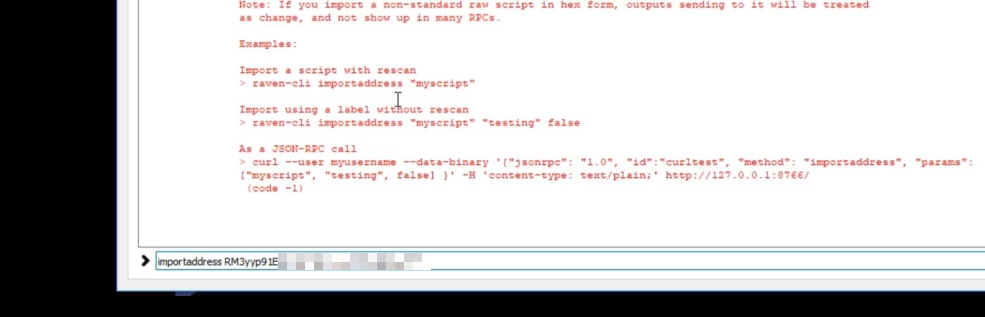
You can see that it explains how to use this command, and you can use this command to add an address that can be watched, but not used to spend. This is exactly what I was looking for. Next I typed the command “importaddress [mypublickKey]” using my public address that I wanted to view. Like below.
Once the command is entered you will see that it starts to rescan again to find the funds for that address. This only took a few minutes. Also you can see that a new column showed up in the overview called “Watch-only”
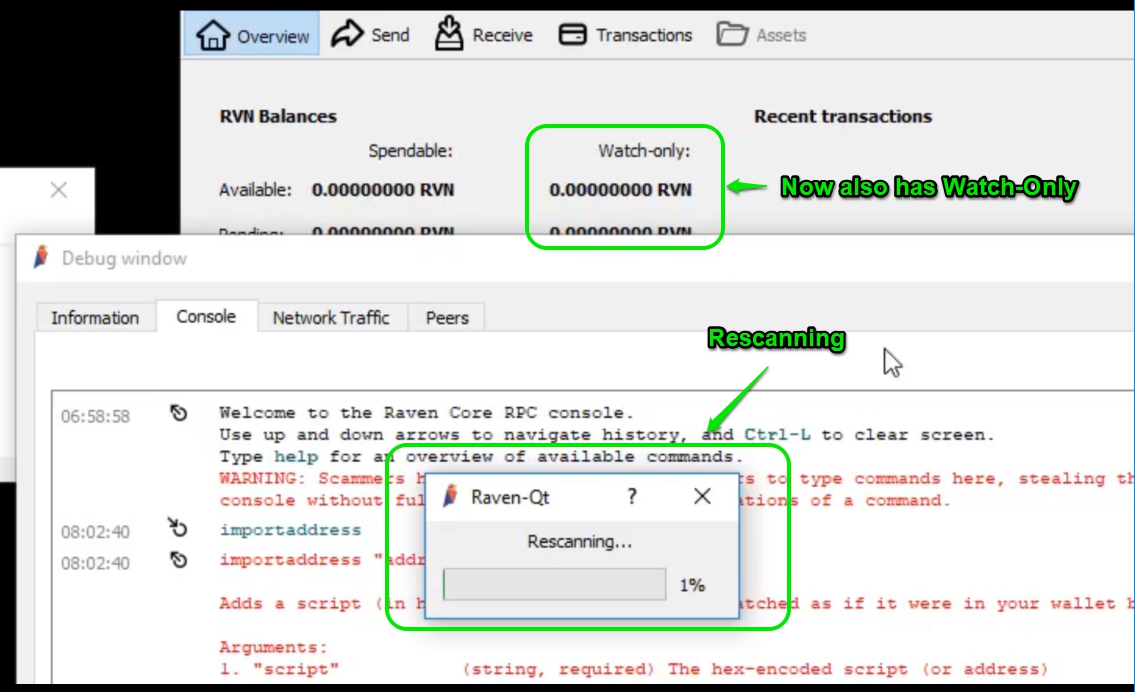
Once the scan was complete, I now can view the public address I added in a watch only mode. Not much in this one as it was a test address. You can also go to the transactions tab to see all the transactions for the key you imported.
That about sums it up. I hope you find this post helpful.