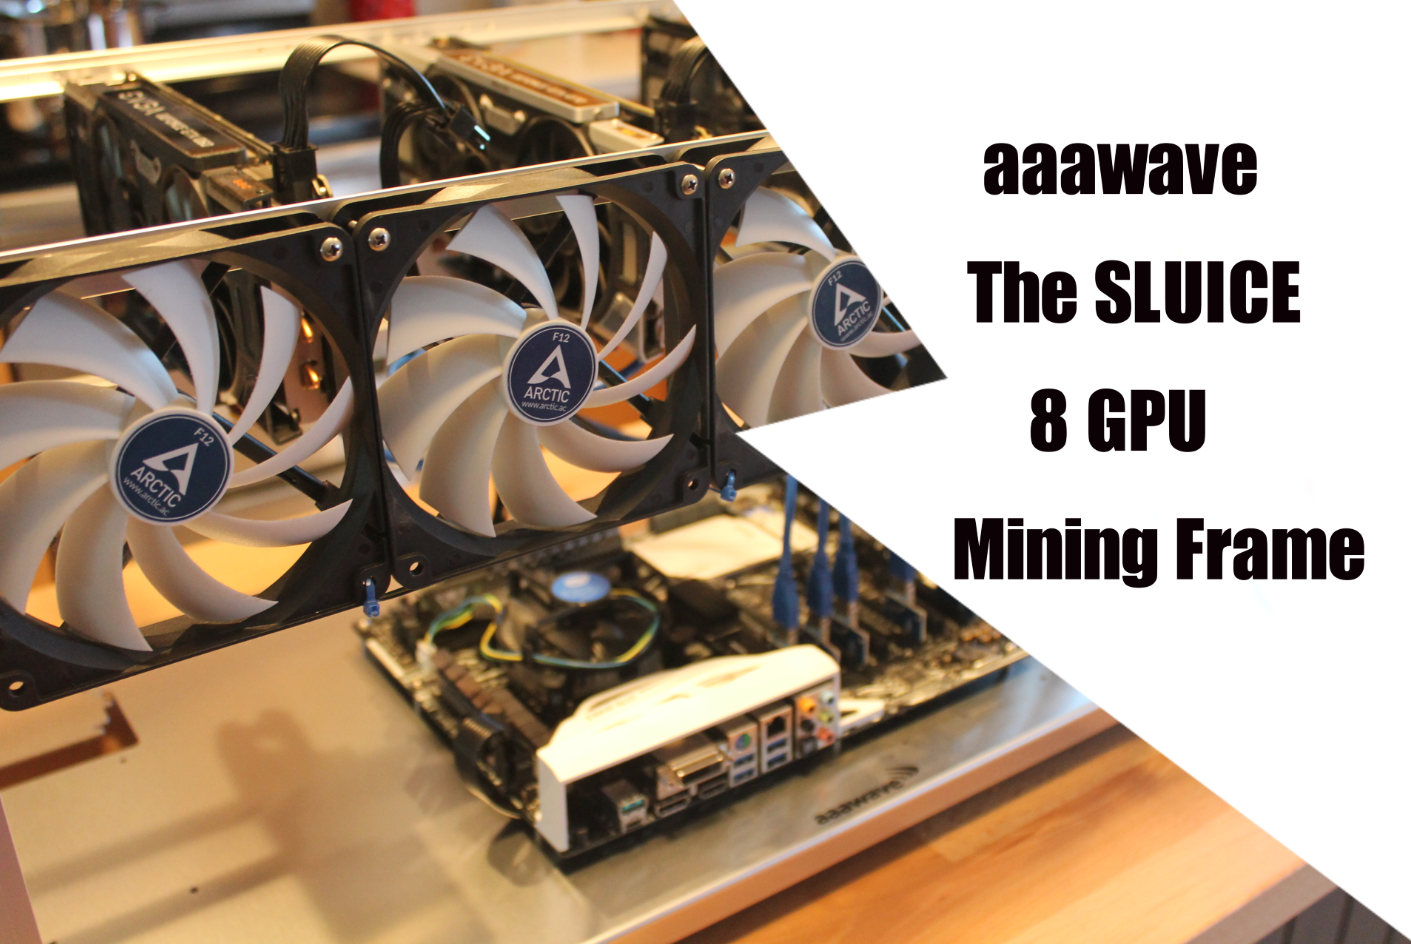
Here is my review and assembly of the new aaawave Sluice mining frame.
Recently aaawave sent me their new Sluice mining frame to check out. Had I known how easy it was to assemble I would have had this review done earlier. When I say it is easy to assemble, I really mean easy (and fast). You can have the case built in probably 30 minutes. That’s about what it took me and I was taking pictures. There is a pretty big difference between the Sluice and the Dredge models in assembly time. For the Dredge model I would set aside a couple hours, maybe 3 hours even. Now I don’t want to give any spoilers but this ended up being my favorite mining frame so far. Continue reading and you will see why.
Packaging:
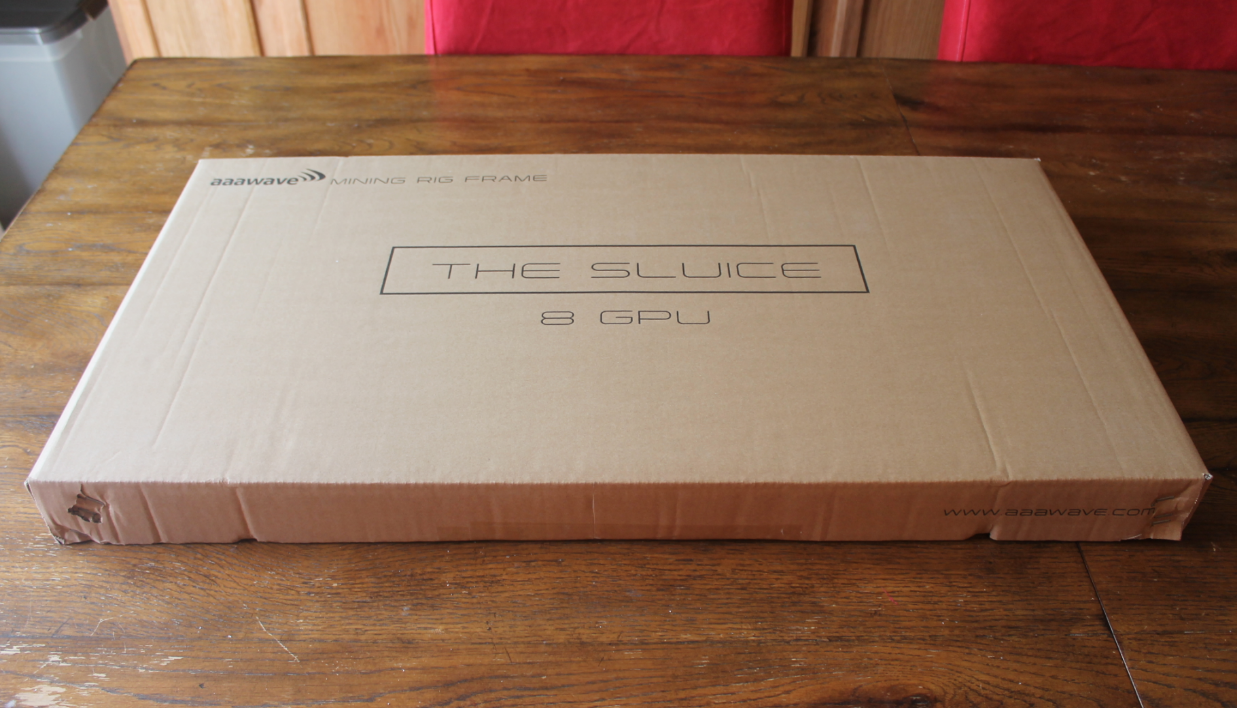
The Sluice![]() was delivered inside this box along with a Dredge 14 GPU frame. The box was pretty heavy with both frames in it. The shipping weight was about 26 pounds. Both frames were separately packaged inside the main box. This is the same way my 8 GPU Dredge model showed up from Amazon, it was also packaged inside a separate box. Needless to say no issues with how these have been shipped.
was delivered inside this box along with a Dredge 14 GPU frame. The box was pretty heavy with both frames in it. The shipping weight was about 26 pounds. Both frames were separately packaged inside the main box. This is the same way my 8 GPU Dredge model showed up from Amazon, it was also packaged inside a separate box. Needless to say no issues with how these have been shipped.

Here is how the Sluice was packaged inside the box above. It was in its own separate box. One thing I noticed was the weight. I was not sure what the sluice was going to be like to assemble, but was surprised the box was as light as it was. Once I got it on the kitchen table, I was pretty excited to pop it open and look inside.
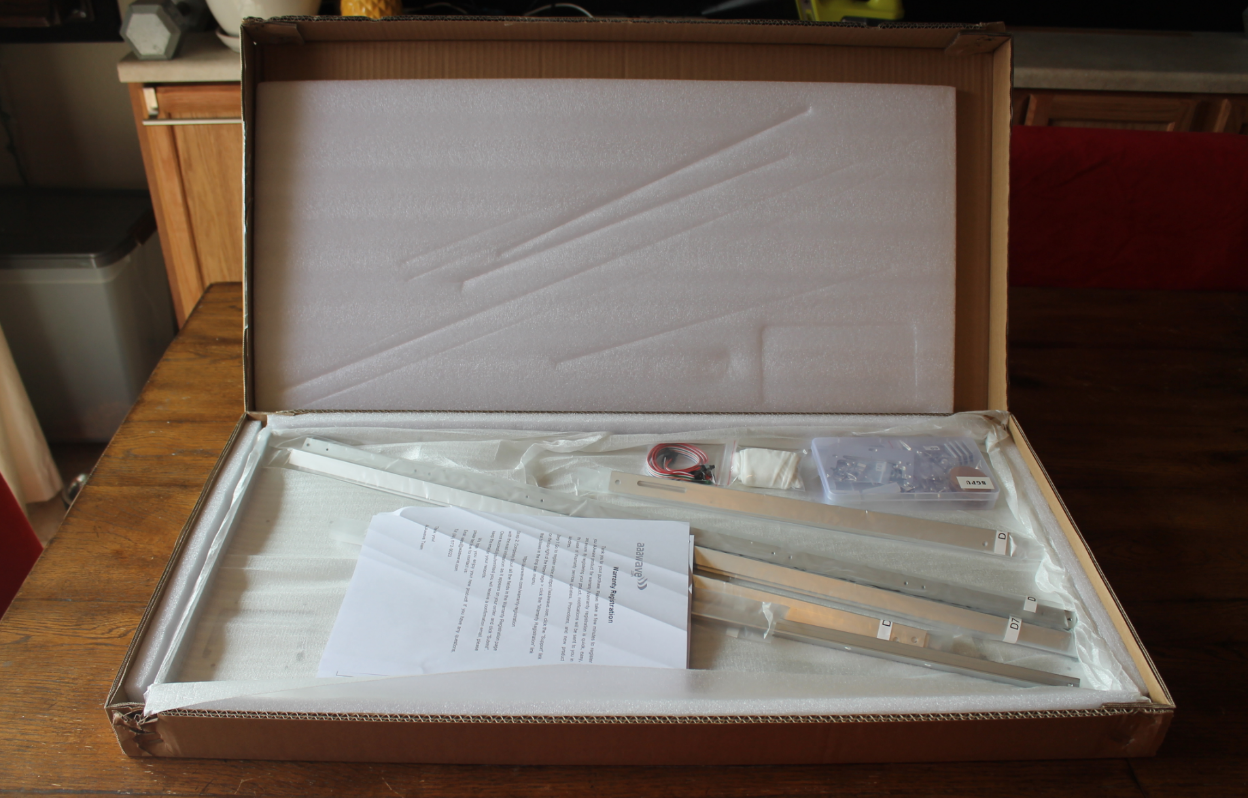
Here is what it looks like inside. I have come to expect great packaging from aaawave on these mining frames, and this was no exception. It was well padded and all the parts were well organized and protected.
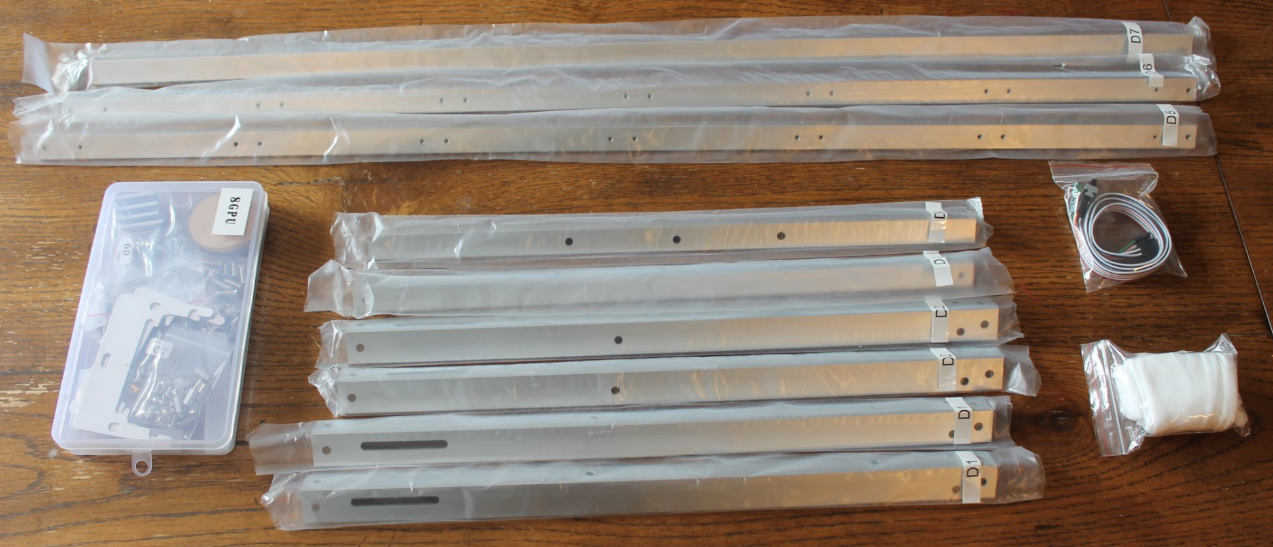
I started pulling out the parts from the box and had a few pleasant surprises. First was there were not a lot of parts. Second was I did not have to peel protective paper off any acrylic parts. Third was the included instructions were all on one page. ONE PAGE 🙂 Of course I would just use them as guidelines. But with only one page (Parts list on the front and 5 steps on the back), I thought that was great.
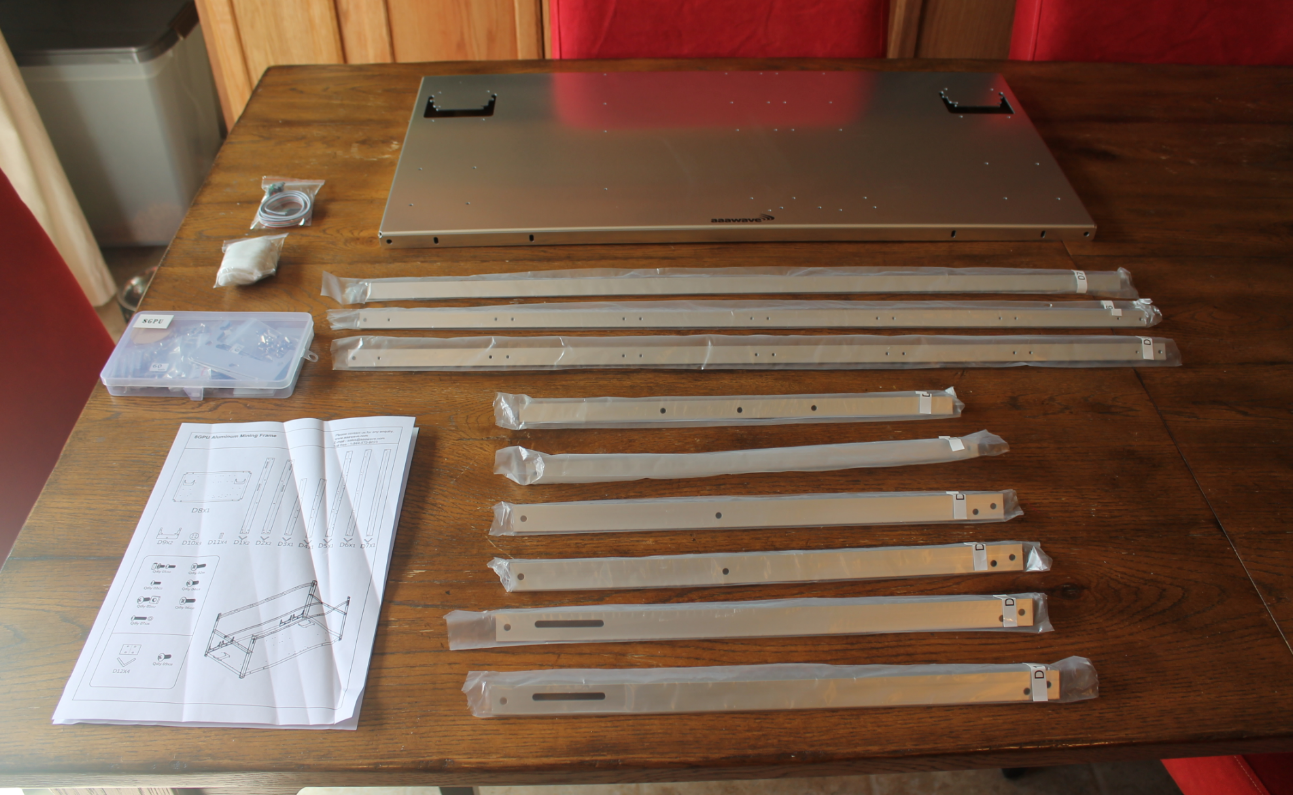
First I took a look at the bars and the included parts. The bars felt strong and light. They also included a power switch for your motherboard which was a nice option. Also included were some white cotton gloves and a case of the needed parts (nuts and bolts and such.). One thing I noticed was a lack of metal shavings. The metal also appears to be harder then the aluminum used in the Dredge. I did a quick check on the website and it appear to be a 2020 aluminum alloy. The 2 in the 2XXX would represents being mixed with copper which is done for strength.
Here is the case of parts and what is inside.
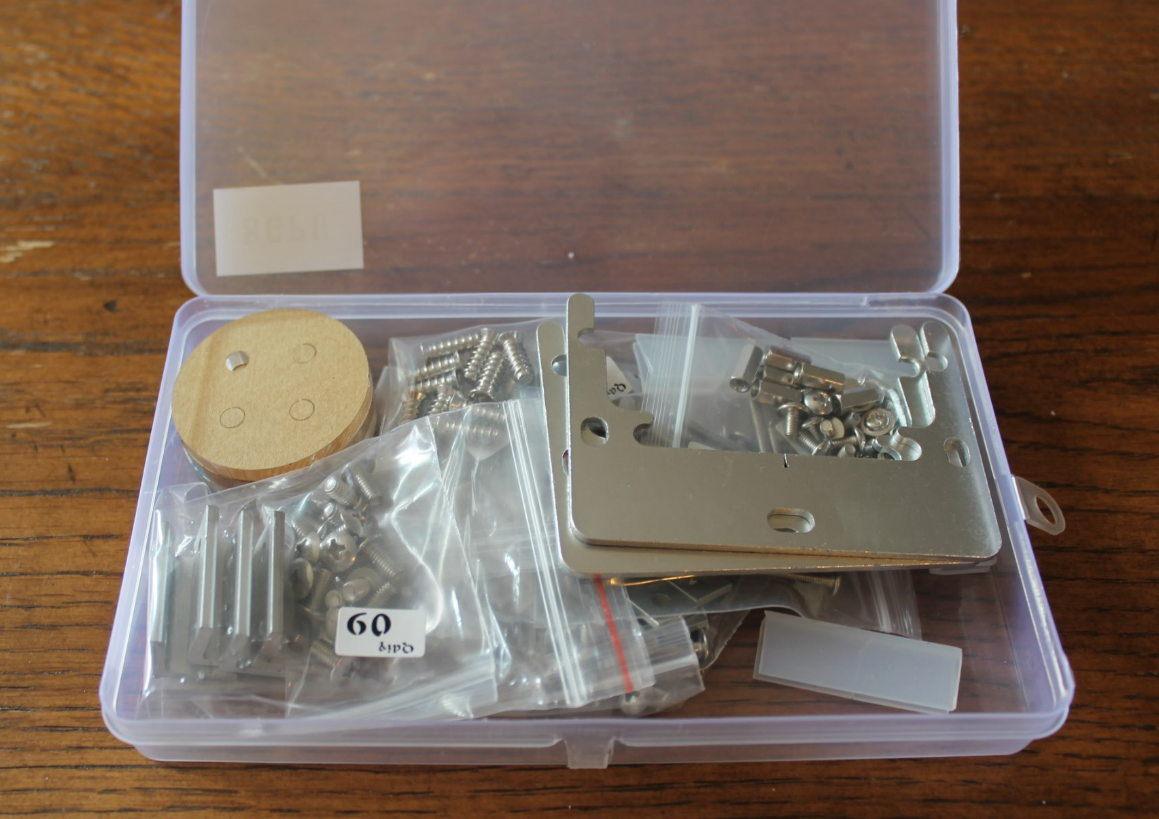
Here are the parts removed from the case. Everything well organized and labeled.

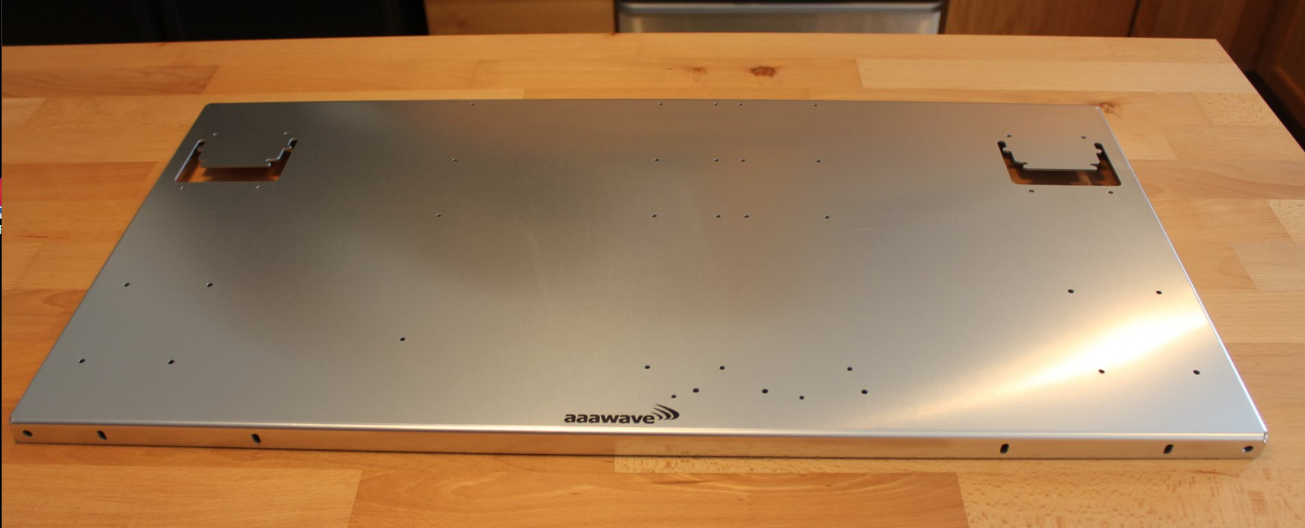
Next I took a look at the new base plate. It was a big change from the acrylic base in the Dredge model. I really liked it, it is light and strong. Not as flexible as an Acrylic base can be. It also had the aaawave logo on the front.