Assembly
Disclaimer: I use instructions as guidelines. Some of how I did this may not match the instructions. Please follow the included instructions if you are assembling yours. I am not responsible for any issues or injuries that may arise from you assembling your unit.
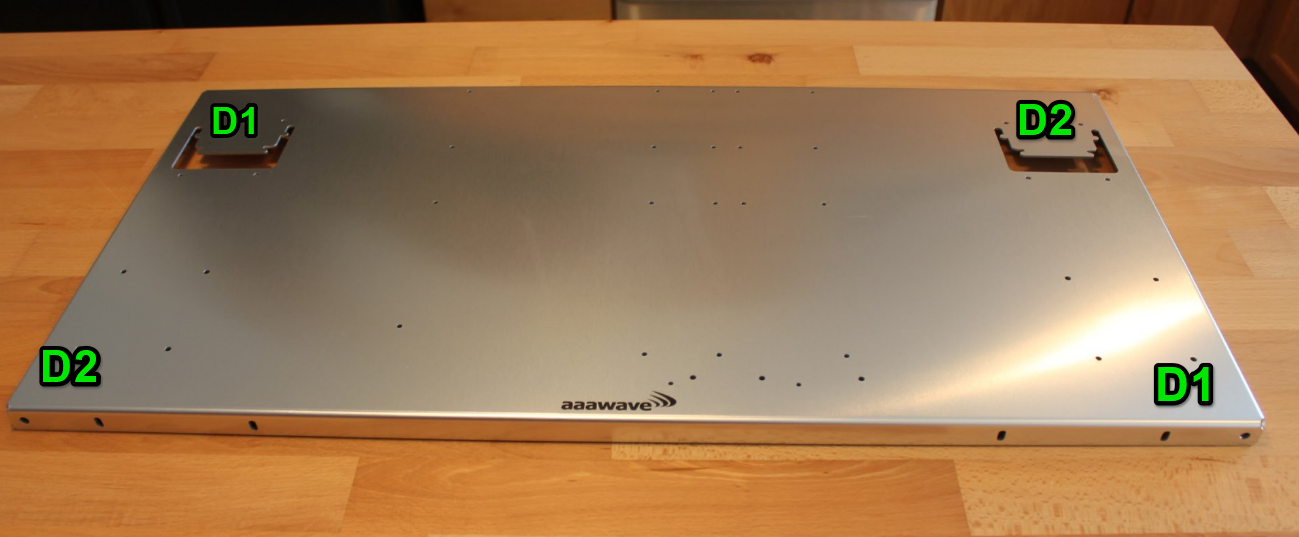
Starting with the Q5 square nuts and bolts. I went to assemble the D1 and D2 bars onto base frame. The bars will be positioned as follows. You will need to make sure the long slots face the front and back, and the side of the D1/D2 bars with the two holes would face the ends. I think the instructions were wrong stating both back bars being D1 and front being D2. If you put both D! bars in back the slots will not be correct. So I did mine as the diagram below.
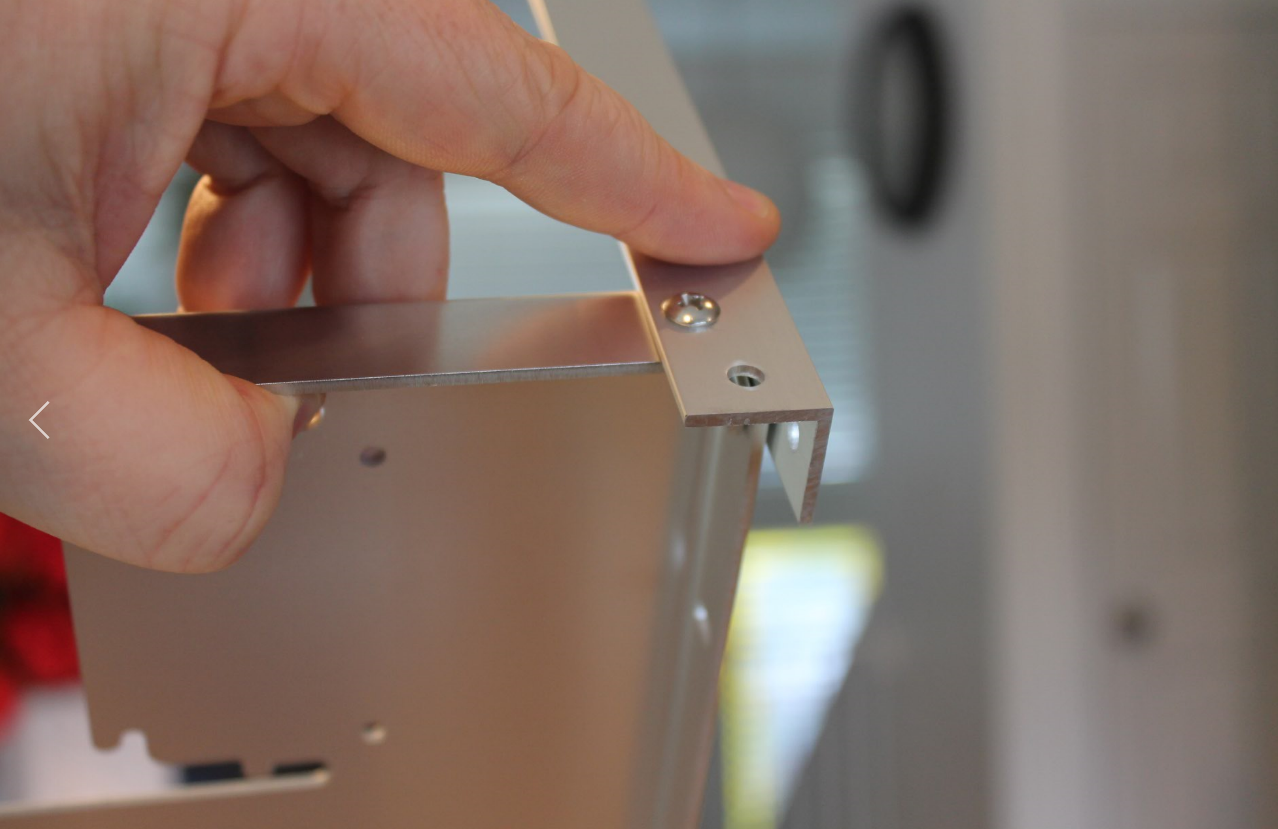
It is very simple, just insert the nuts and bolts like this. I did not tighten them all the way yet, just lightly snug.

Do not use the very bottom hole, use the second hole up. This one.
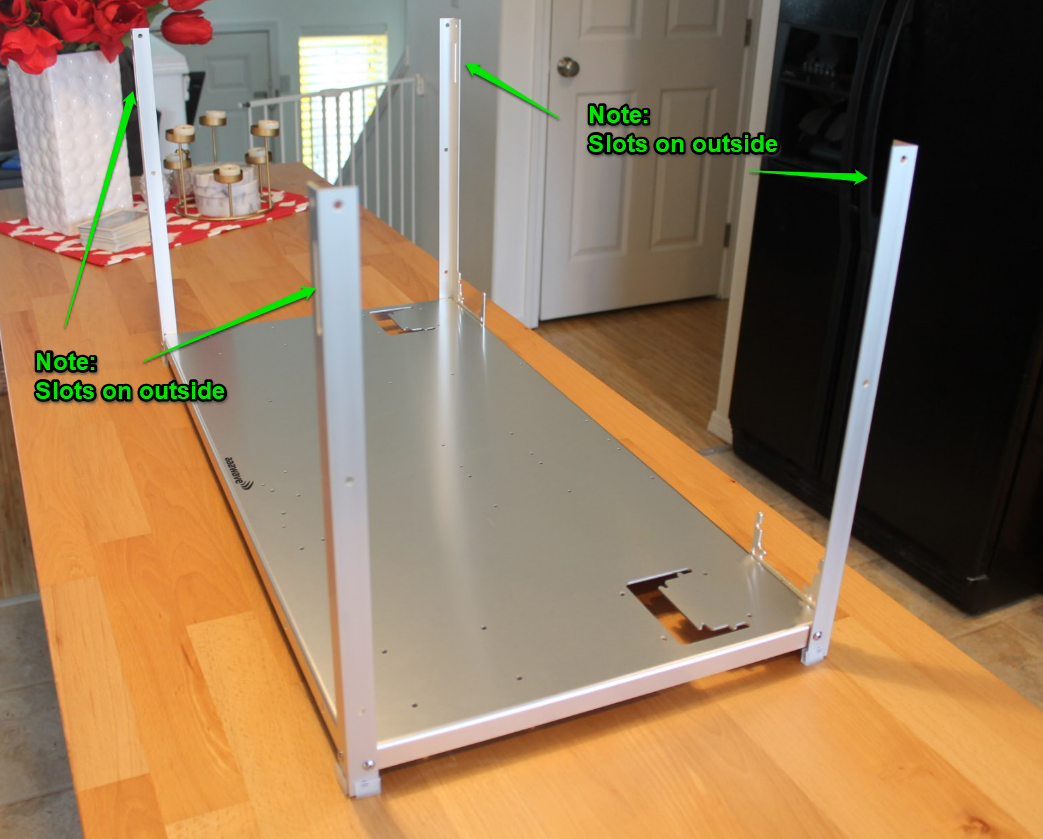
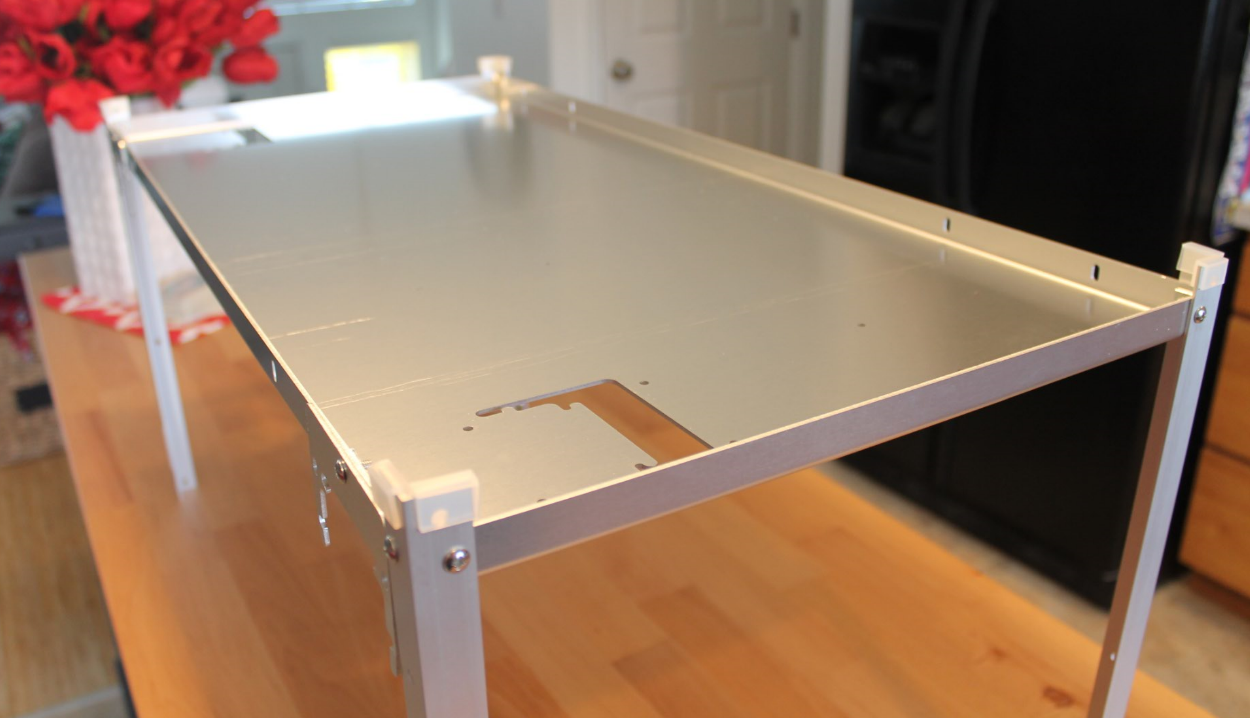
Once both of the D1 and D2 bars are installed it will look like this.
Next I added the power supply brackets. One thing I liked about this frame was the power supply will stand on its side to save space. I mounted a bracket on each end. You could also mount it more towards the middle. I chose the outer positions. It was also mounted with a single Q5 nut and bolt from the kits.

Power supply brackets on both ends
Next I flipped it over and added the rubber feet. These were pretty flimsy and I wish they had some molded plastic feet to attach. These do work, but it is an area that could have been improved.
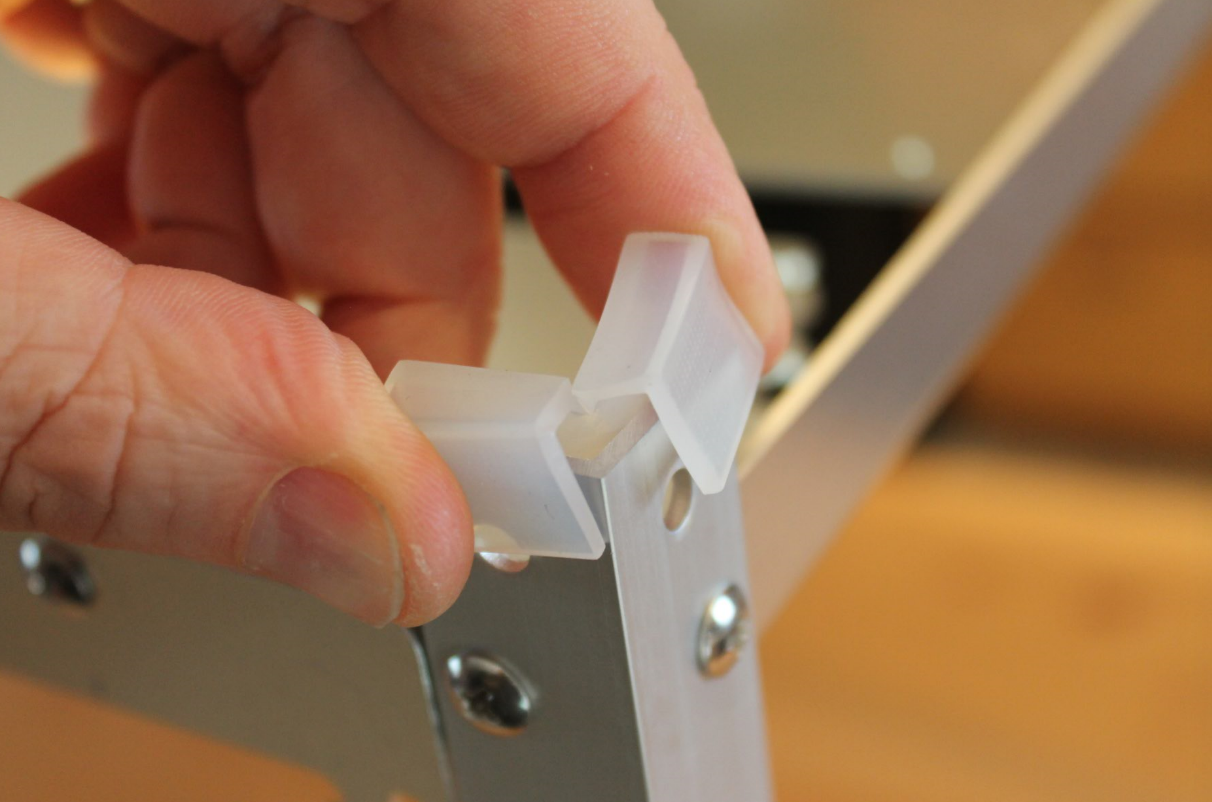
Rubber feet on all four corners.
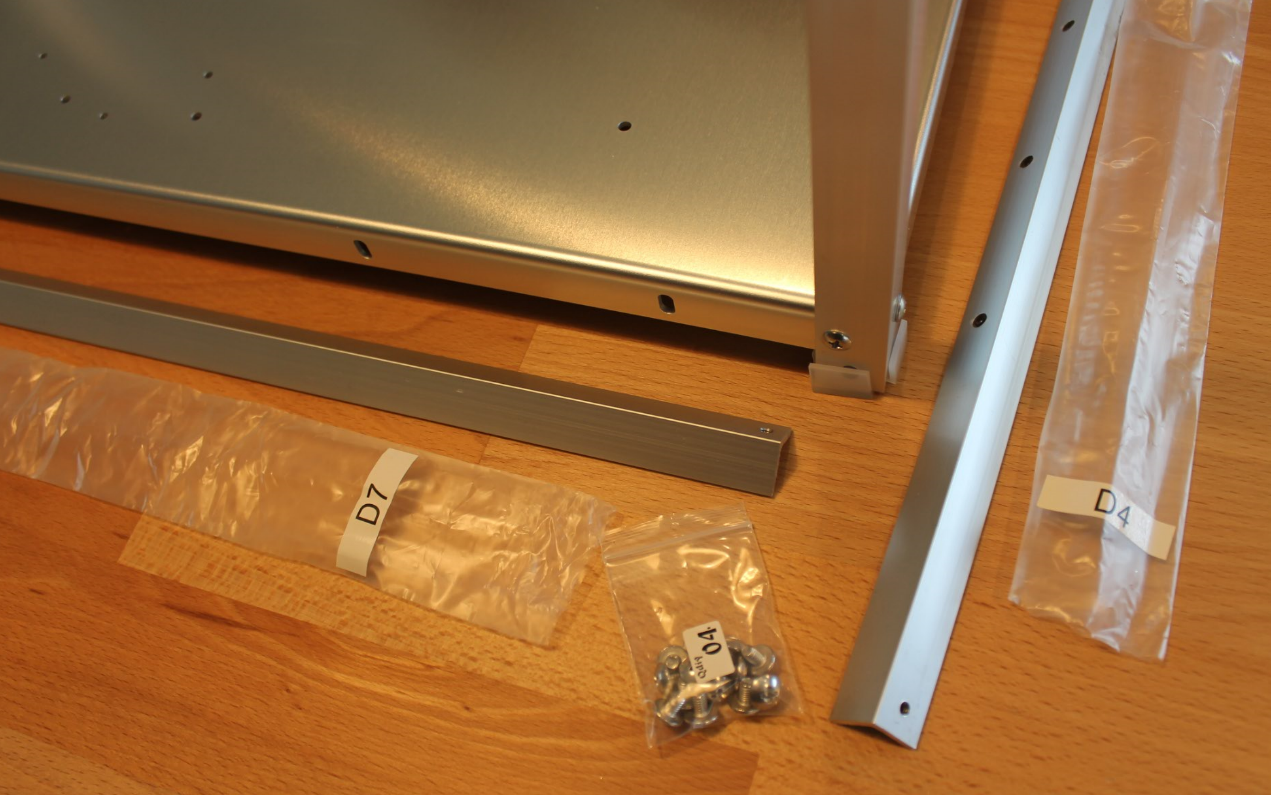
Next I installed the middle cross brace. This is the D3,D4 and D7 bars. They are mounted with the Q4 bolts.
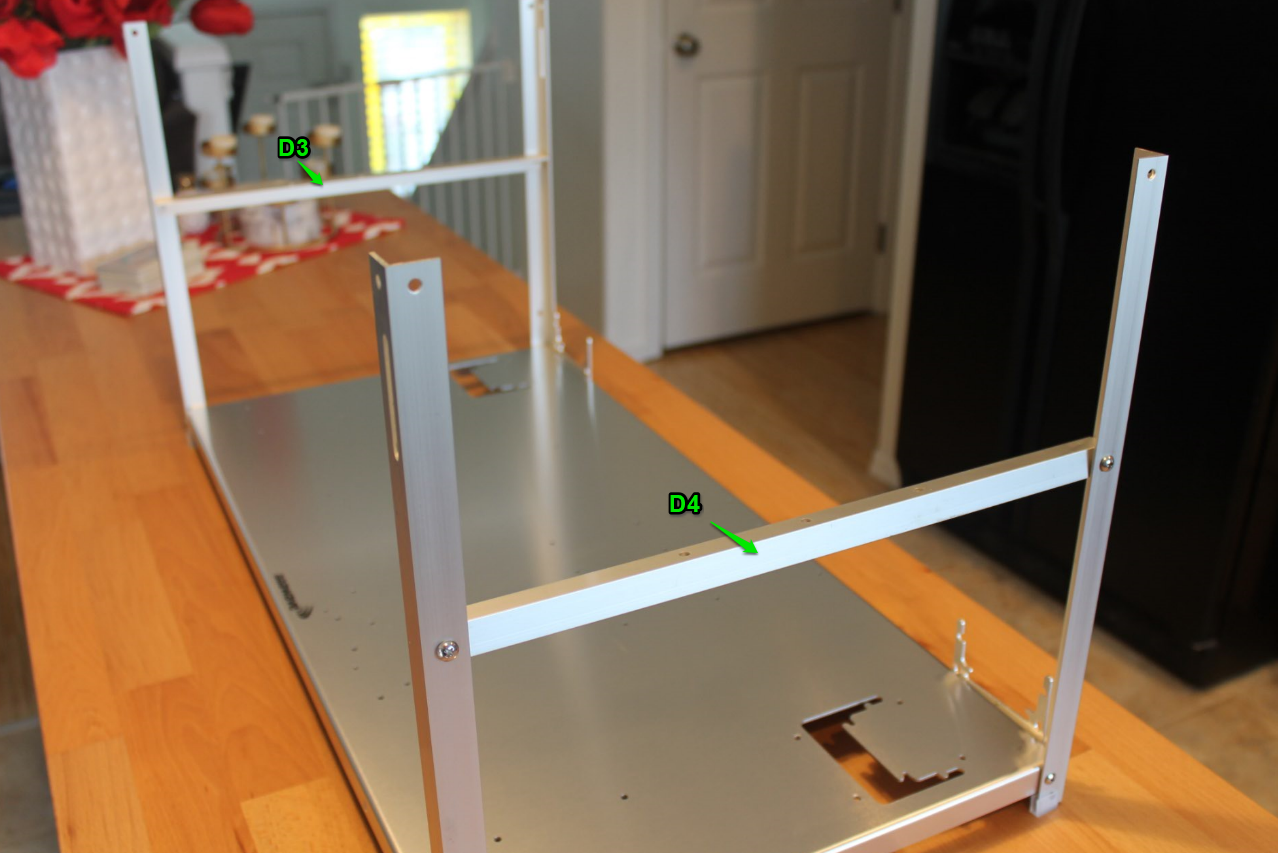
On the right side from the front I mounted the D4 bar, and on the left side the D3 like this.
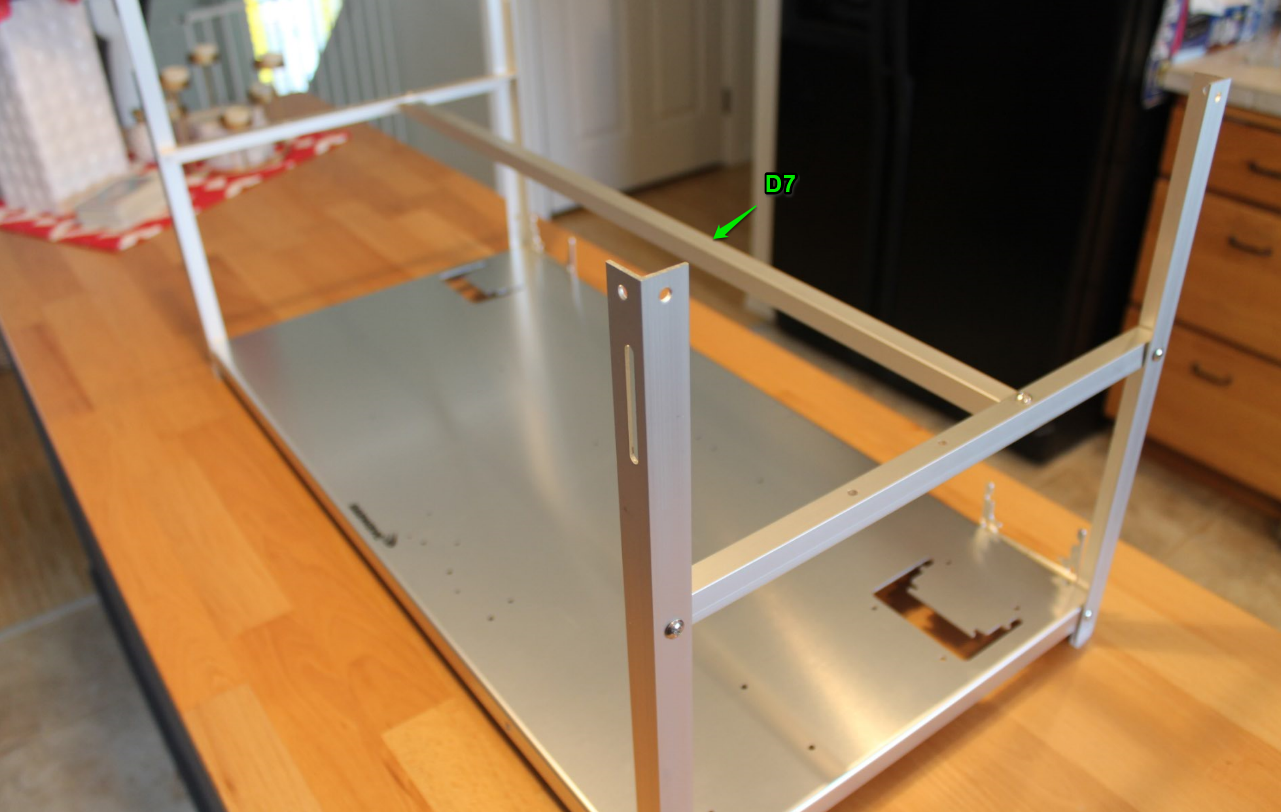
Next I installed the D7 bar under the angle of the D3/D4 bars like this. Using the threads in the D7 bar for the Q4 bolt.
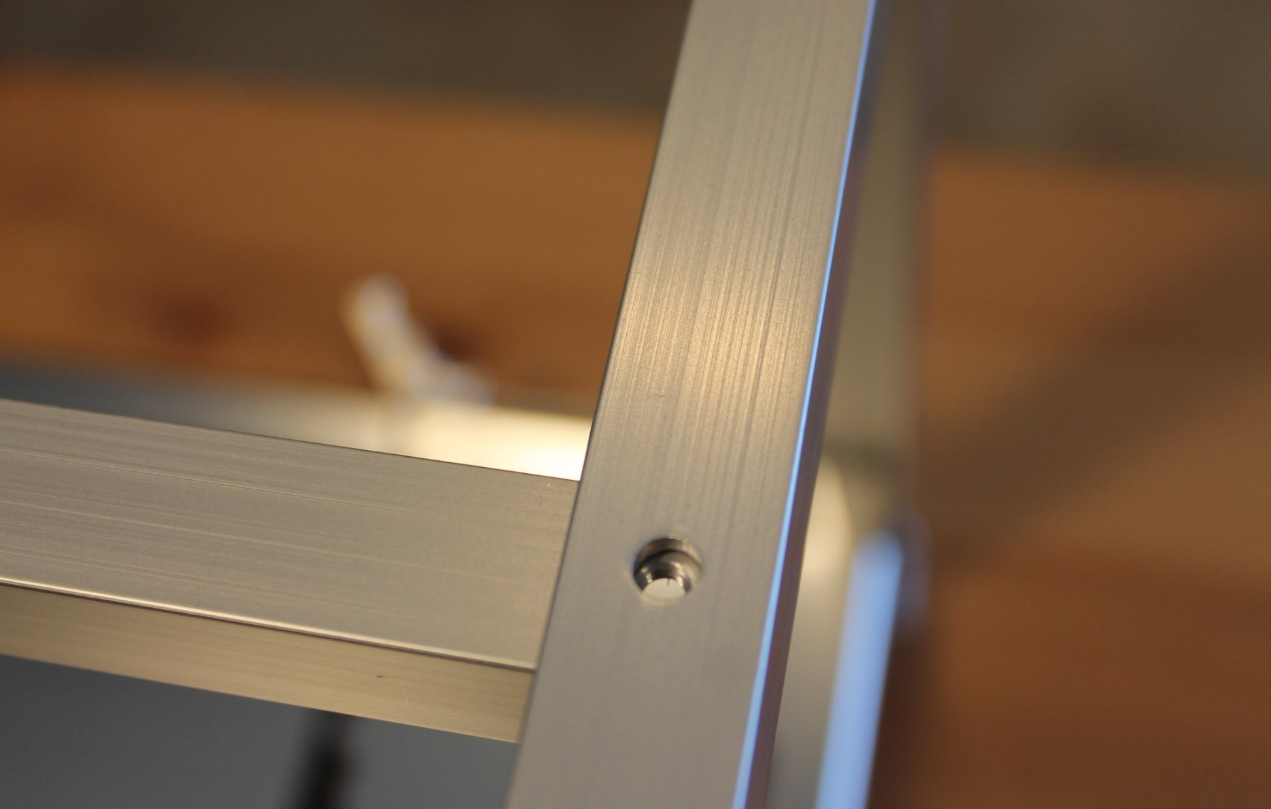
Here it is with the D7 installed.
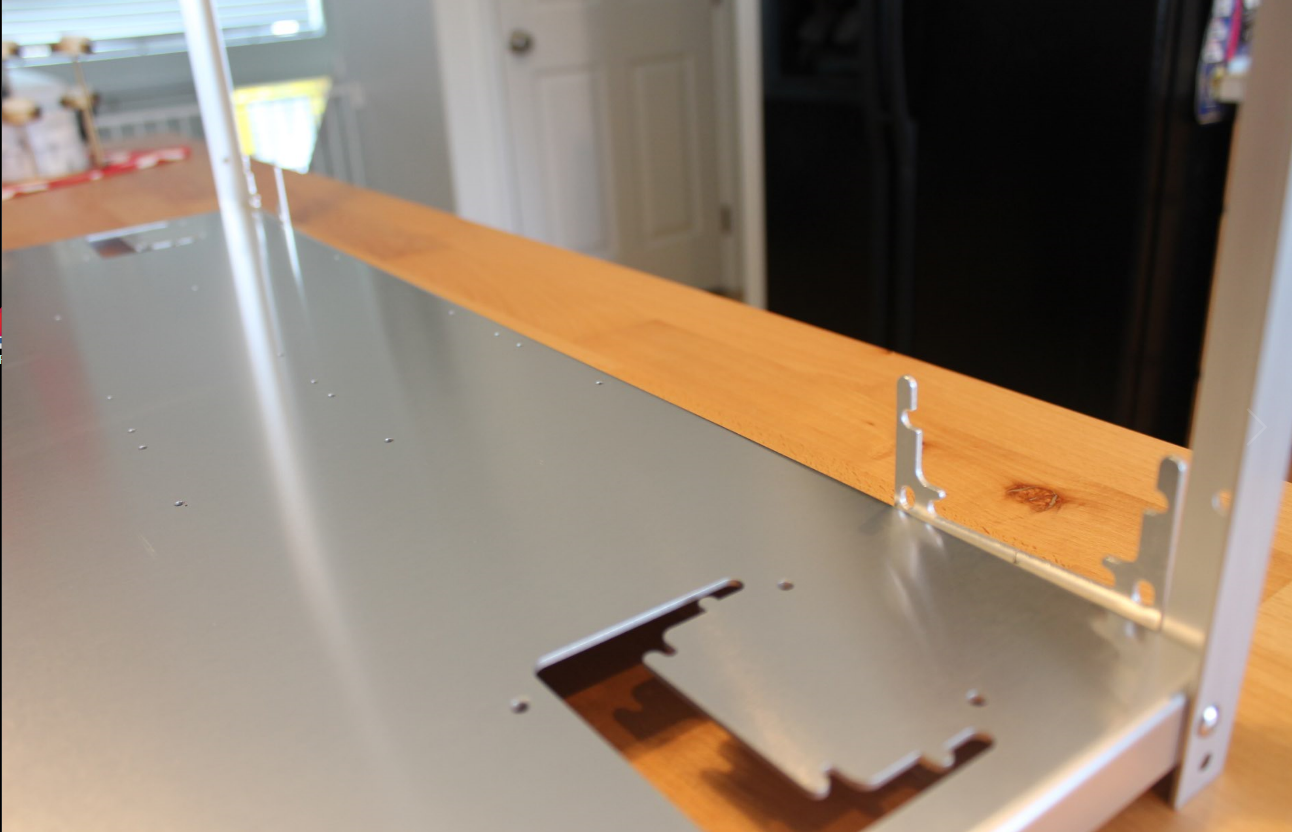
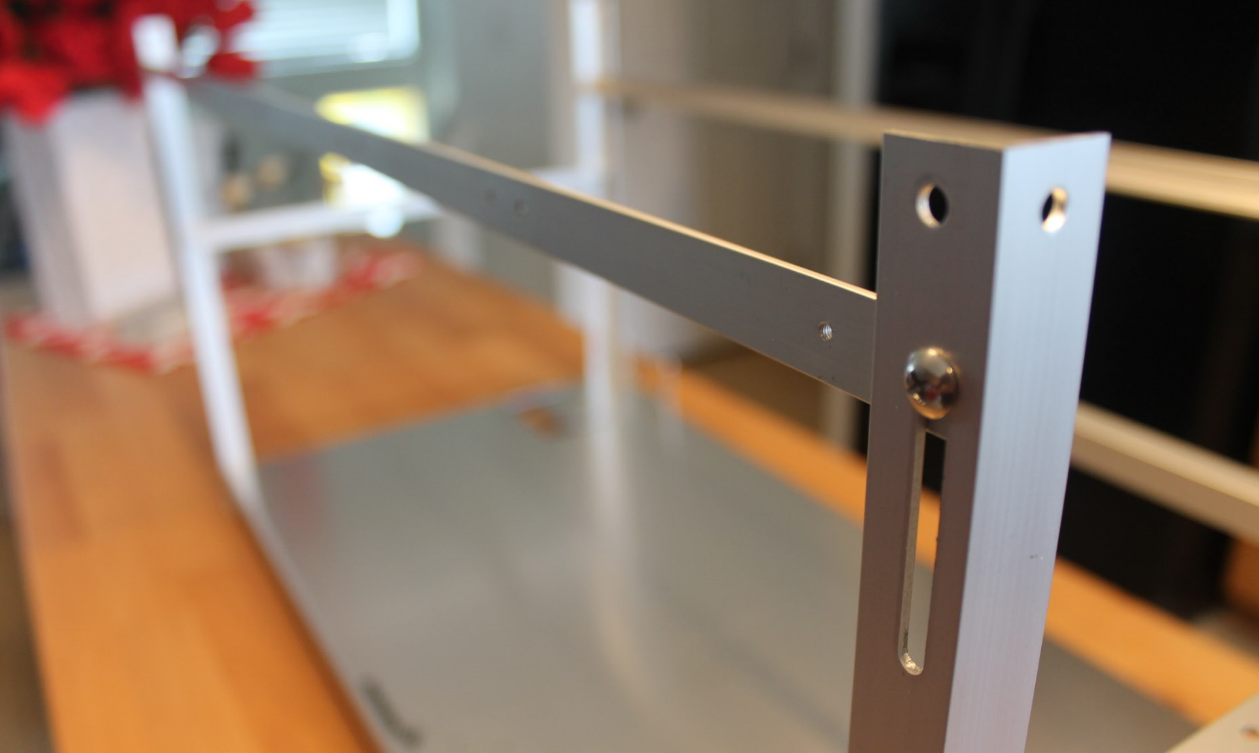
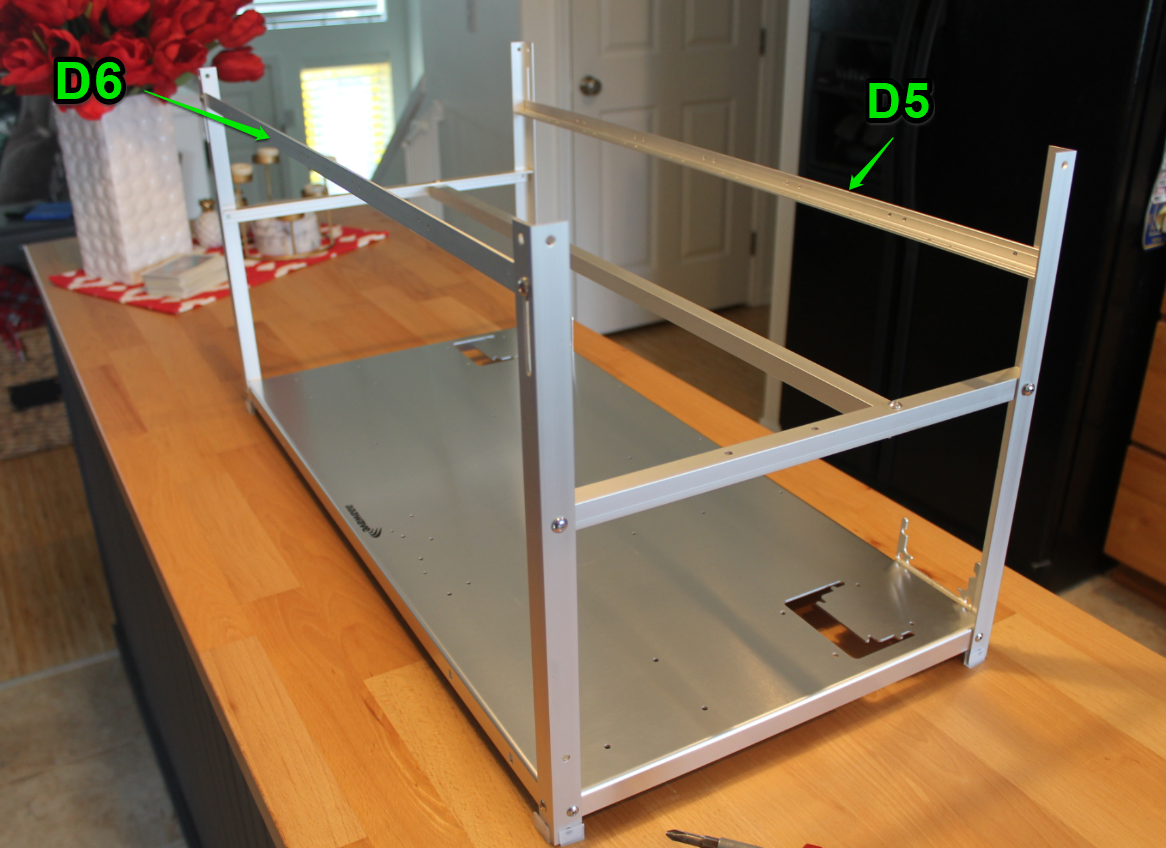
Next I installed the D5 and D6 bars. The D5 gets mounted to the slots on the back, and the D6 to the slots on the front. These are also mounted using the Q4 bolts. They mount like this.
Here is a picture that shows both of them installed.
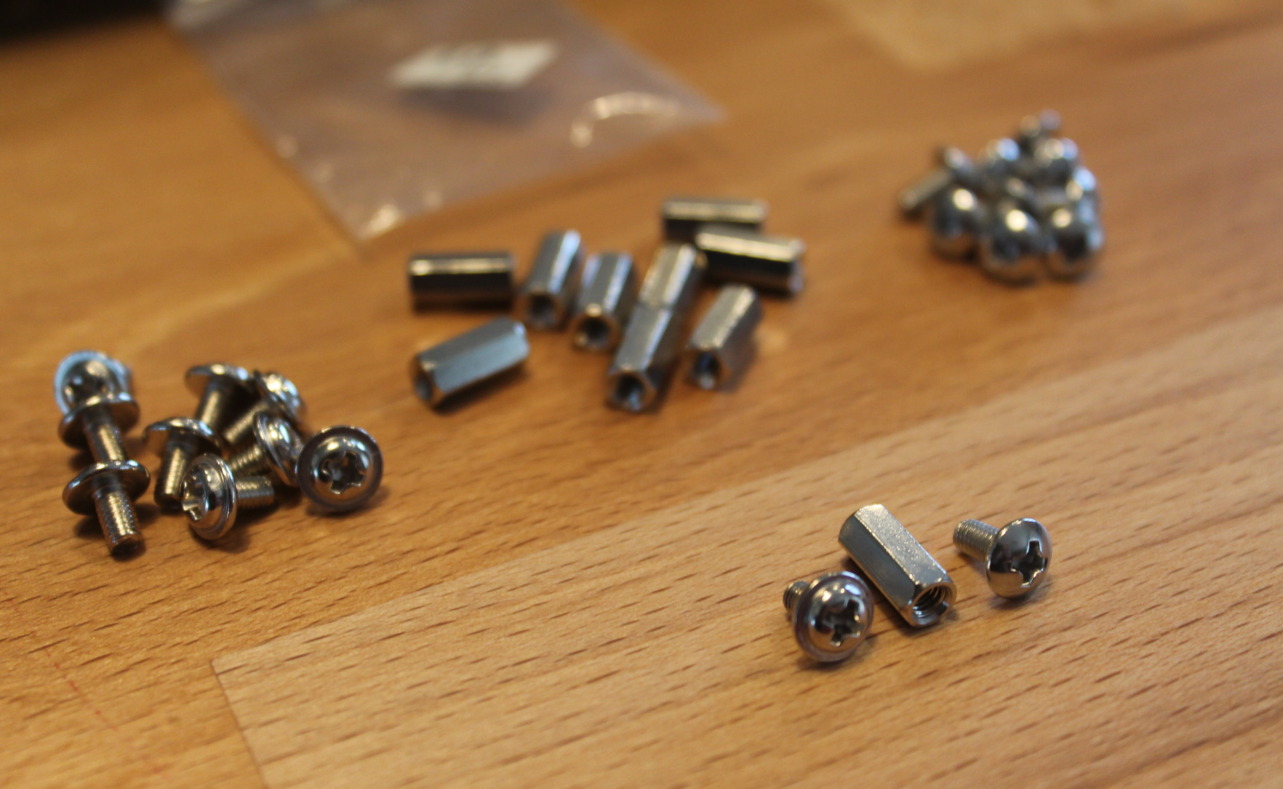
Next I added the motherboard standoffs. First I separated the screws in the bag. It contains short screws to mount the motherboard to the standoff, and long screws to mount the standoff to the base plate. These short and long ones are close in size but the head of the bolts are different which helps makes them easy to sort.
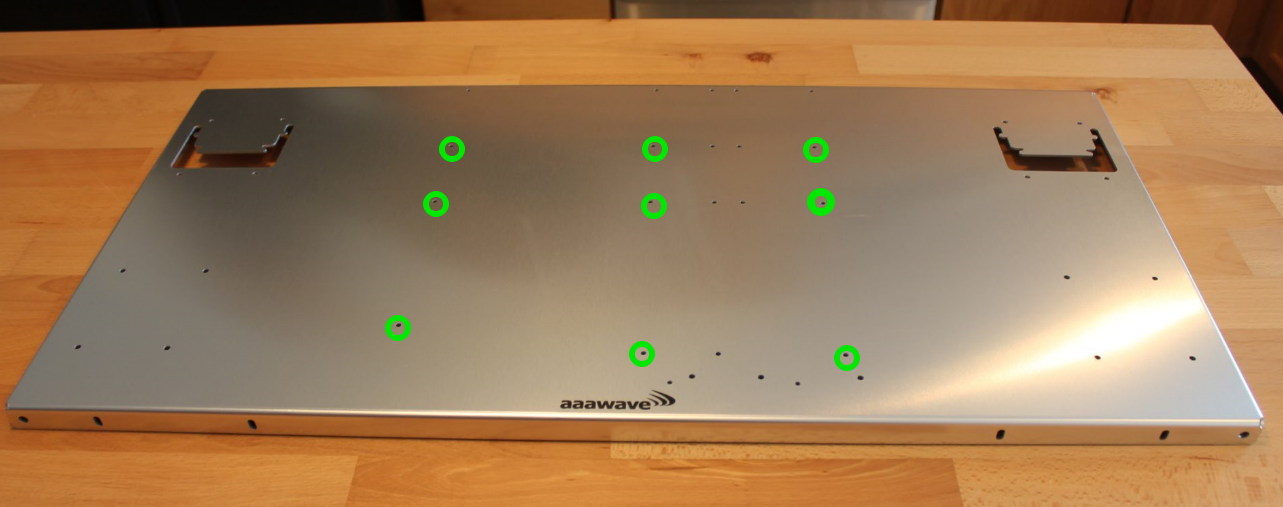
This is where the standoffs would go to fit my Motherboard (Asus Prime Z270-A). Yours may be different.
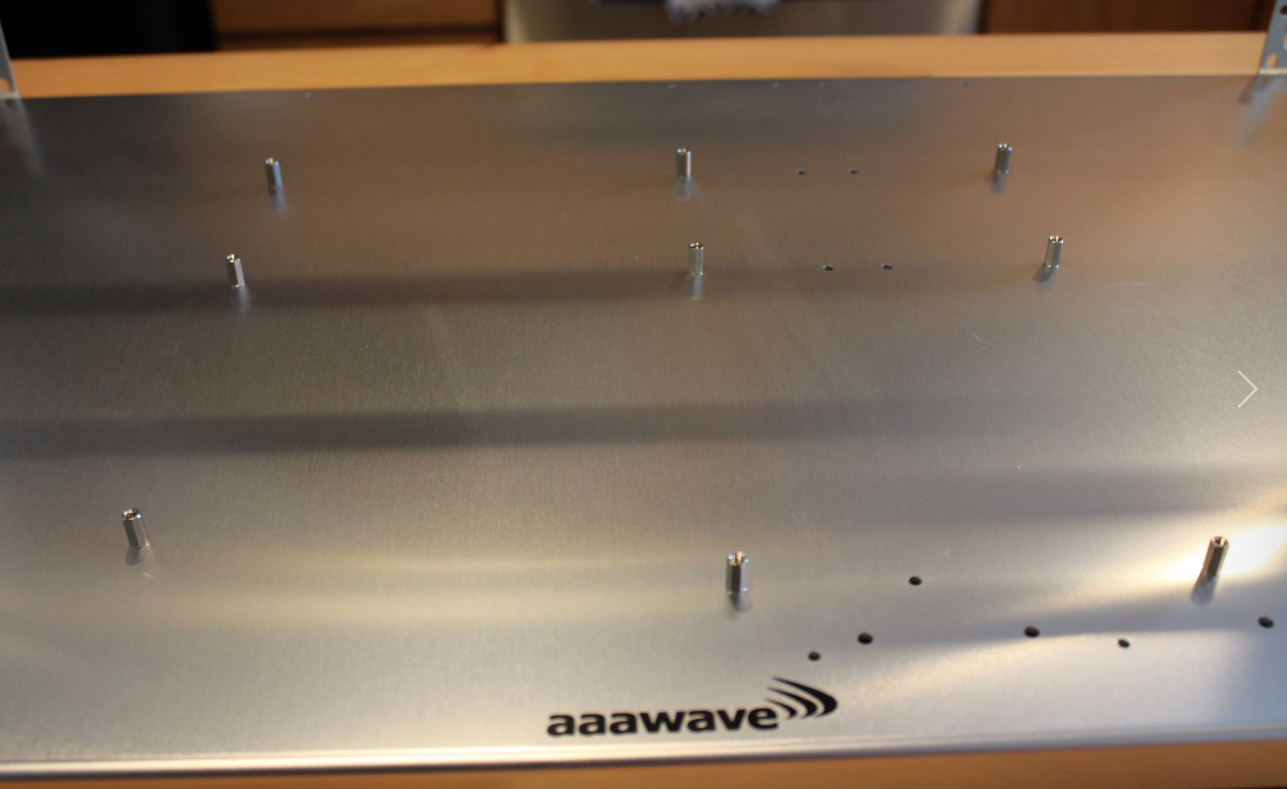
Motherboard Standoffs installed
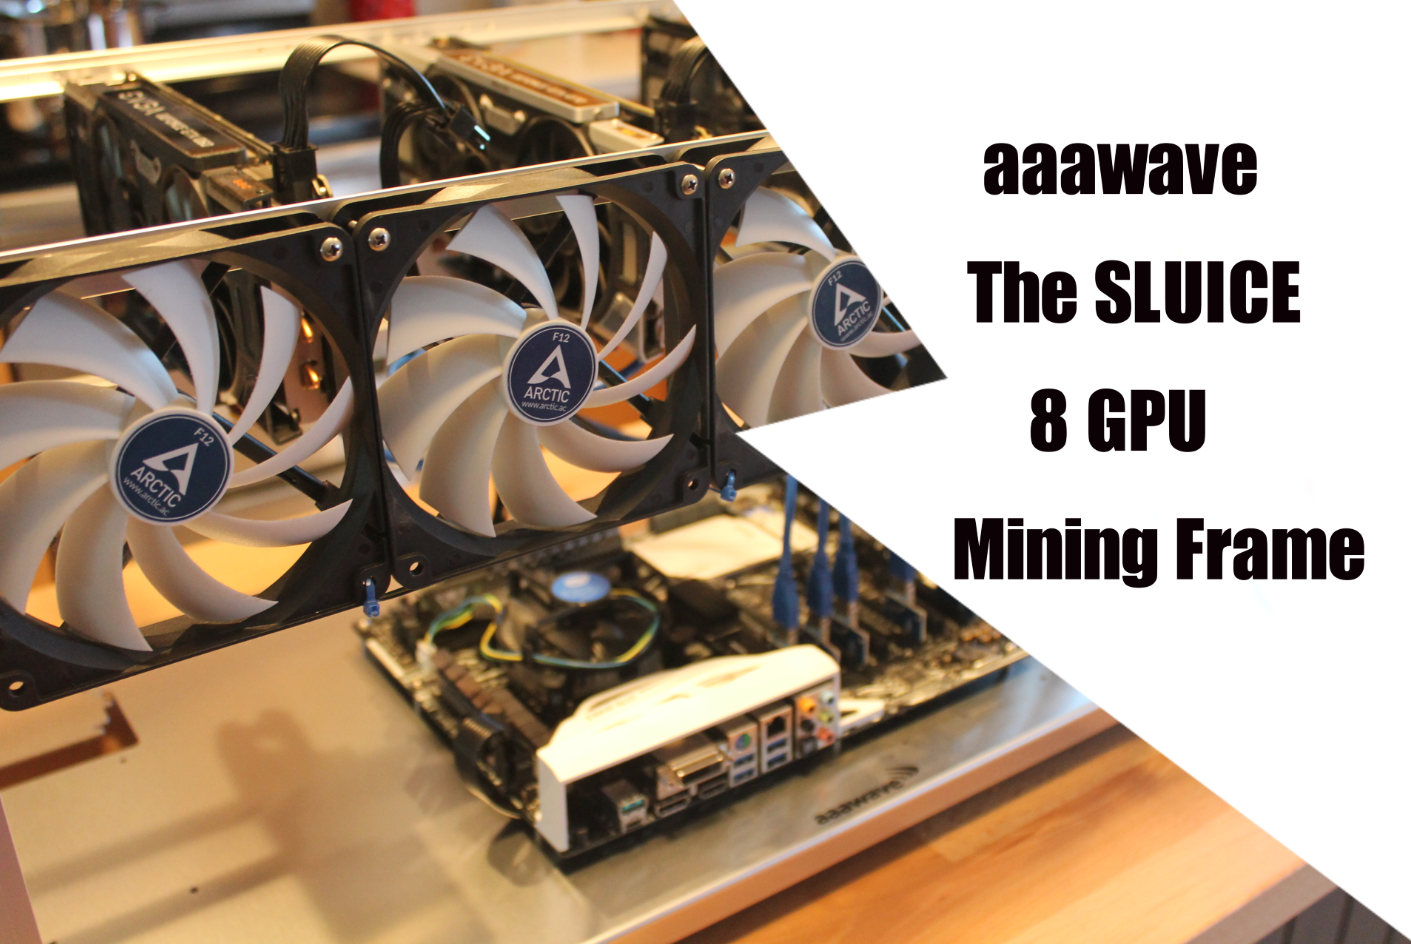
At this point I was pretty much done with the assembly. I spent more time snapping pictures it seemed then actually doing anything. This was a seriously fast frame to build. I could easily do it in 30 minutes. If I was in a hurry I could probably build it in 10- 15 minutes after doing my first one. So I went and tightened everything up and figured I had a decision to make. Do I transfer my rig onto the new frame and keep going, or should I call it good. Which do I like better. So I grabbed my “Dredge” mining rig put the frames side by side to look at them. One thing about the Dredge is it is very sturdy and I have no problems carrying it from room to room. (Although it is pretty heavy with all the cards on it and the power supply.)
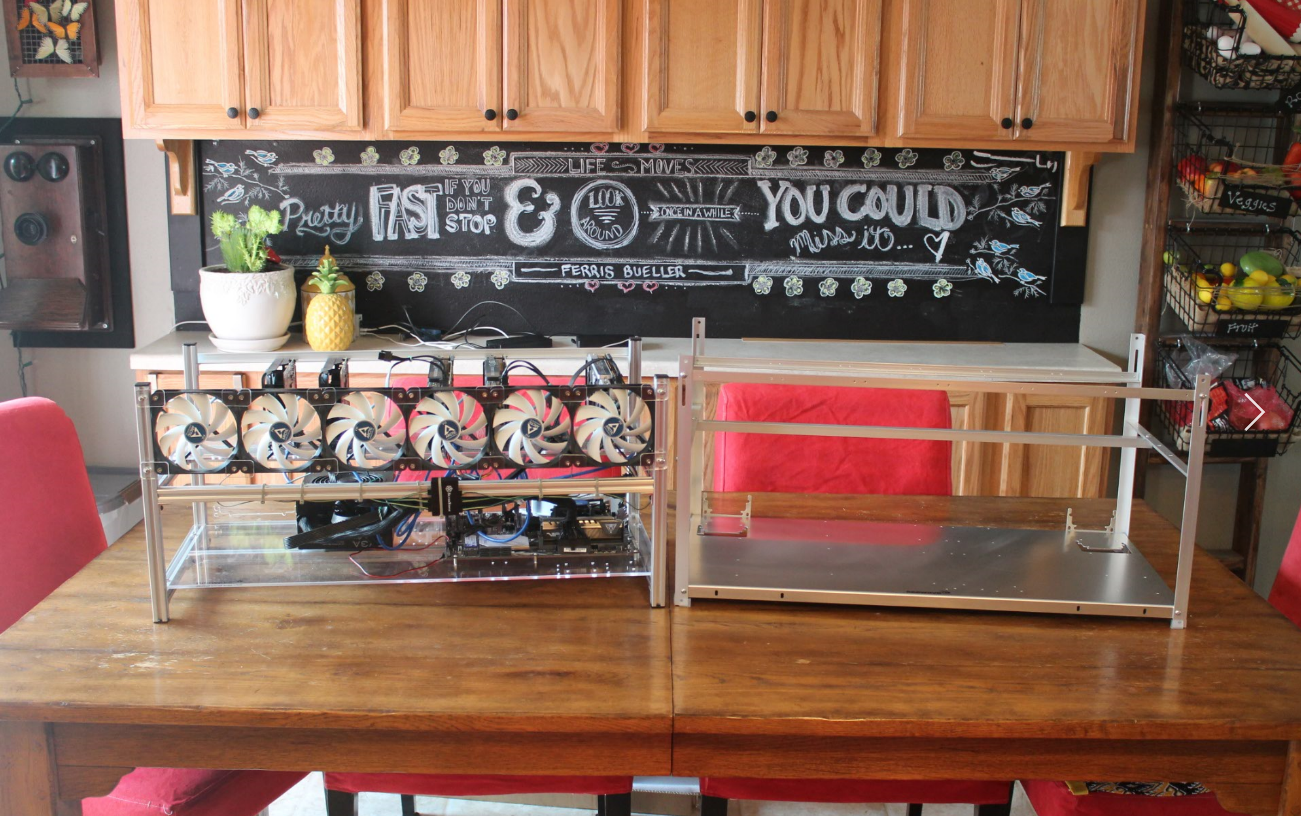
My first thought was I like look and feel of the metal base plate of the Sluice. I also like the position of the motherboard to the center of the base plate in the Sluice. But I like the look of the thicker bars in the frame of “The Dredge”. The Dredge![]() looks a little beefier and tougher with those big aluminum bars. Really they each have their own look and I like them both. Its like comparing a Range Rover SV to an Audi R8. (Of which I don’t own either, as they are not anywhere near my budget.) You can read my review of the 8 GPU Dredge model HERE.
looks a little beefier and tougher with those big aluminum bars. Really they each have their own look and I like them both. Its like comparing a Range Rover SV to an Audi R8. (Of which I don’t own either, as they are not anywhere near my budget.) You can read my review of the 8 GPU Dredge model HERE.