Assembly continued.
I slid it down and then added some more Q9 standoffs to this layer.

Now I added the top video card anchor bar thing again. Using two Q7’s and angles.
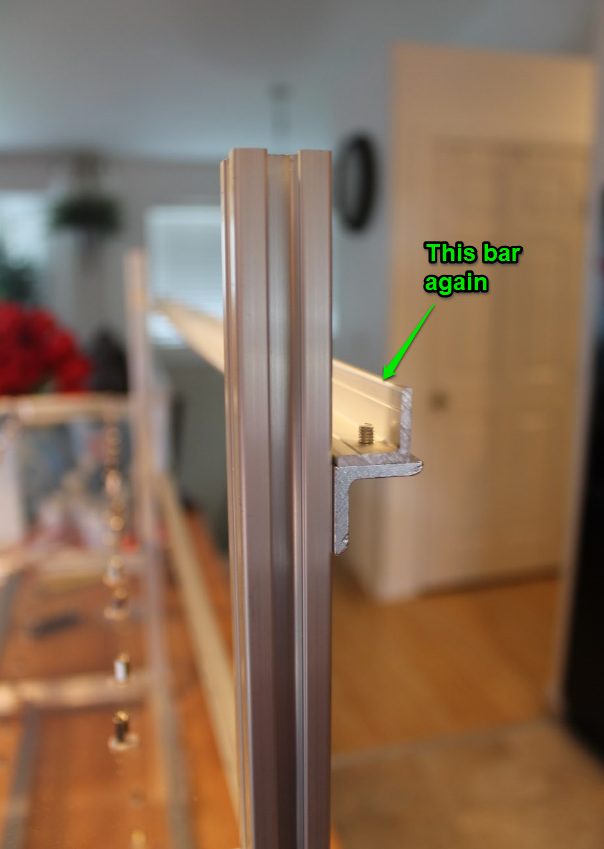
Now to add the last D3 bar. First I mounted a couple angles on it like below.
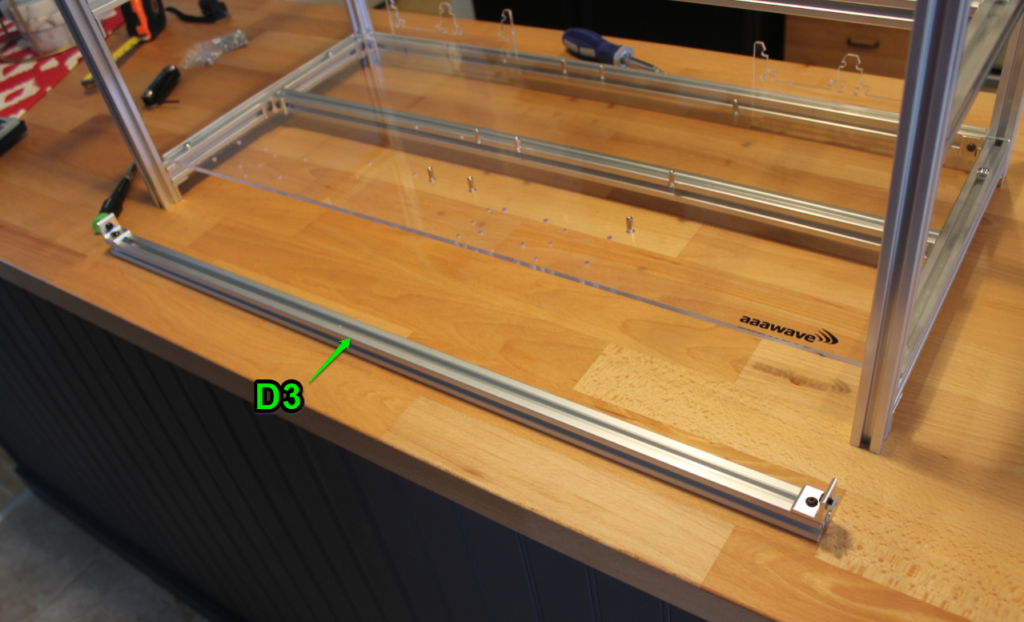
Slide the new D3 bar down from the top.
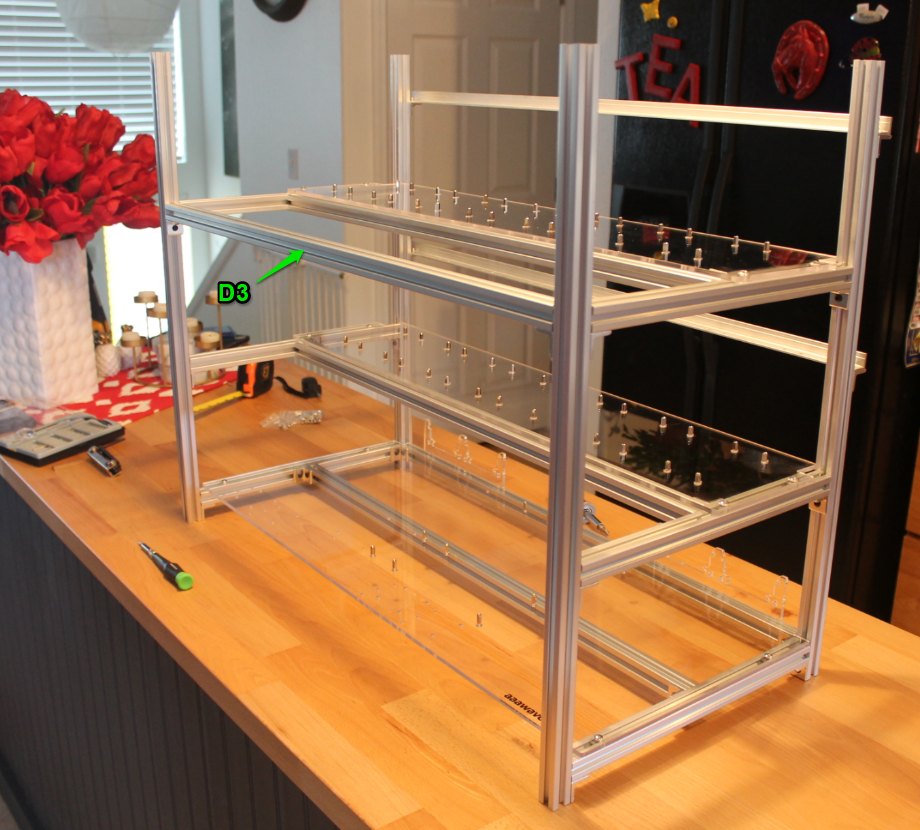
Add the plastic feet to the top and the bottom.
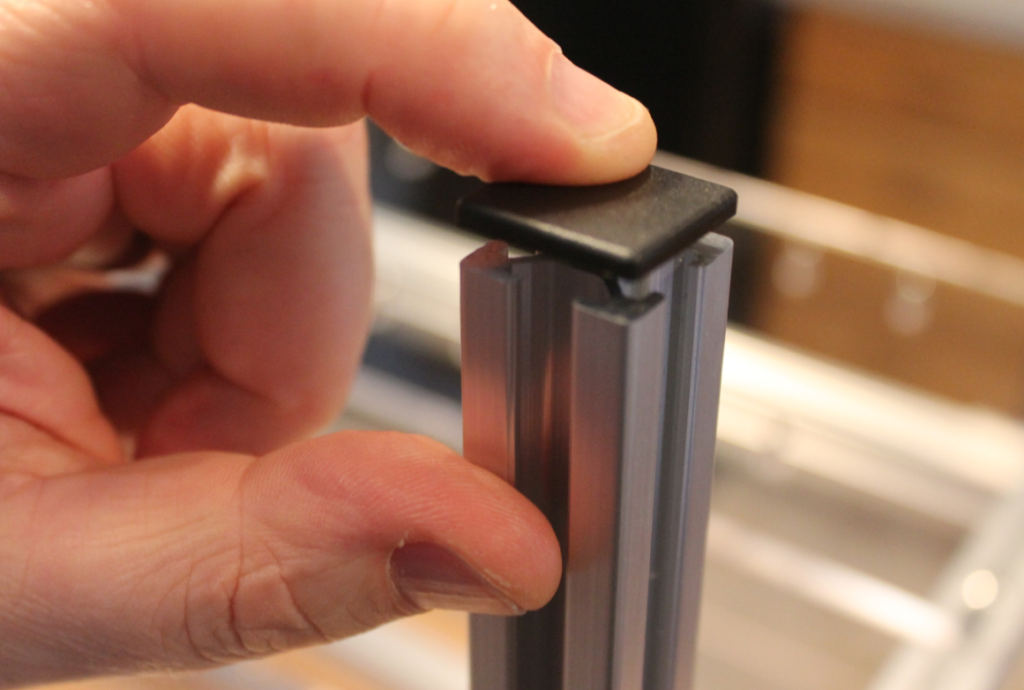
All the feet added to the top and bottom.
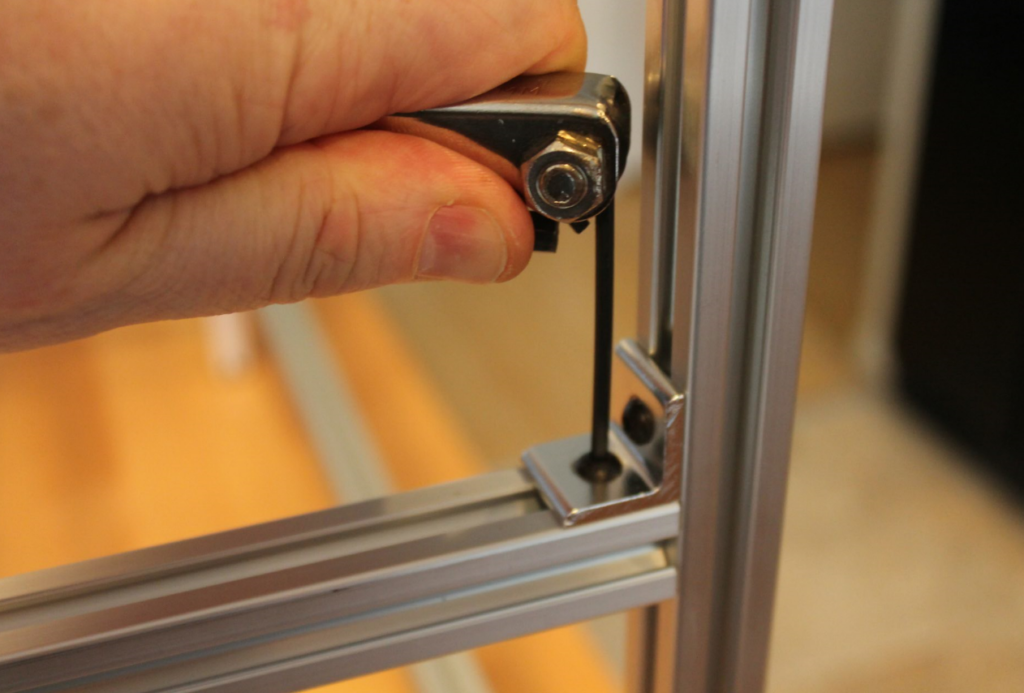
Now that I had it upside down I went ahead and gave everything a good tightening.
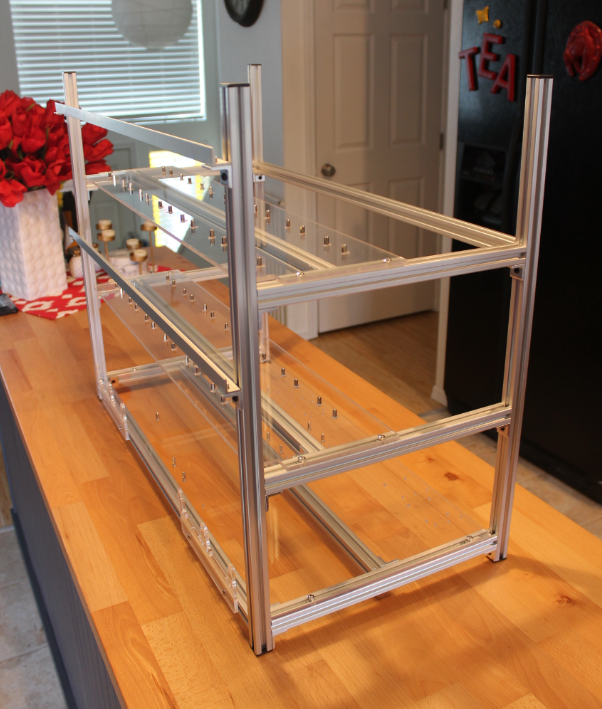
That’s it! She is done!
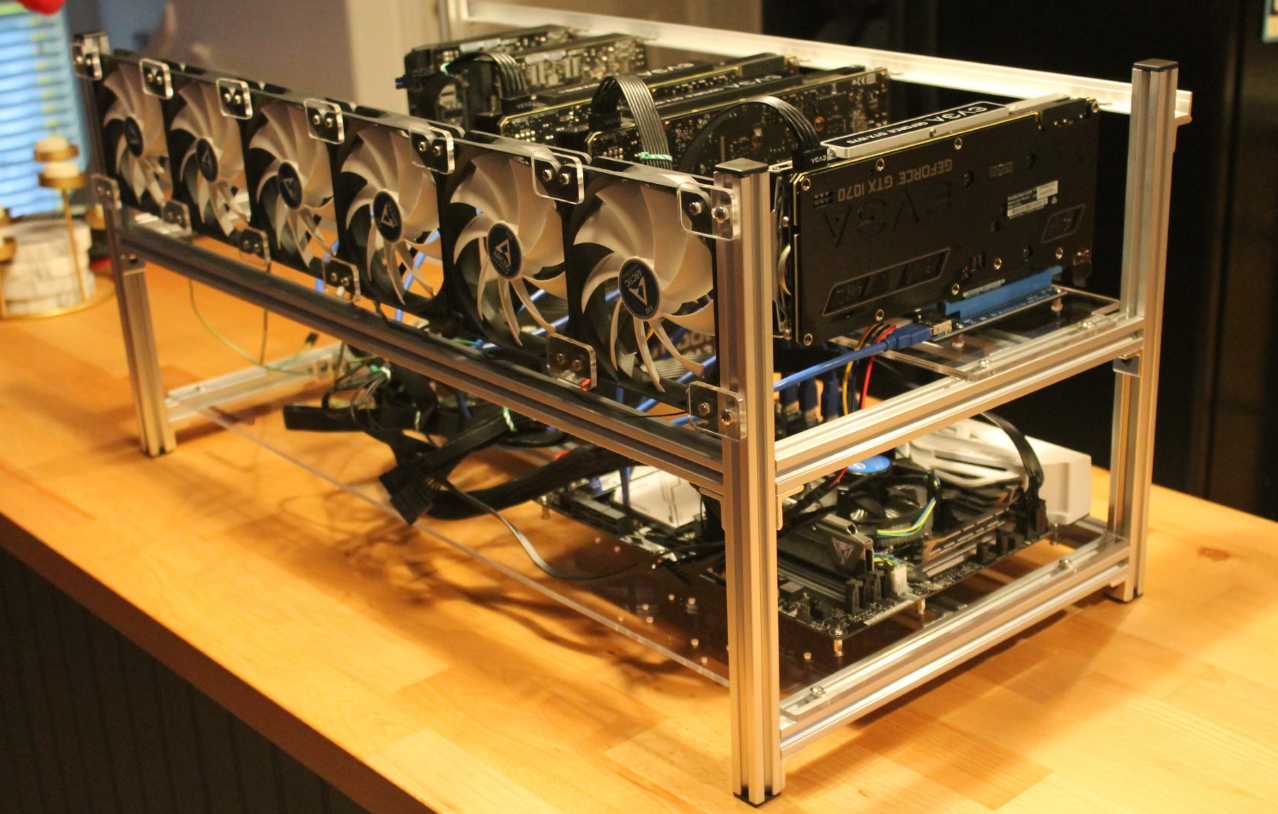
Here is what the final product looks like. I wish that I had more mining gear to fill this one up right away for the review. I may end up transferring my equipment to this frame. I just need to get some fans first. I really like the double stack design.

SUMMARY
I wanted to mention a few other things about the frame. I really like the stability. It really is a solid frame. I haven’t had any issues with my 8 GPU frame and have moved it between rooms with everything still installed on it. I also like the fact that you can stack these frames if you decide to add more rigs to your place. You can see in the packaging that they really take care of making sure its protected and you get what you need. Nothing frustrates me more then missing parts. I feel like they really try to make sure that never happens. Also included was a power switch for your motherboard which is a nice touch. Anyways, I really recommend you check out these frames if you are getting into mining. I went for a while with my “Handmade” frame, but in hindsight I wish I would have known about these sooner.
Here are the Dimensions for the 14 GPU unit I just put together.
30″ x 15″ x 23 7/8″
(It was really about 14 1/4 deep, but I counted the Video card anchor bar that hangs off it on the front in the dimensions above.
Happy Mining!

