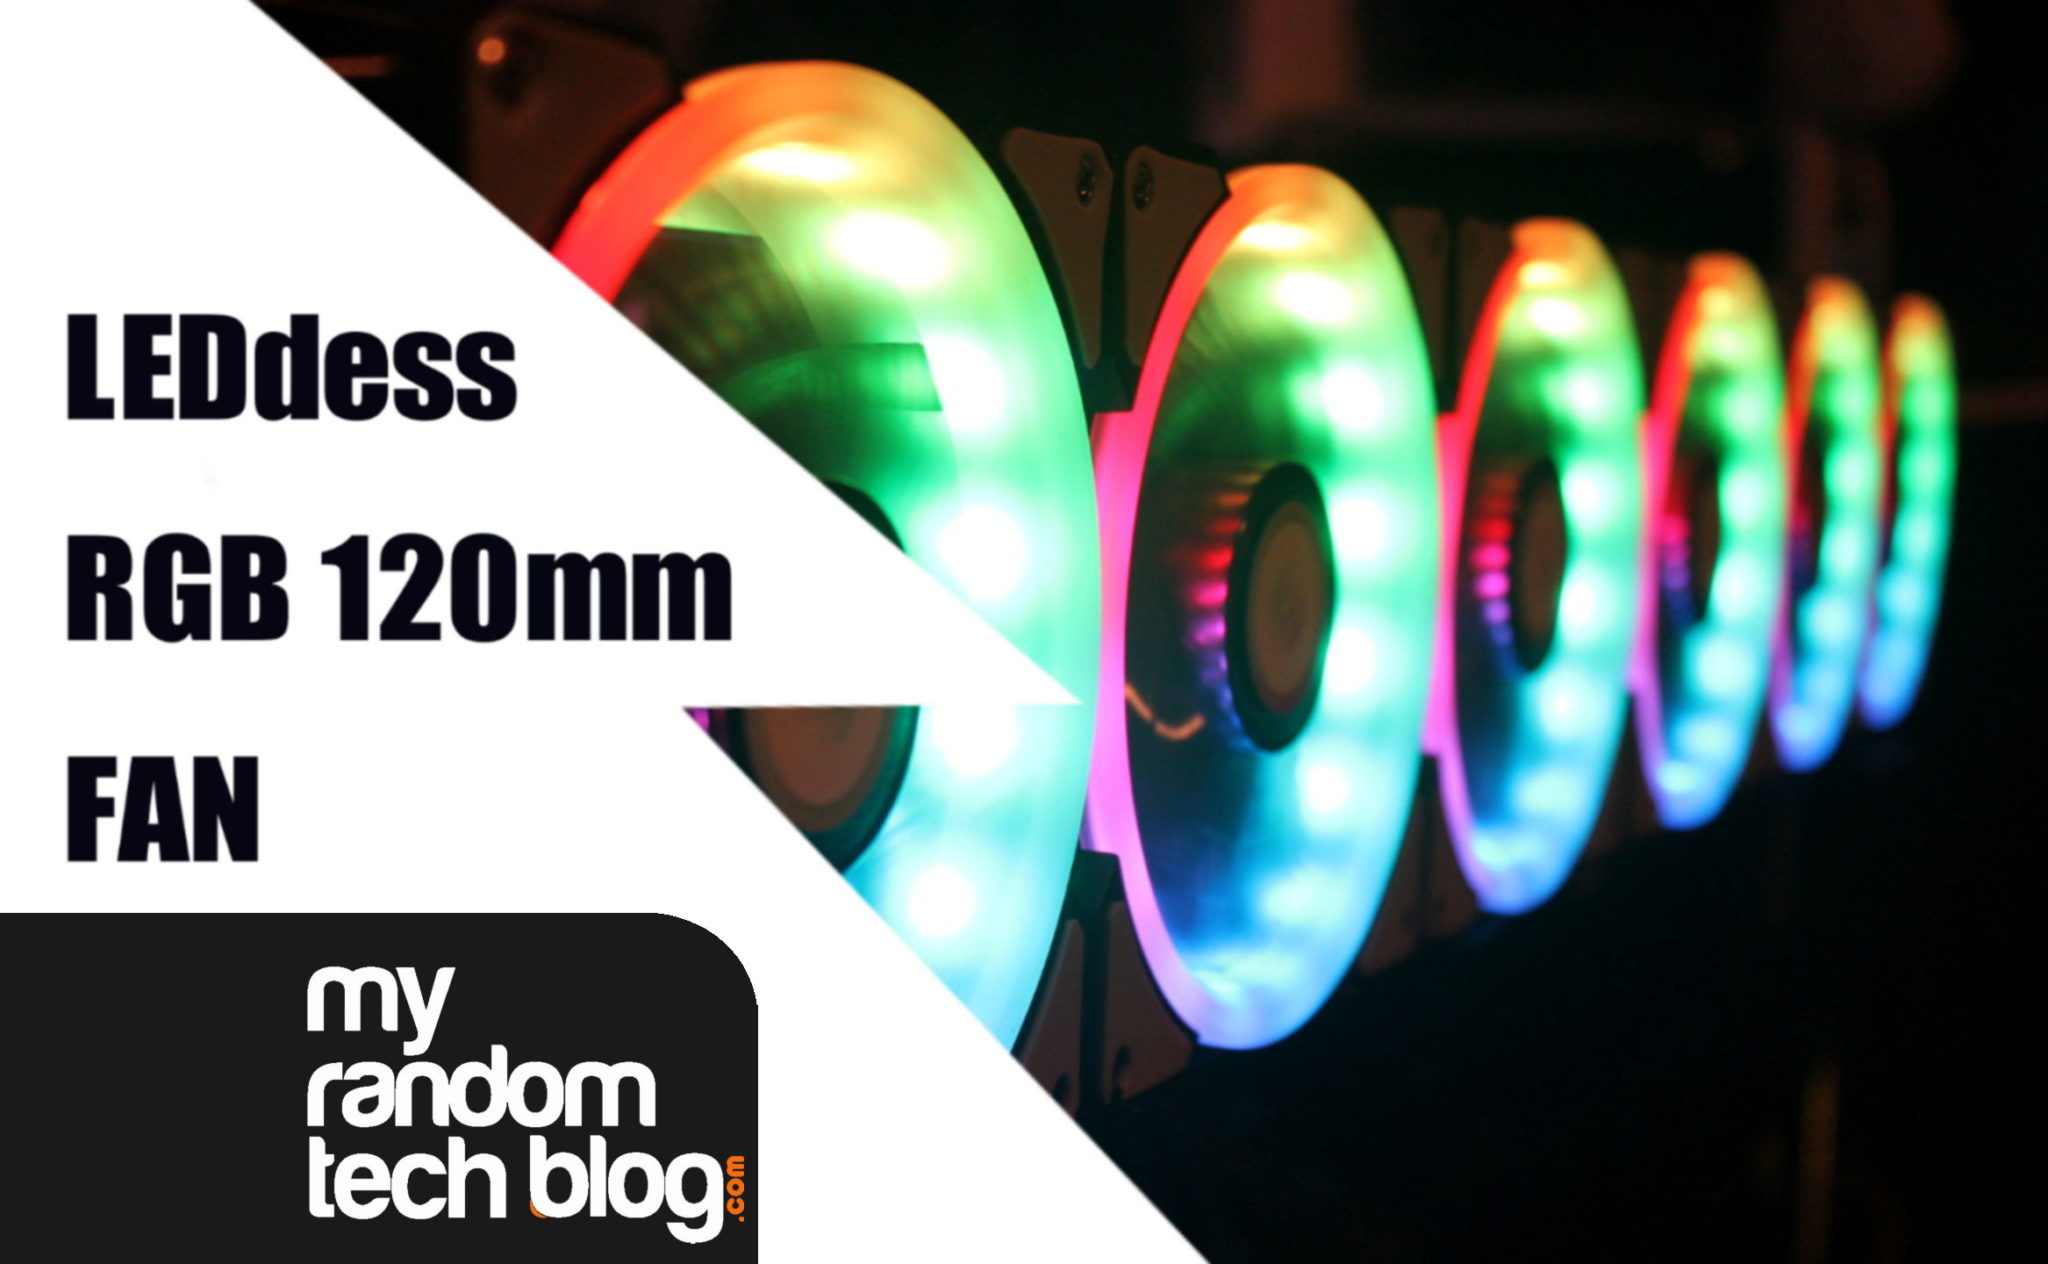
I decided to do a quick review of some upHere RGB RAM heatsinks I just purchased for my sons computer. I had just recently added 6 of the LEDdess RGB fans to his PC and it was mentioned by someone on my video I made that I should check out RGB heatsinks. What a great tip. These are a great way to update an older PC like my son’s that still use ddr3 ram.
Disclaimer: This post is for entertainment purposes only. I am pretty sure this will void any warranty you have on your ram. You may damage your equipment or injure yourself. I am not responsible for any damages or injury.
Ok, on to the review. Here is what you will get in the package. I purchased the kit for two sticks of Ram, but they also sell a single stick package. For reference I am installing them on some older DDR3 ram.
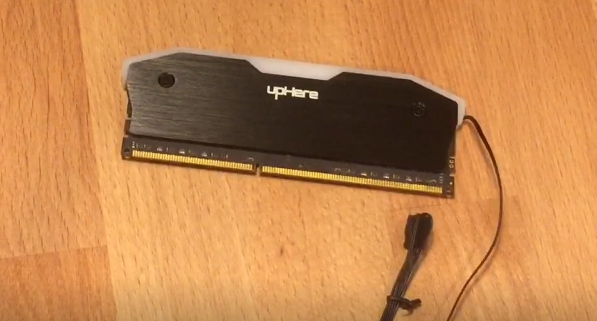
This is the kit I am reviewing HERE. As you can see it came nicely packaged and included thermal pads for both sides of the ram. Also a foam spacer if your ram only has memory chips on one side. And the RGB heatsinks. Again this I bought the kit for two sticks of ram.
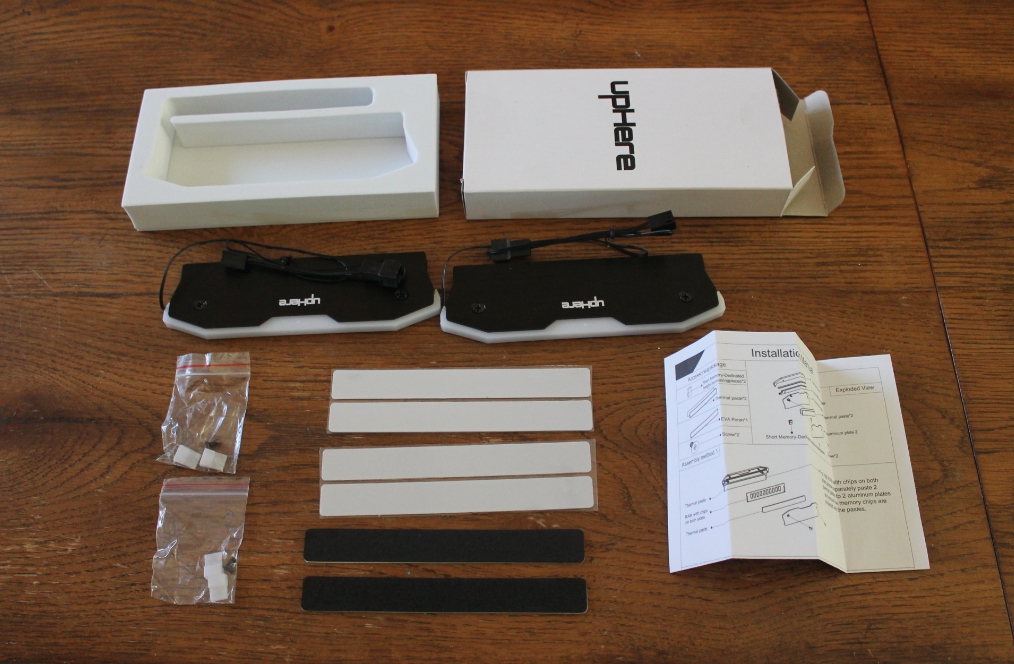
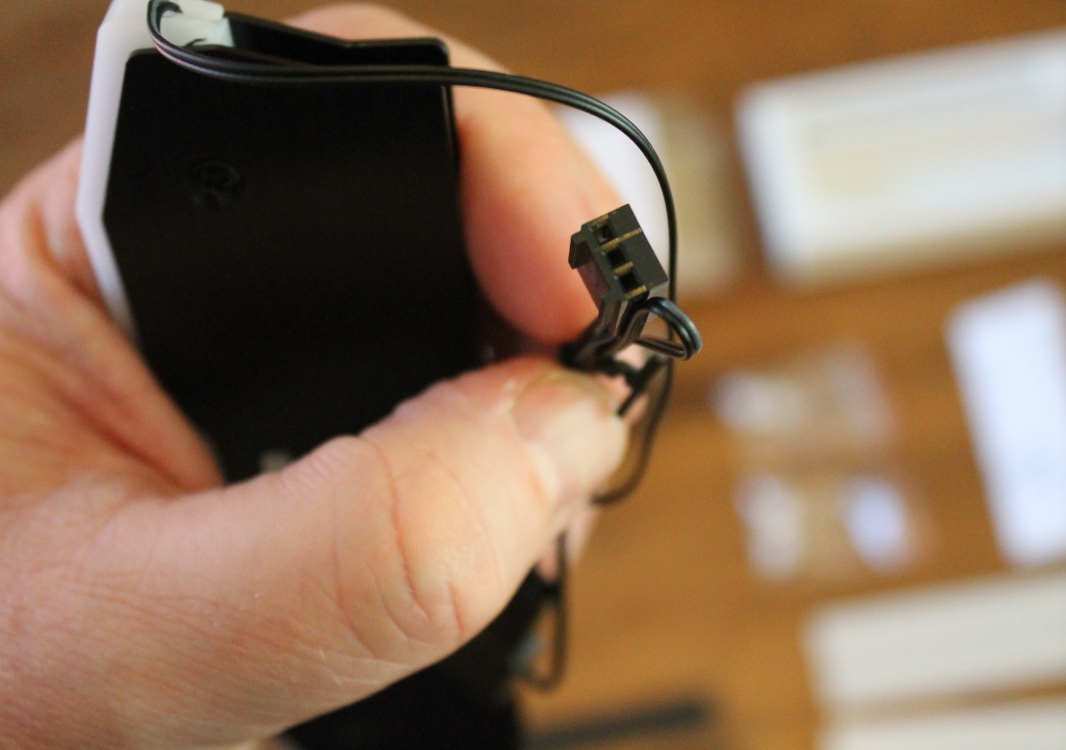
The kit offered a few color choices, but I went with Black for the face of the heatsink. They also had Red and Silver. Here is a couple closeups of the heatsink. It uses a 3 pin fan connector for power. It had male and female connectors so you could daisy chain the pair.

Here is the connector. The cable seemed sturdy enough and the length seemed fine for me.
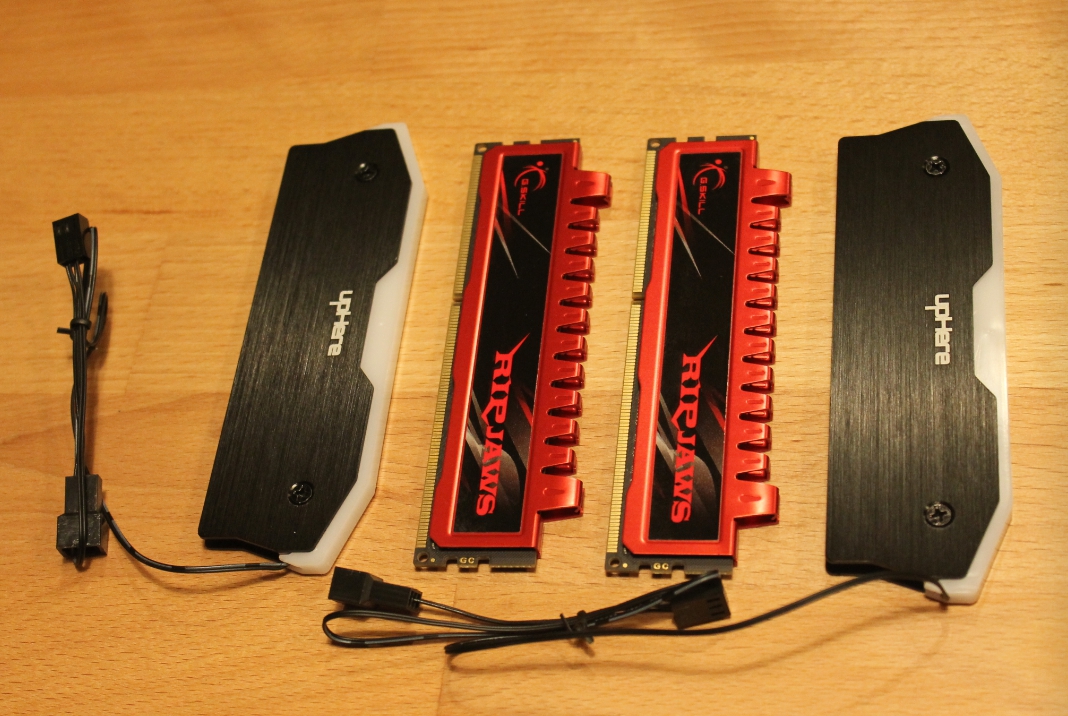
These are the Ram sticks I was putting them on. DDR3 G.Skill Ripjaws
Installation
To install these, please follow the included instructions. I was kind of a hurry and just grabbed a heat gun and heated up the ram and started pulling off the old heat sink. To be honest this was the hardest part and I feel I was probably a little too aggressive and possibly bent the board a little to much. Also I did not use any ESD protection and was touching more then the sides like I usually do. Those original G.Skill heatsinks were really stuck on tight. Also I am pretty sure removing them like this would void any warranty. If these were fancy new ddr4 sticks, I probably would have been more careful. That being said, they still worked fine once I was done. But if I was doing a new build, I would probably just save the hassle and either buy ram with no heatsinks and install these, or pay the extra and buy RGB RAM.
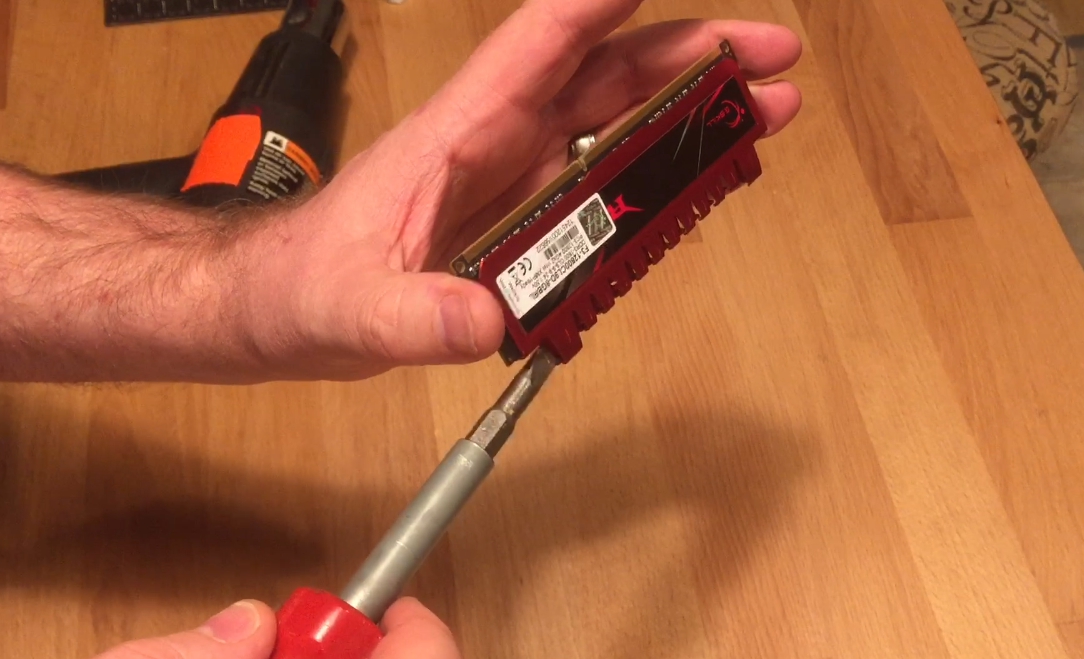
Removing old heatsinks
These had a clip on the end and I used a screwdriver to open that clip, I did not press the screwdriver again the ram board to avoid damage.
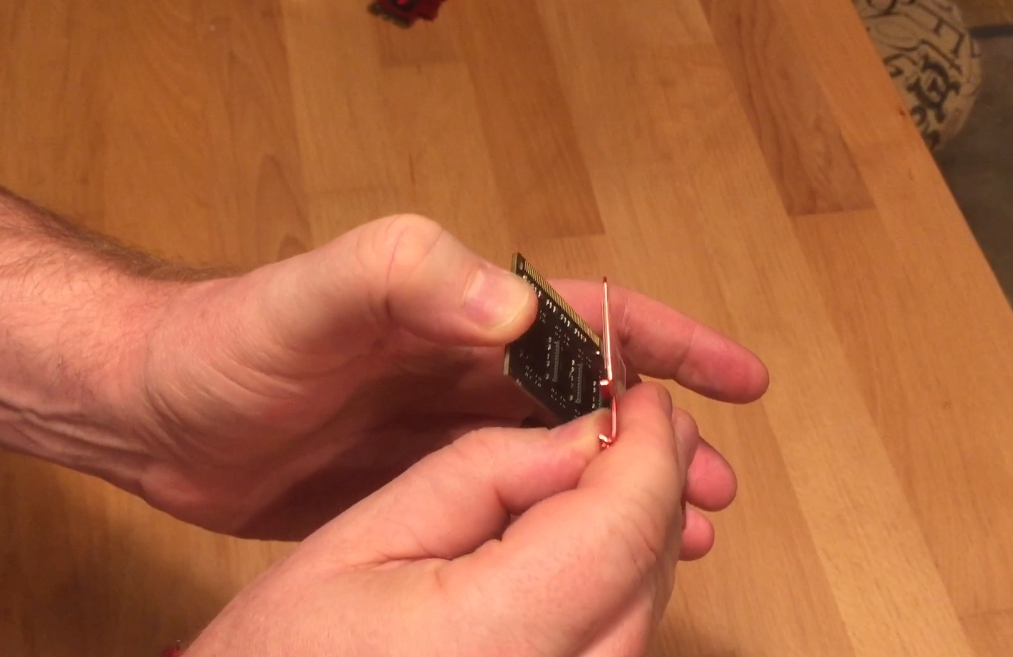
Then I pulled up the metal heatsink while trying not to bend the circuit board. They were stuck on tight. I did flex the board a little more then I wanted to. But these were really stuck on well.
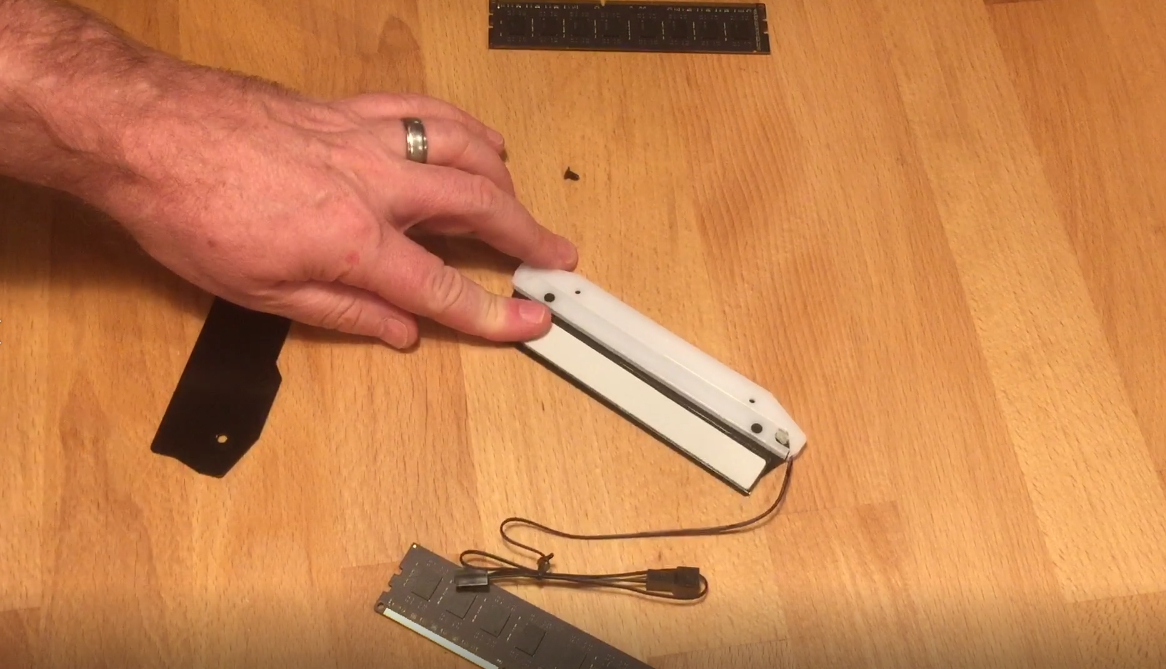
Installing RGB heatsinks
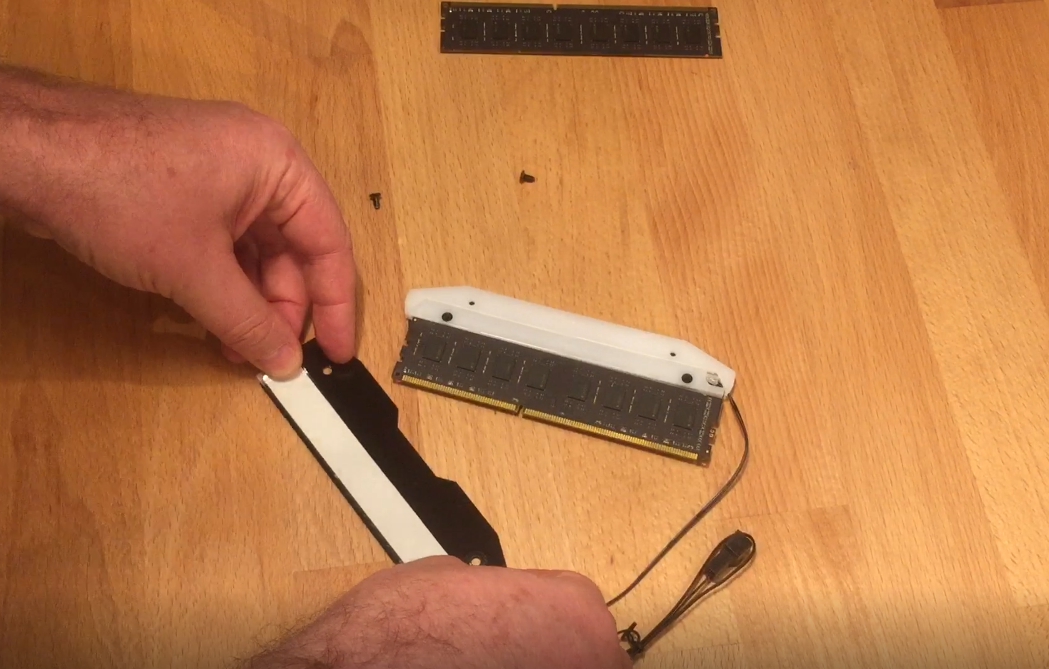
Once the original heatsinks were removed it was a piece of cake. Just add the thermal tape to both sides of the new RGB heatsink and then install the ram. Here I am applying the thermal pad.
Then press the ram into place. One thing to watch out for is making sure you position your ram in the heatsink according to how you want the power cable to be routed. I checked and wanted the power cable by the long end of the ram pins for better cable management on my Motherboard.
Here is what it looks like with the stick installed.
ISSUES
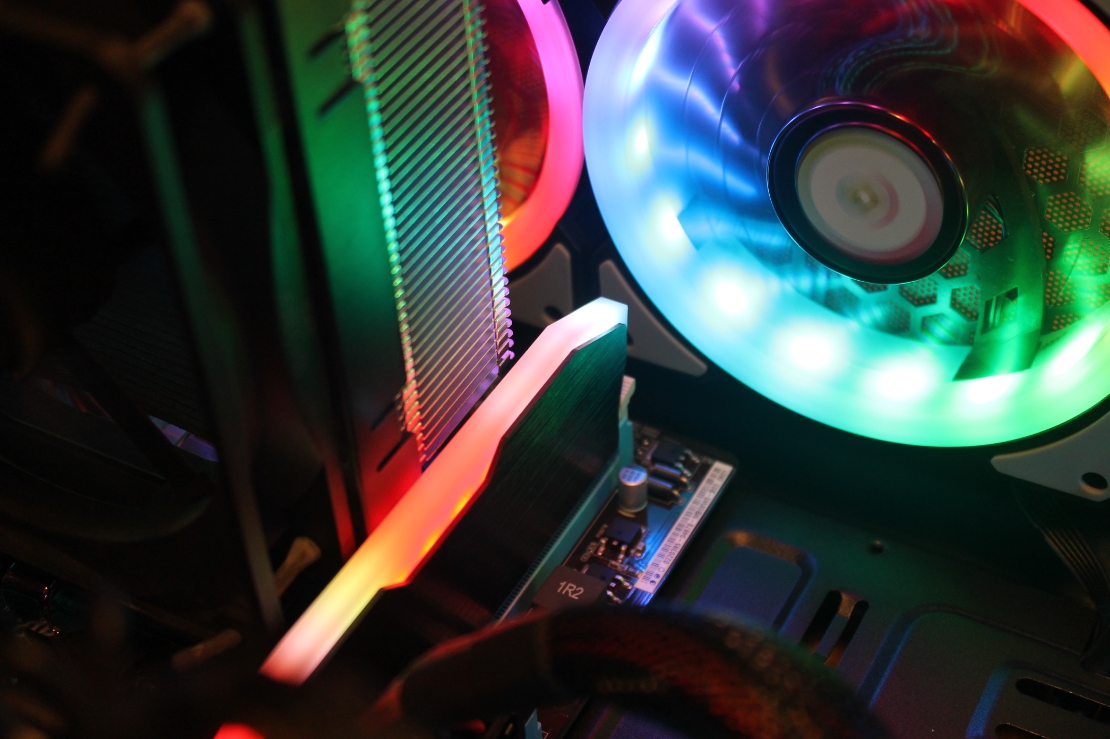
Now I did run into a couple issues when I went to install them. First they were taller then my existing ram, and I was only able to mount one stick as the other conflicted with my CPU cooler. So I ended up having to swap out my sons CPU cooler with mine which was smaller to get both sticks to fit. So you may want to verify you have clearance before buying these. Second, I tried to use a molex fan adaptor to power these and it didn’t work. I didn’t troubleshoot it to much as when I plugged them into my 3pin chassis connector on my motherboard they worked fine. So it may have been user error or a cable issue on my part. Either way when I plugged in that first stick to test it here is what it looked like. We were so pleased with the look, we went and swapped out the cpu cooler with a smaller one I had to be able to install the other RGB ram heatsink.
CPU cooler swap
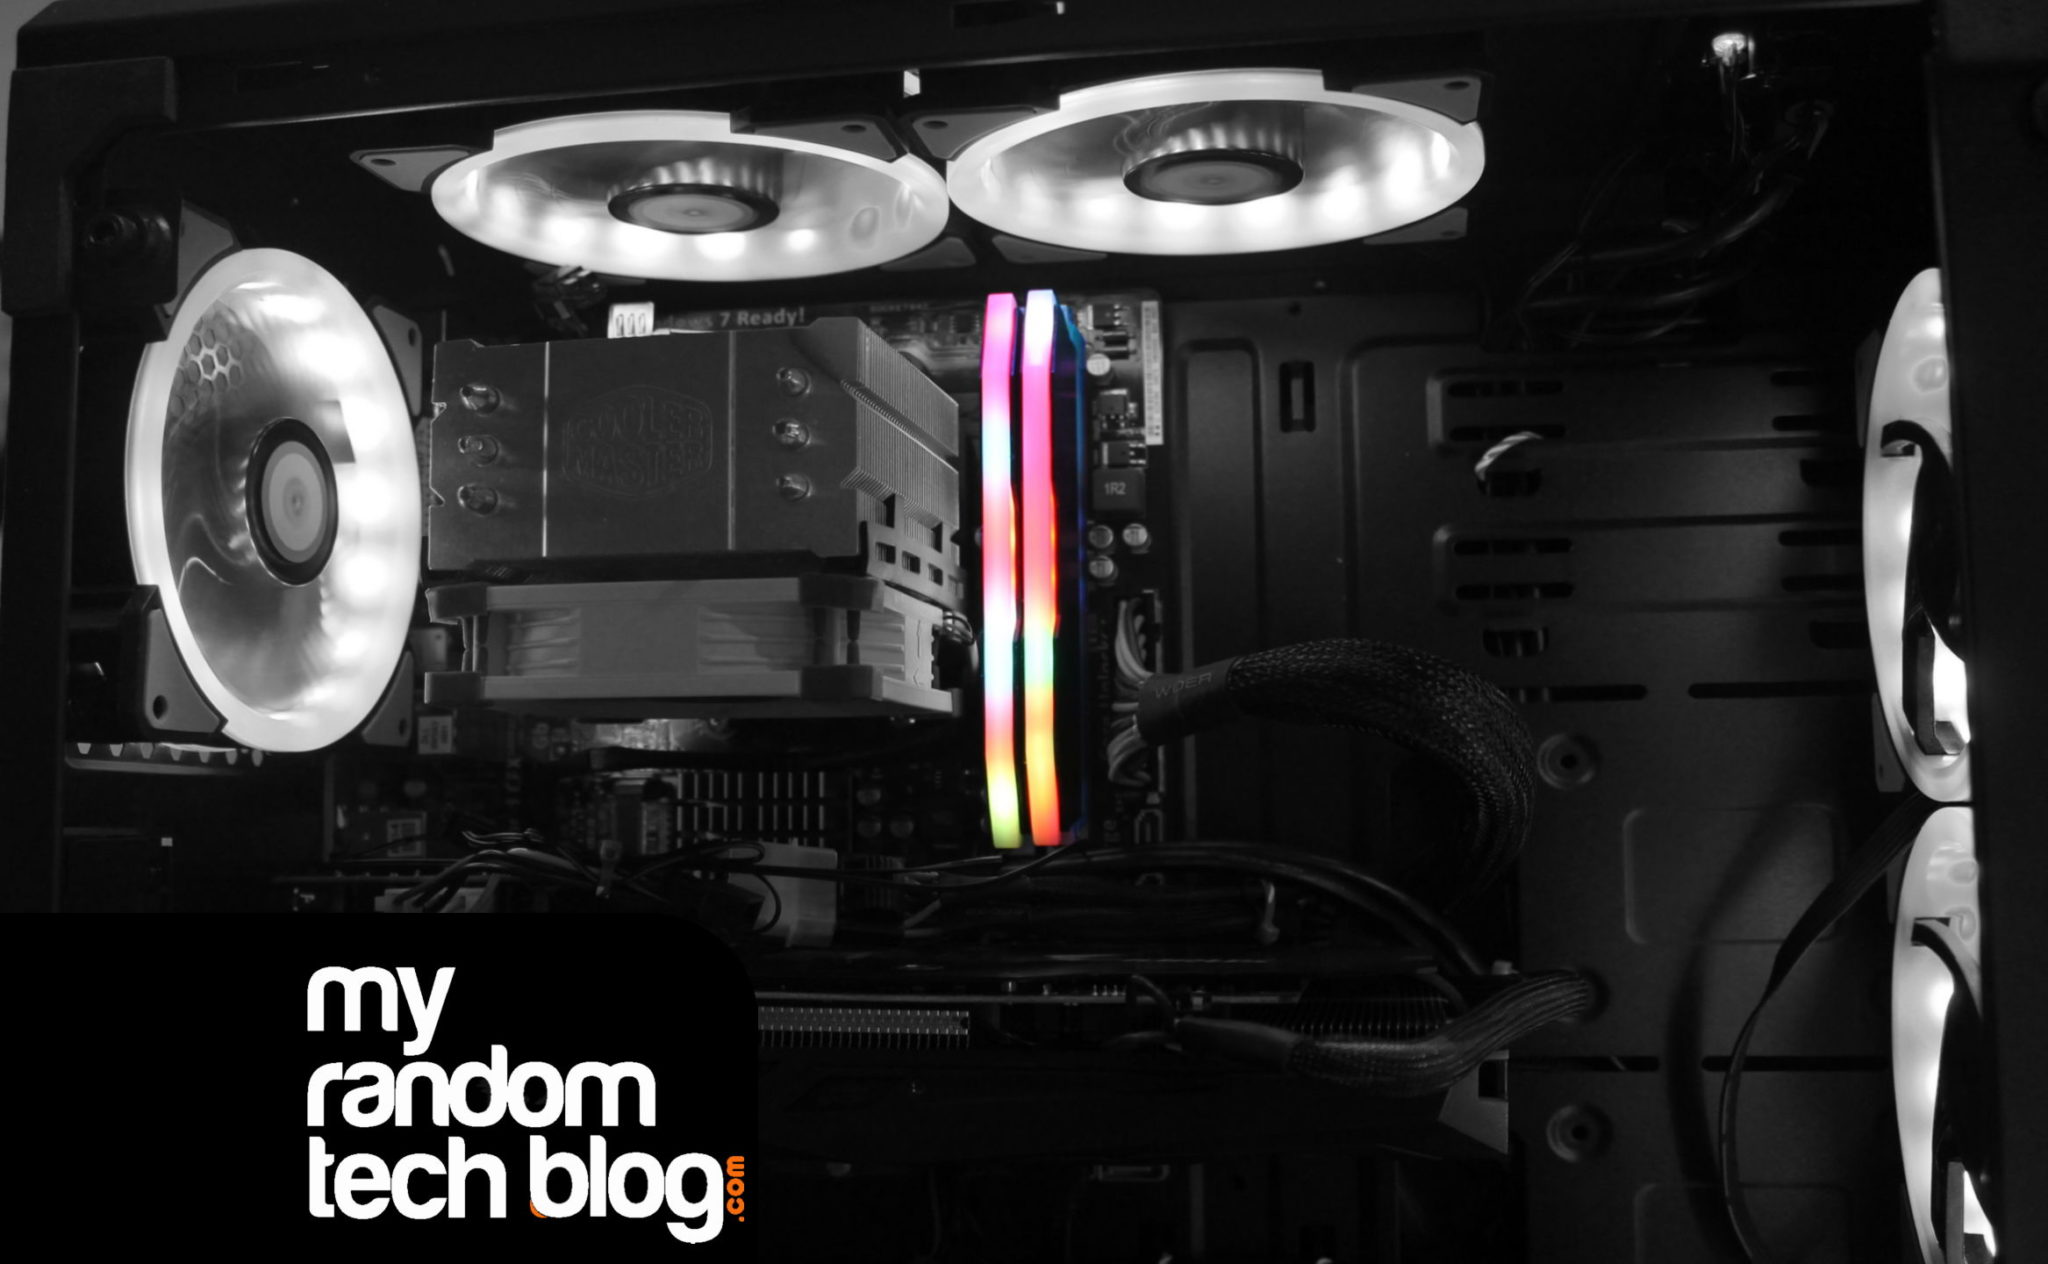
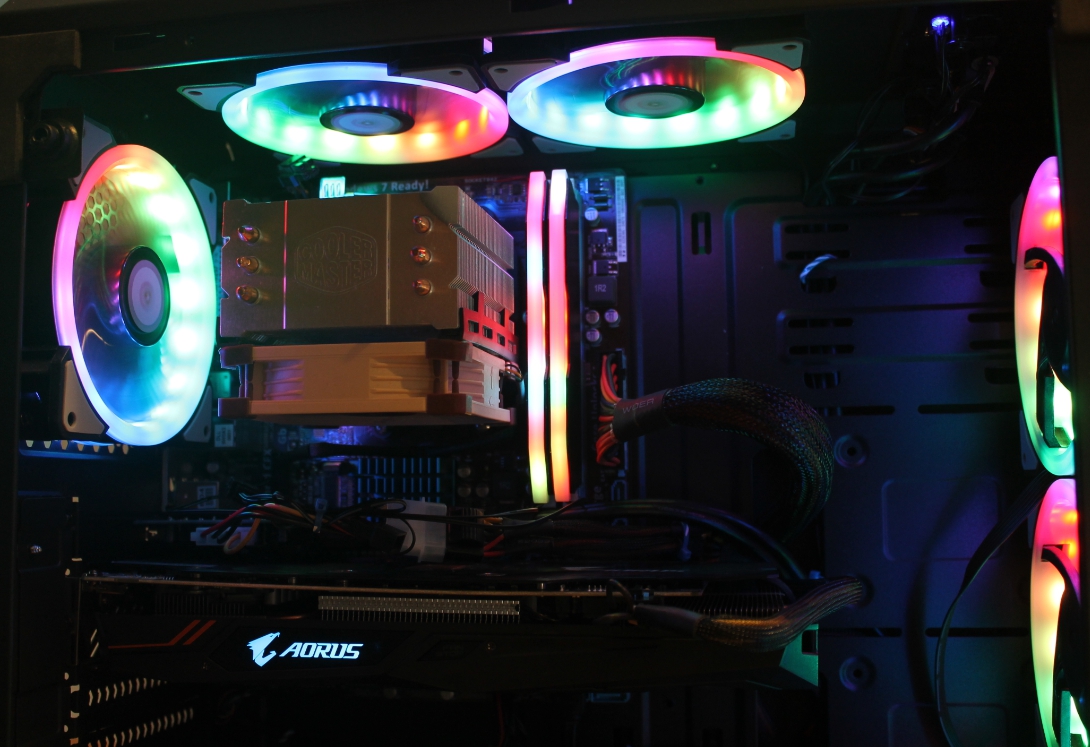
I wont bore you with the CPU cooler swap, but if you want to see the full installation you can check it out HERE. The picture below is what they look like after plugging them both in and powering them up after swapping the heatsink to make both fit. I have to say I was really pleased with the look. The camera really didn’t do it justice. They look REALLY good. and for the price I thought it was a great deal. It was like a DDR3 RGB ram upgrade for a fraction of the price. (Do they even make DDR3 RGB ram?). As for the swapped smaller heatsink. The plan is to swap it out with something better looking soon. Maybe even a water cooler. But its working for now.
Summary
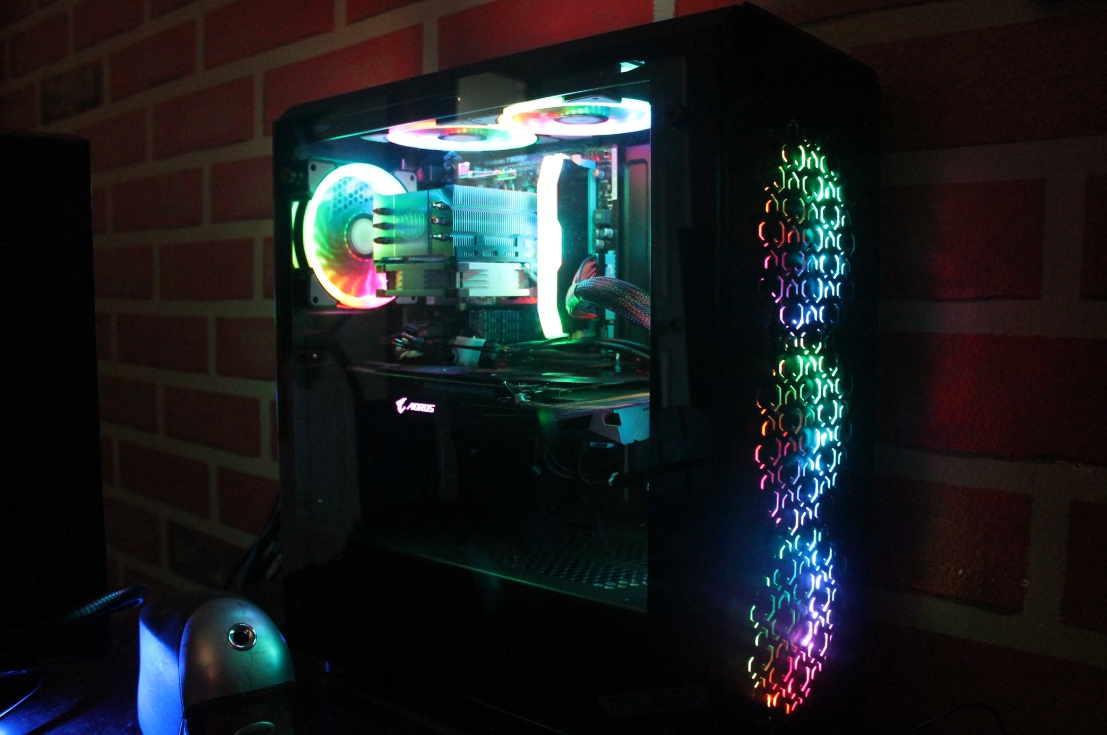
We were really happy with the RGB RAM heatsink kit for the price. I paid around 15 bucks for the pair, but the price can fluctuate. They have a nice color and auto change. I really like how they do not stay a solid color but the sticks seem to breath color. But that also brings a downside. You can not set it to stay a certain color. So you get the rainbow effect and that is it as far as I can tell. It is what we wanted so we are fine with it. And for the price it was worth it to us. In the picture you can see these are paired up with a set of LEDdess RGB fans that I did a review of HERE. I thought they were a good bargain at under $50 bucks for 6 RGB fans with color control.
For reference here are the links to the RGB heatsinks:
RGB HEATSINKS
Here is a picture of how the case looks now. This was the case from the $29 PC makeover. If you look at that article and see the original state of this PC and now for ~100 bucks for a case, RGB fans and RGB ram how much better it looks. Its pretty amazing.