After installing a set of LEDdess fans in my sons PC and really likeing how it turned out, I had been looking for a new CPU cooler that would look a little better. The nice folks over at LEDdess sent me one of their new RGB CPU coolers to review and check out.
Disclaimer: This post is for entertainment purposes only. Any work you do on your PC is at your own risk. This product was supplied to me free of charge. That did not influence the opinion in the review.
The LEDdess RGB CPU cooler
Here are the some of the details I found on the LEDdess RGB cooler I am reviewing. One of the things I really like about LEDdess is their price point. They really do have great prices on their products.
This is the link here to the one I am reviewing : LEDdess CPU cooler
- It uses an aluminum heatsink
- Fixed color RGB
- Hydro Bearing
- 40CFM / 25dBA
- Can be used for Intel and AMD (Although AM4 is not listed. See the link for specific chipsets)
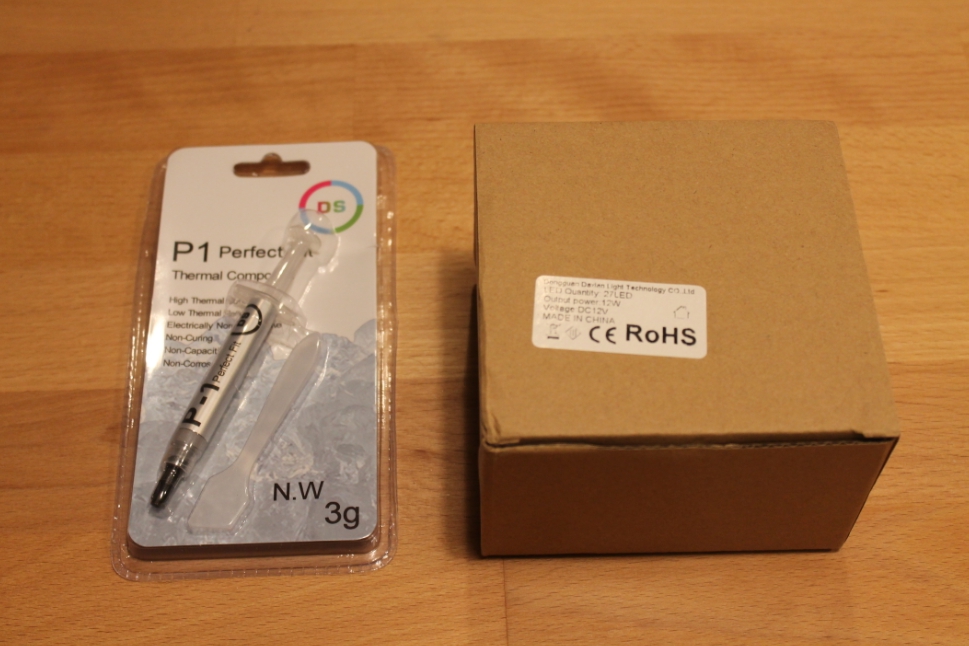
I also see they are offering free their brand of DS Thermal Compound if you buy on Amazon right now. They also included this Thermal Compound in their package to me.
Here is the packaging:
What’s inside the box. You can see it contained the CPU cooler along with the Intel Bracket and pins.
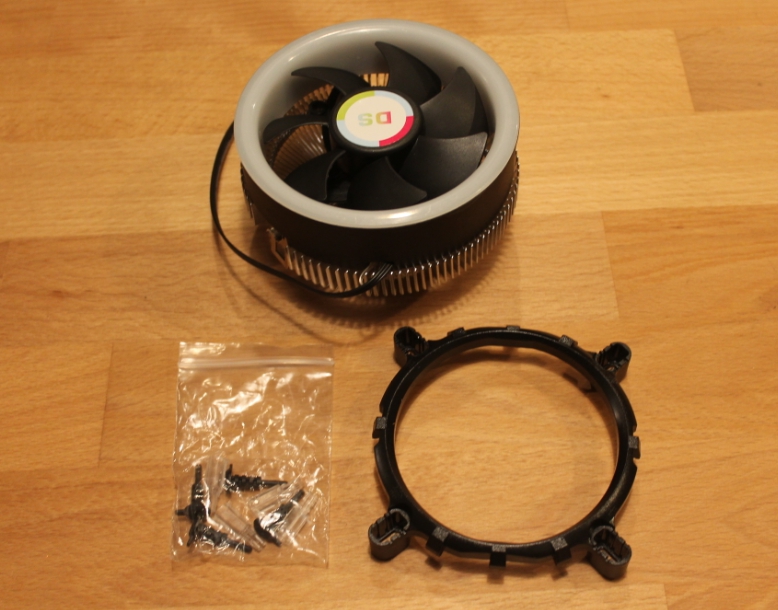
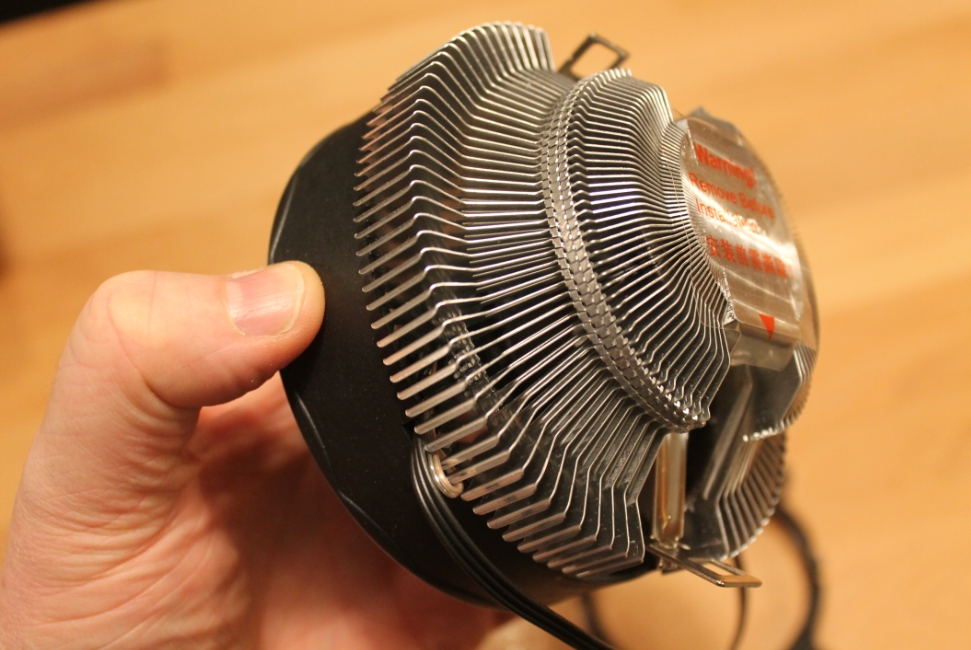
The CPU cooler was all aluminum, and was not that heavy. While in the past I had liked my CPU coolers to have a nice heft to them and lots of copper and aluminum, now I prefer them to be somewhat light. (I just had to replace an AMD bracket on another PC as the heatsink was too heavy and broke it.) So I was happy with the weight of this.
One thing to note in the above picture is no Thermal compound was preinstalled. I find this a plus as usually I replace the preinstalled pad with my own thermal compound of choice. In this case I am trying out their new DS branded compound.
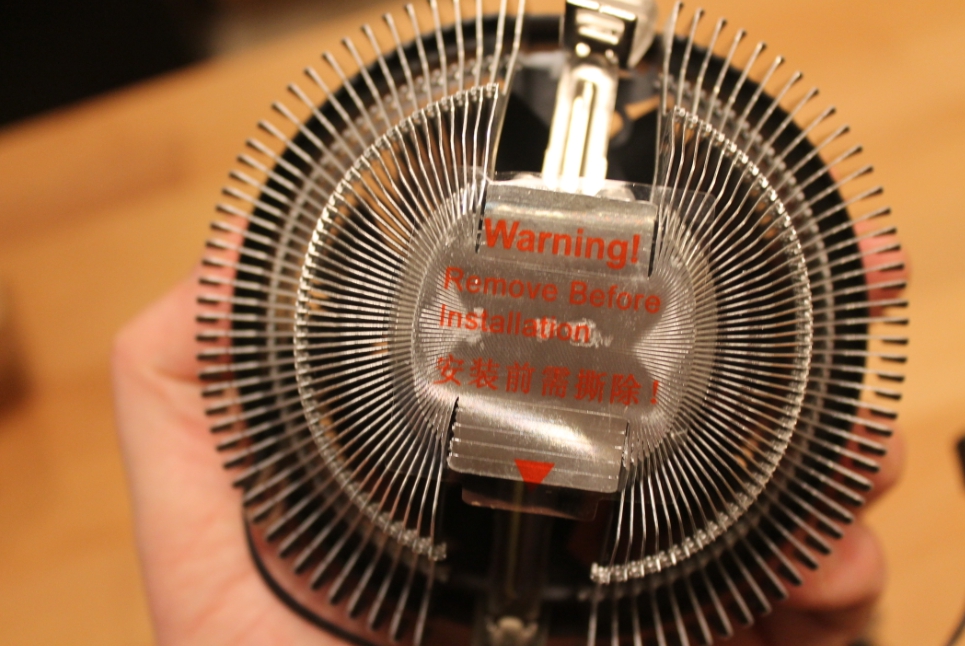
They had a sticker to remove before installation so you know you have a clean surface to work with.
The old CPU cooler
Now here is the Cooler Master CPU cooler I was going to be replacing. Not the prettiest thing around but was getting the job done. We were looking forward to having the DS RGB cooler installed to match the existing RGB fans. (Yes the case is a little dusty in these pics as I didn’t blow it out until after the installation was done. )
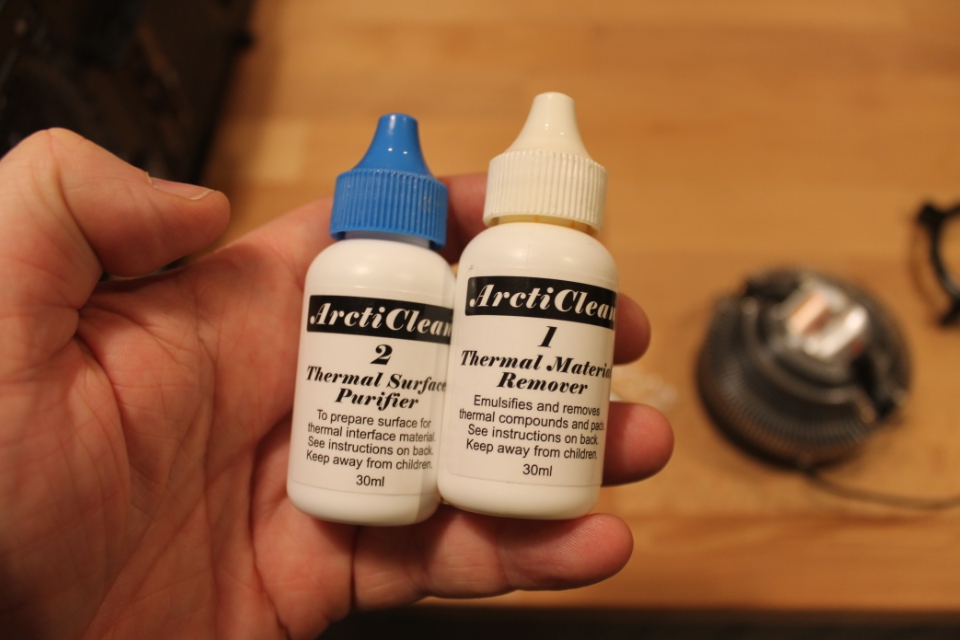
After removing the old fan I had to clean up the existing thermal compound from the CPU. For this I used ArctiClean Thermal compound remover. This stuff is great and I have had these bottles for a long time as it only takes a few drops. Here is a link if you want to check it out: ArctiClean. check out all the great reviews. It makes cleaning off the old compound super easy.
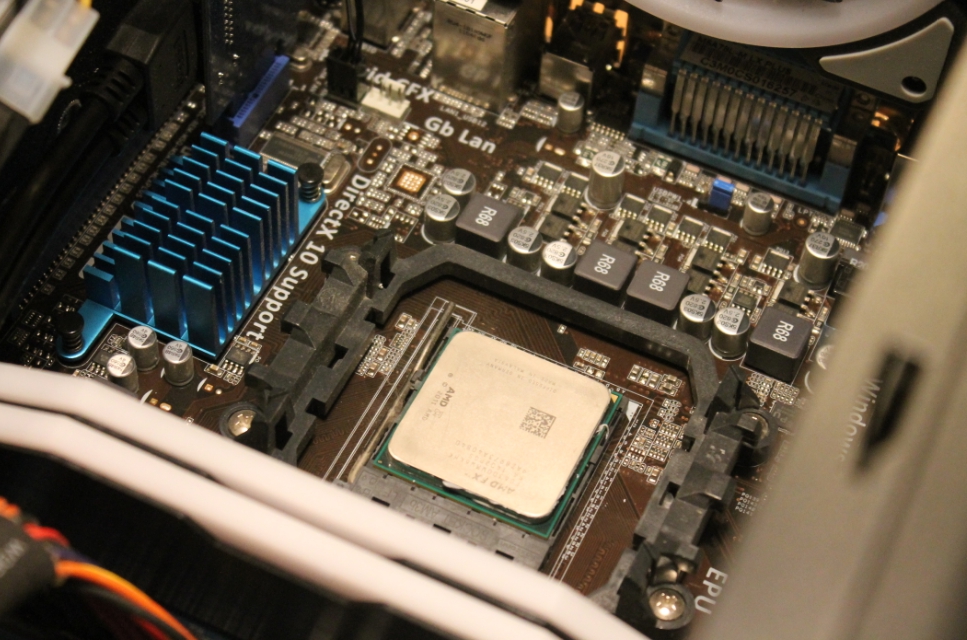
Now with my CPU cleaned I was ready to start installing the new DS CPU cooler. As you can see I will be installing it on an AMD AM3 so did not neet to use the included intel bracket.
Applying thermal compound
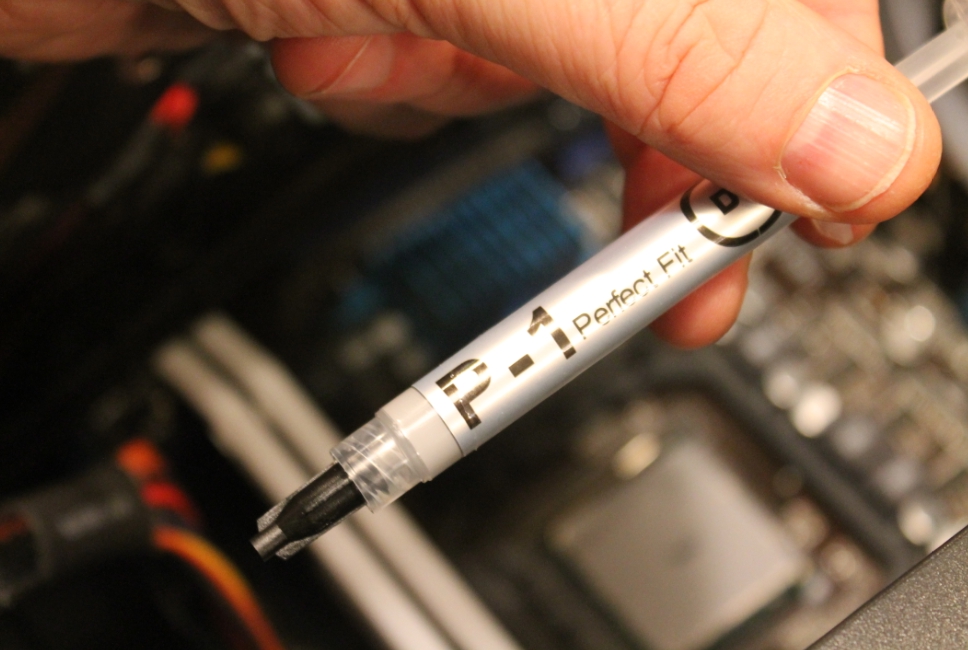
Here is the tube of P-1 Perfect fit DS CPU Thermal Compound they sent me.
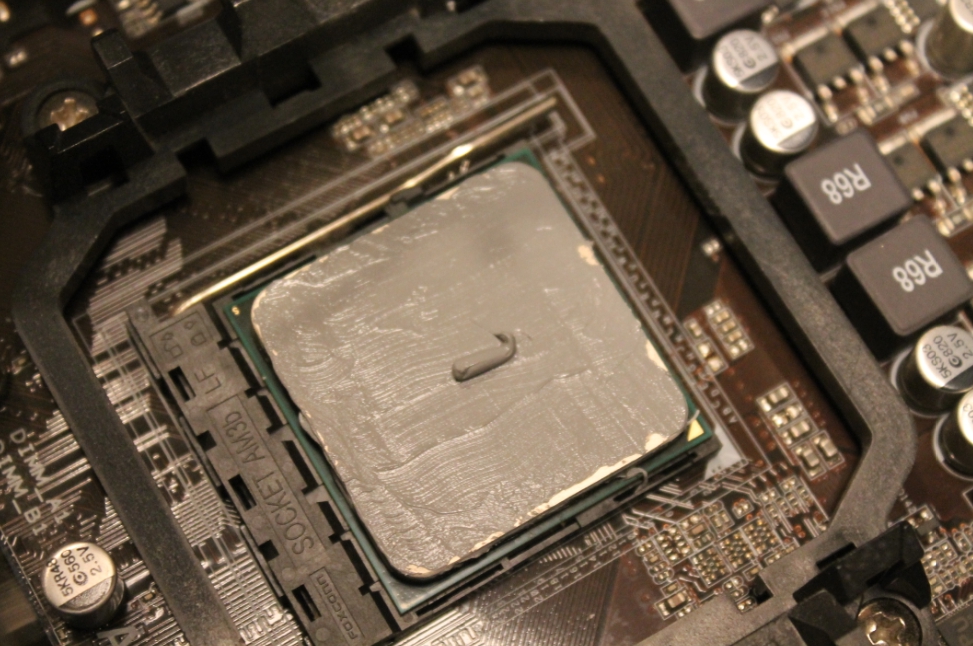
I see a lot of people install their thermal compound slightly differently. Here is a picture how I usually do it. I try to get a real thin coat over the whole chip, then put a small grain of rice size in the middle. It has worked for me. I use a credit card to spread it, but they included a nice little spreader tool in with the compound which was nice.
Installing the cooler.
OK, this seemed a little harder then normal. The case was really tight and I did not want to remove anything to install it. I had trouble getting my fat fingers between the case fans and the cooler on the top side, and then getting my fingers in to push down on the bar. I ended up having to remove my RAM to be able to get enough room. It would have been easier to install if it was a new build and the motherboard was out of the case. But I got it done, and no blood on my knuckles. ( Like when working on my cars 🙂 )
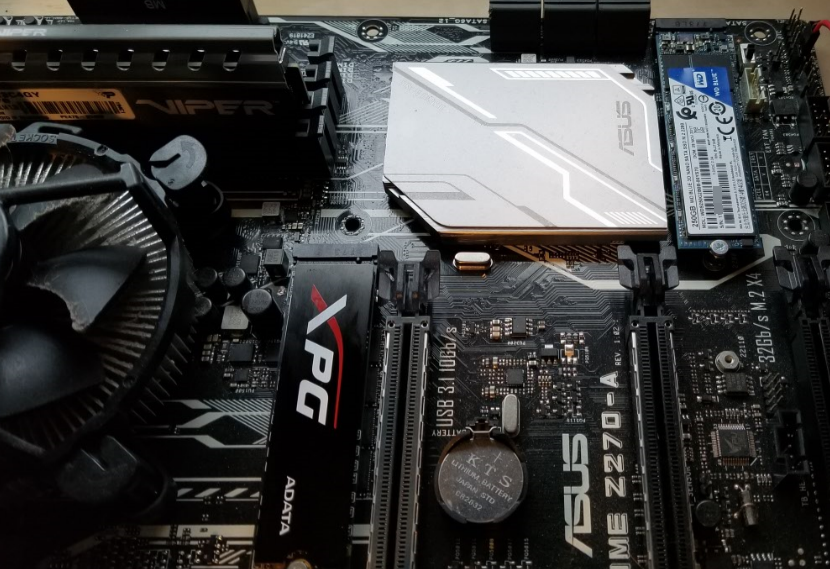
As I mentioned above I had to remove the RAM to install the cooler as it was a little cramped. When I went to put the ram back in I wondered if the CPU might interfere as I had the UPHERE RGB RAM Heatsinks installed that made them a little wider, but as you can see in the picture below it fit perfect. You can see my upHere RGB Ram heatsink review HERE:
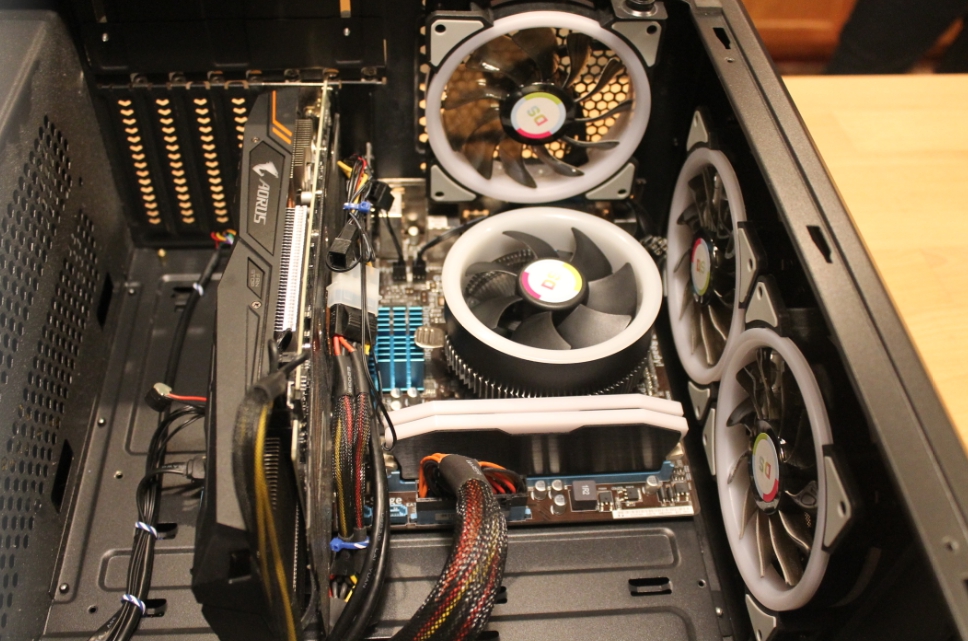
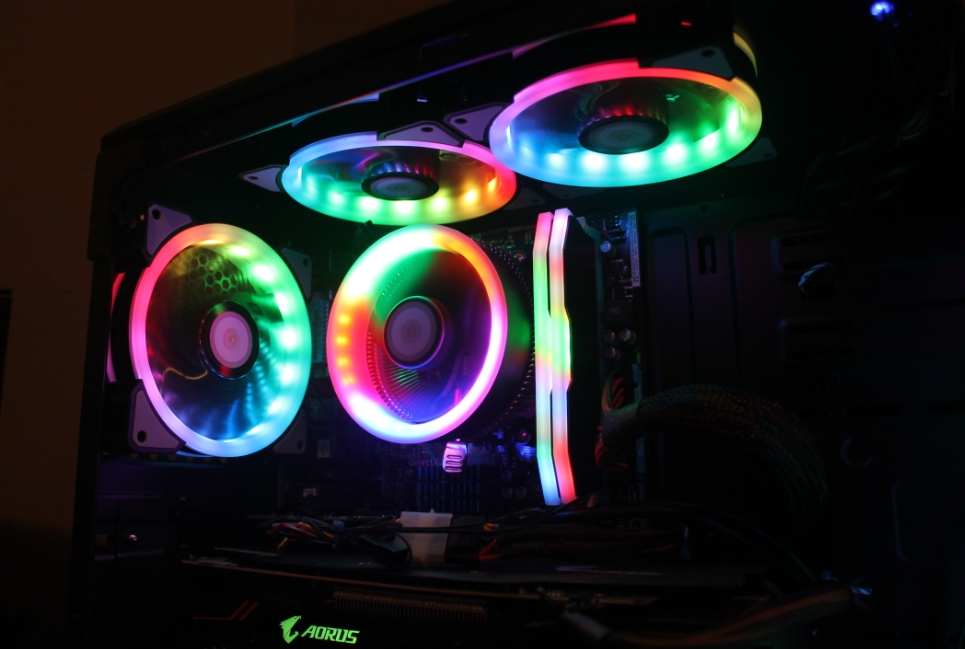
Powering it up
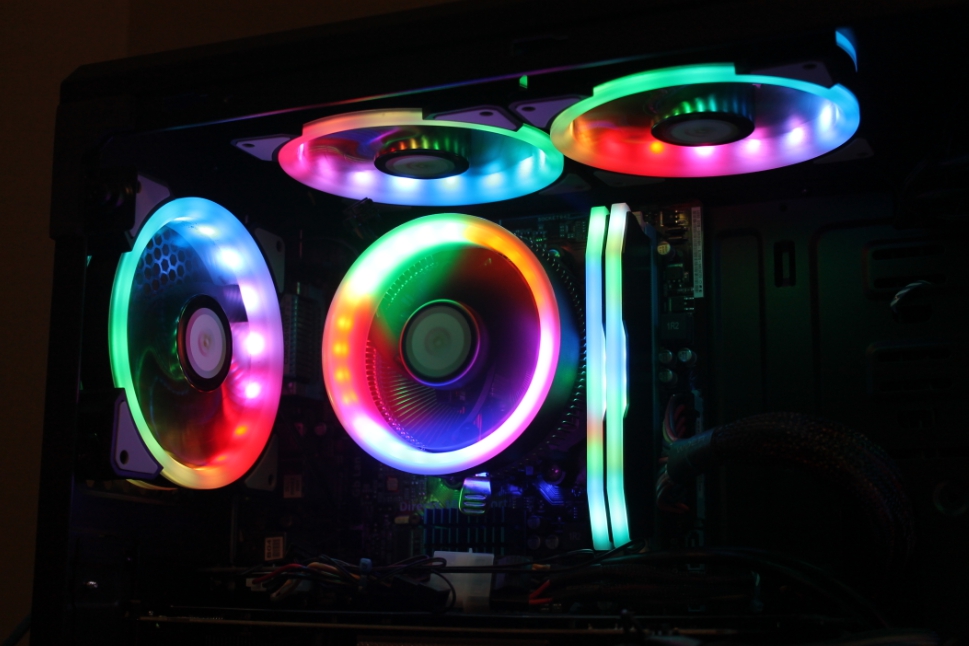
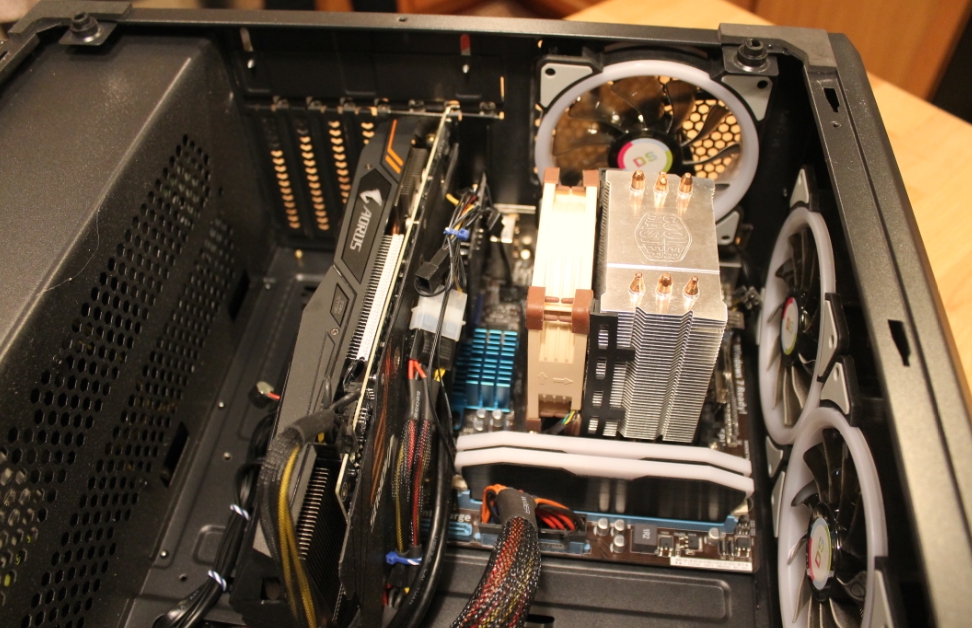
Now comes the fun part! I plugged it into the motherboard CPU fan slot and powered it up to take a look at it. We thought it looks great! Here is a picture.
SUMMARY:
My son loves it, and the PC is running great and seems to be cooling just fine. I really like the price of this cooler. I can be cheap at times, but this was a really good price. Then add in the free thermal paste offer, and free same day shipping with Prime when I just checked it seems like a great deal. I really like this RGB cooler for a budget build. Plus looks really good next to the other DS fans we had installed.
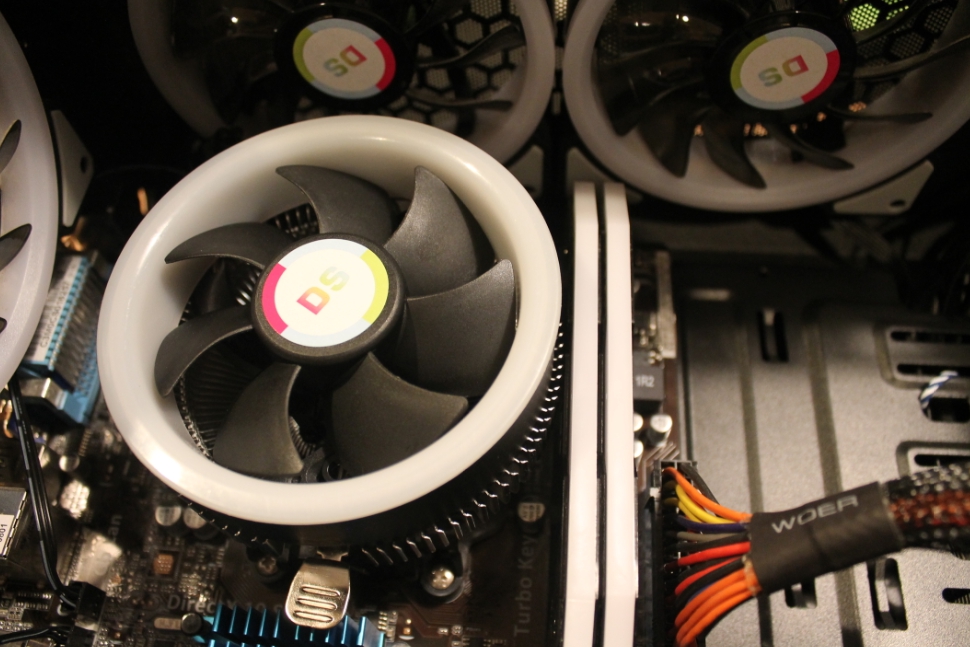
The downside to keep in mind thing is that the fans RGB LEDs are FIXED. They do not move, spin or change color at all. What you see in the picture is what you get. It is a fixed rainbow pattern. It is also always on ( just like the RGB RAM heatsinks) So be prepared for it to glow if you keep your PC in the bedroom and have it turned on at night. For us we are totally fine with this. But if you were hoping to make the fan a solid color as far as I can tell that is not possible. But that is probably how they were able to bring the price down so low.
Here is the link to my LEDDESS 120mm RGB fan review in case your interested in those as well. LINK
My RGB PARTS list for the PC:
- LEDdess CPU Cooler
- 6x LEDdess 120mm RGB fans
- upHere RGB RAM Heatsinks
- ArctiClean Thermal compound remover
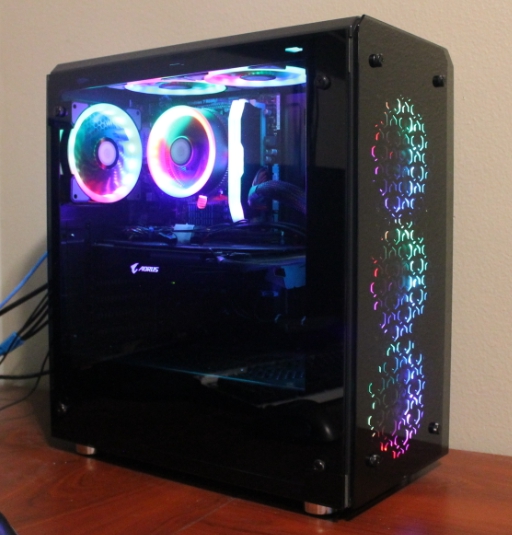
Here is a quick shot of the PC with the glass panels back on. All together with the Tempered glass case ($29 after rebate), 6 RGB fans, RGB heatsinks and now the DS RGB CPU cooler it was all a very cheap RGB makeover.