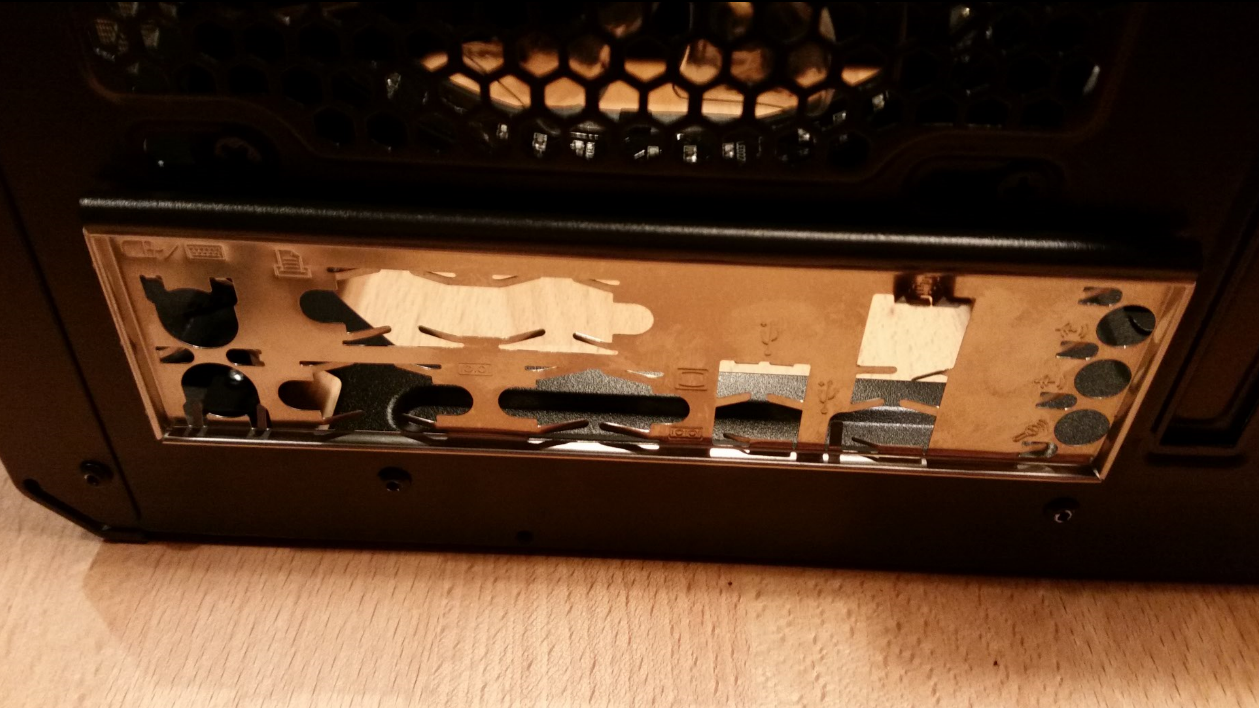
Now for something I didn’t like. When putting in the motherboard i/o panel it really shows where some money was saved when manufacturing this case. The metal was really thin and flimsy. I was able to mount the I/o panel. But I would prefer to have the metal be a little thicker and sturdier. It really flexed as I was trying to put it in. (But then again, this is a VERY reasonably priced case for what you get)
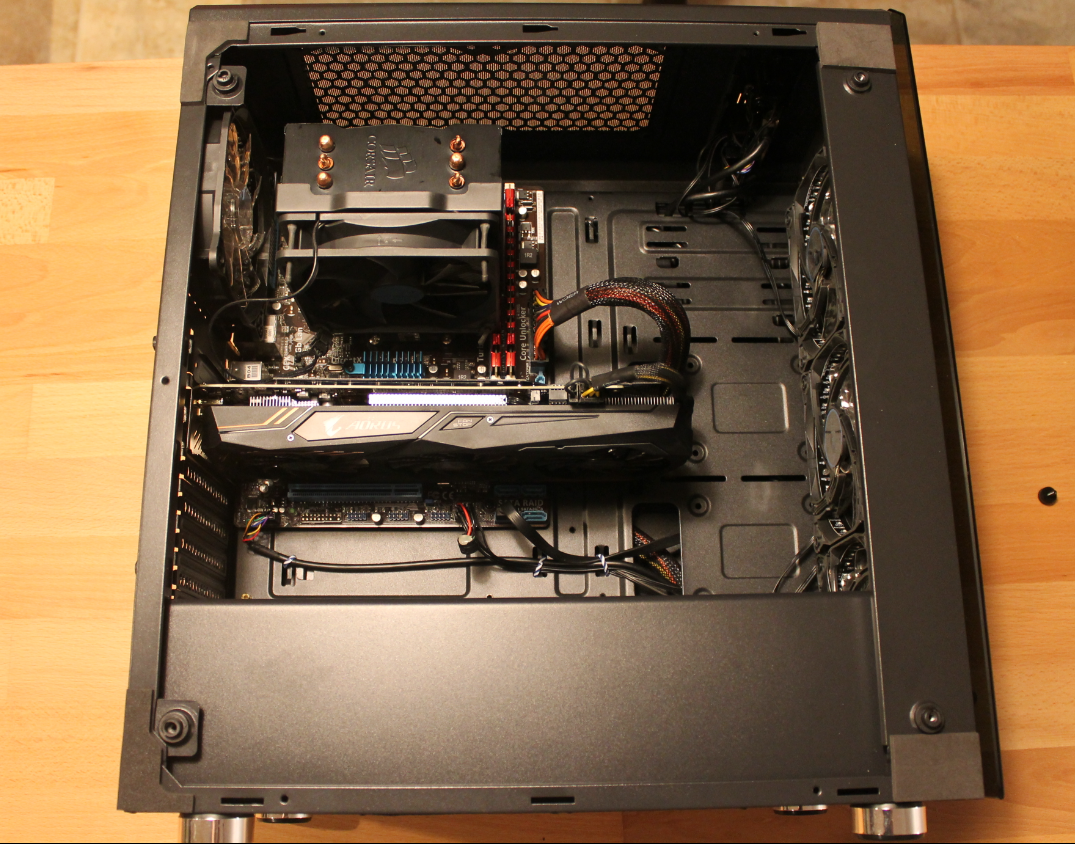
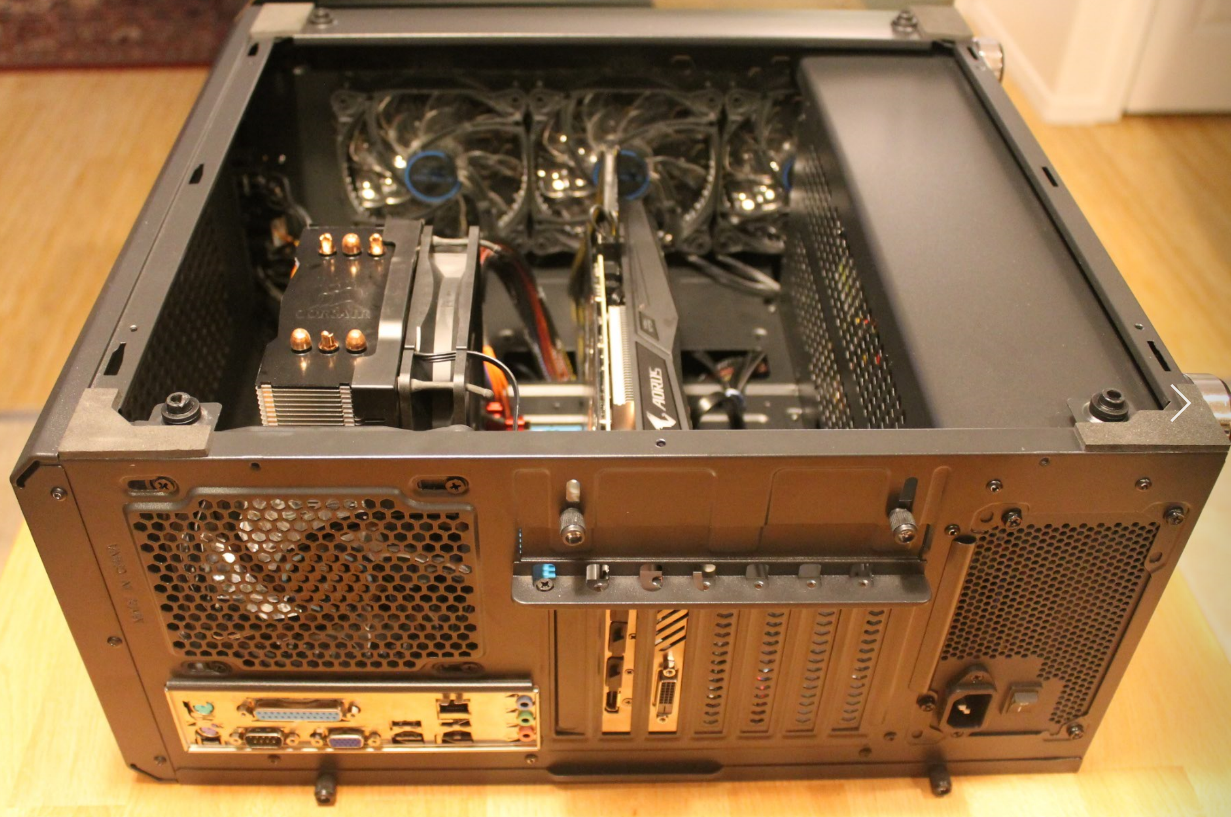
With the parts installed, you can see it is very roomy, with lots of room for airflow. I was pretty impressed with the amount of space inside the case, as the exterior was not that much bigger then the old case. The cable management was decent as well. I might have liked a few more holes more towards the power supply area, but it had enough to do the job.
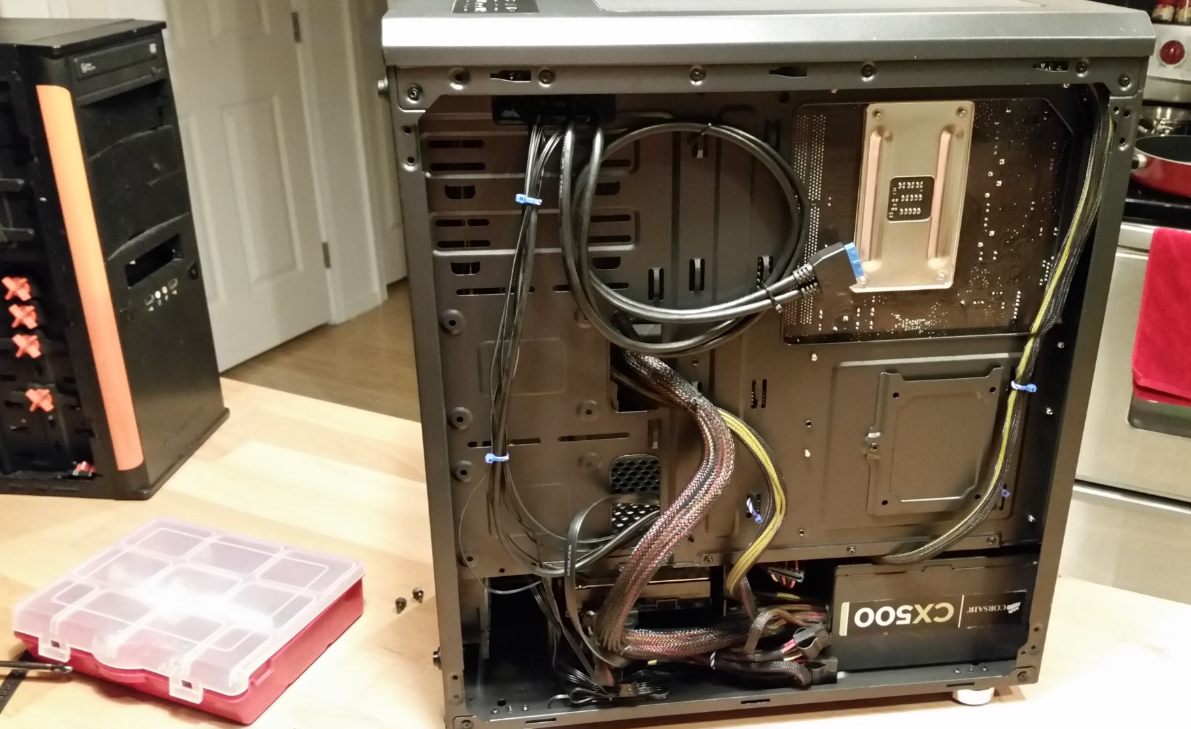
Here is what it looks like on the back side. Yes its kinda messy, but it will be hidden. One other disappointment was no usb 2.0 connectors on the top of the case. Since the old PC did not have a USB 3.0 20 pin connector on the Motherboard, they will have to only use the USB ports on the back, or buy a PCI USB3.0 card with a 20 pin connector.
Now how does the air get to the fans with the glass panel in front you ask? The panel mounts leave about 3/16″ of gap to let air in. You can see it in the picture below. It seems to be getting enough air inside.
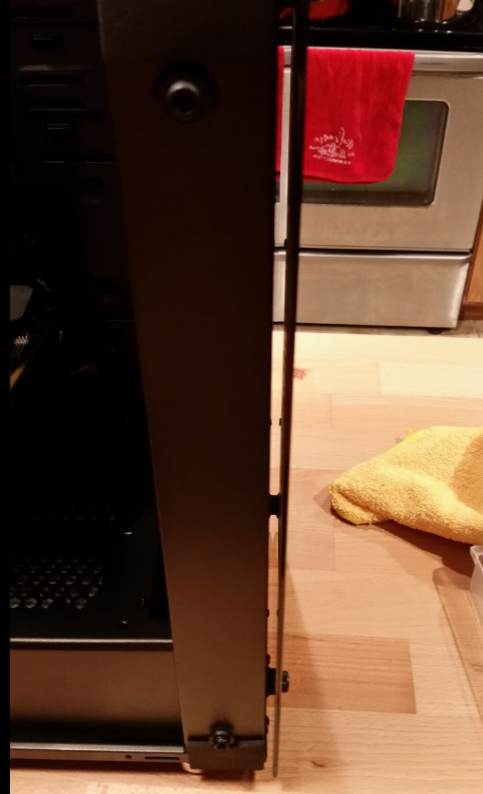
Here is a picture from the back. Looks nice and clean.
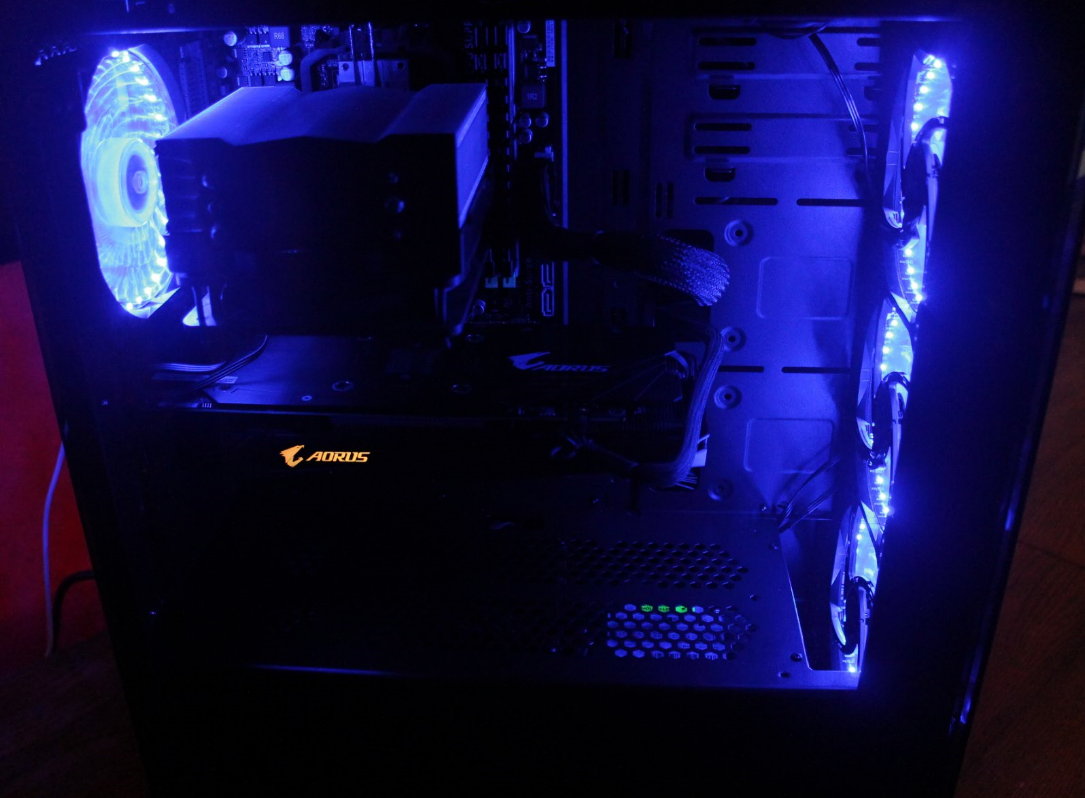
Now we get to power it up.
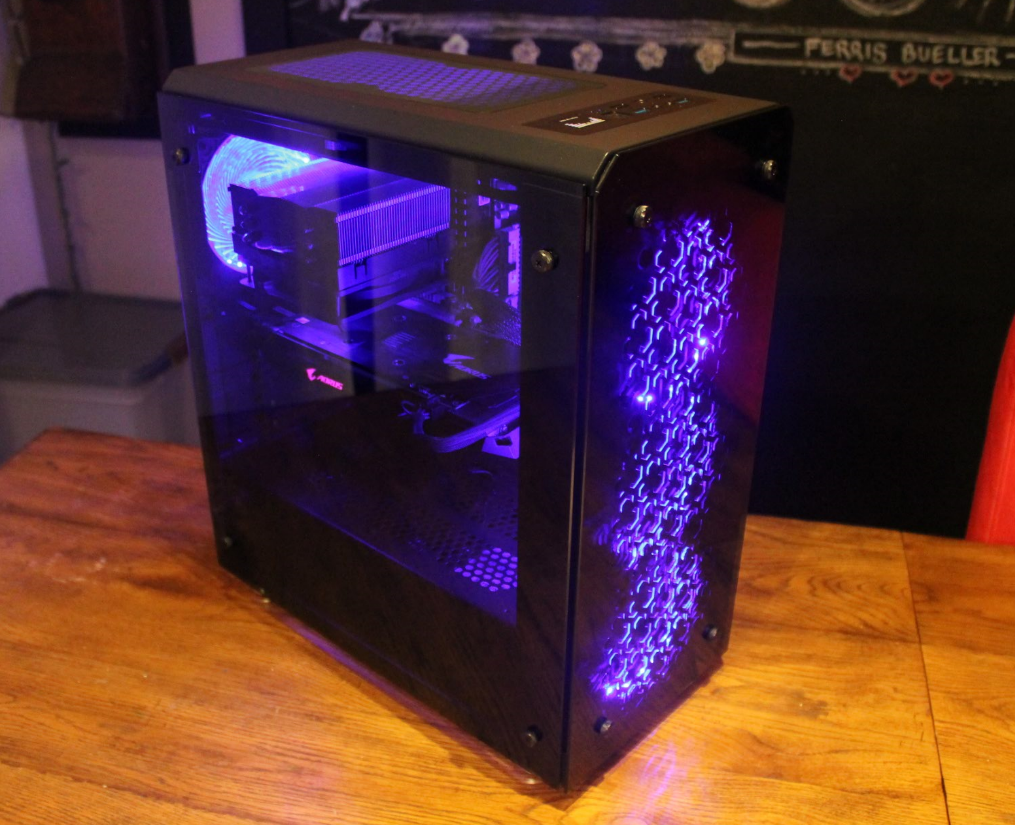
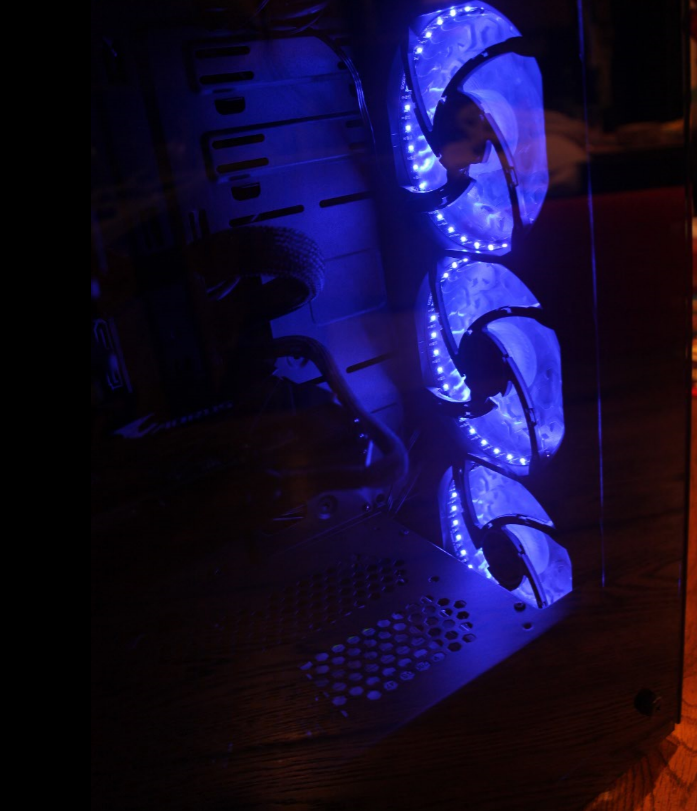
The fans have 33 LEDs each. They look pretty good and are not to noisy.
Problem: Chassis Intruded! Fatal Error… System Halted.

So after powering it up, the screen came up with a fatal error during POST. This is on the BIOS of an Asus M5A78L-M LX Plus Motherboard. So a quick search and I found people have had this can be caused by a fan plugged into the chassis Fan pins on the motherboard. I had plugged in the rear fan to this connector. So I unplugged the rear fan from the motherboard and instead just powered it off the power supply like the rest of the fans. This fixed the issue. This seems to be an issue between the fan and the motherboard. Not a big issue to me. Not sure if you would see this if you have a different brand motherboard.
Summary
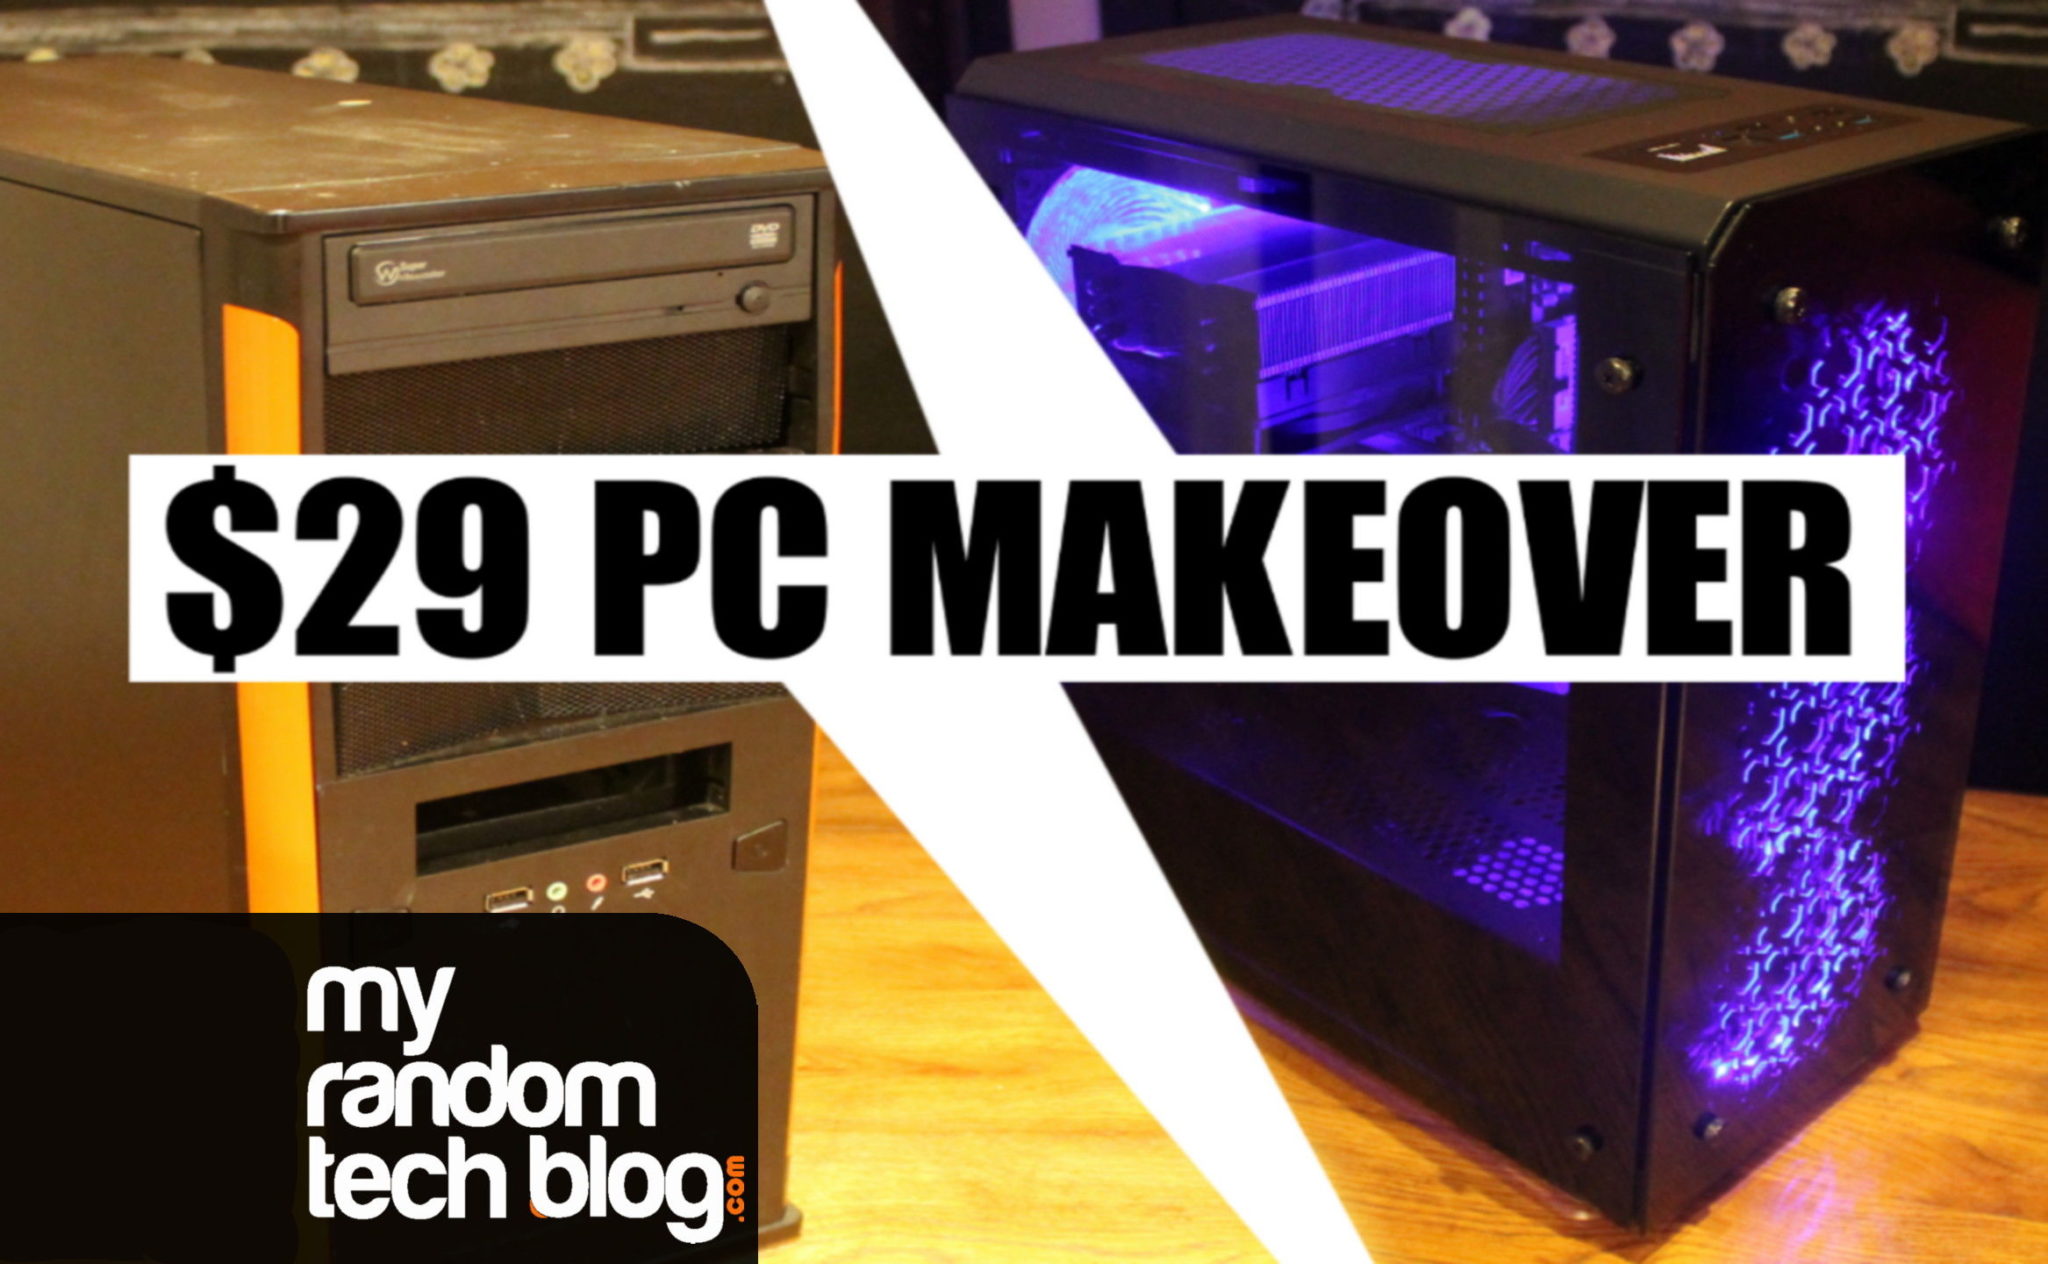
I would say this 29 Dollar makeover was a big success. When they saw the PC they were amazed at how good it looked. It was pretty easy to swap all the parts and the only real issue was the lack of USB 2.0 ports up front. For now they were fine just using the ports in the back. But for ~15 bucks I did recommend they get a USB 3.0 PCIe card so we can get them working on top. If you have a newer motherboard you probably have a USB 3.0 connector on it available. This Asus motherboard we had was a few years old so was a little outdated. But for now this PC will be getting plenty more use, and will not look hideous sitting in their room.

While I could not find this model on Amazon right now and I see it was not in stock at newegg, they did have this comparable CoolerMaster Tempered glass case on sale. It looked pretty cool also. Plus it has fans that can change color if you did not want blue. Anyways, it was amazing how much of a difference this case made for the looks, but in honesty the computer still runs the same 🙂
Here is a quick Youtube video shot with my cell phone so you can see how the LEDs look.
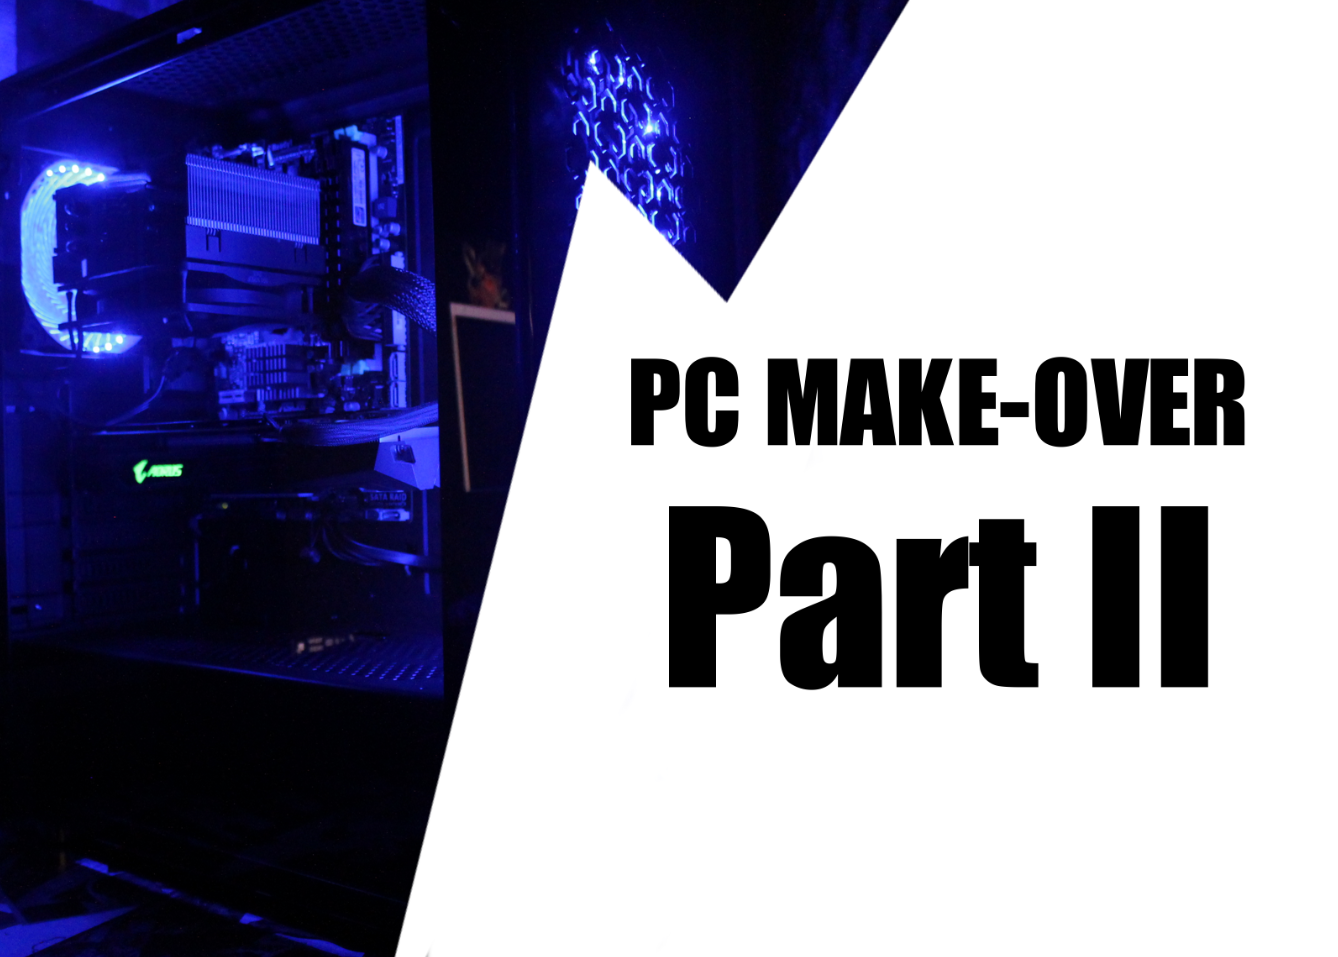
Update: Added a part II to this article that can be found HERE