I decided to do a quick post on a Antec DF500 vertical GPU mount install in my case. This was somewhat of an impulse buy as it was not something that the case really needed, just that I thought it would look cool. This mount is a Cooler Master accessory for their cases, but thought I would try it in the Antec.
Disclaimer: This post is for entertainment purposes only. I am not responsible if you damage your equipment or injure yourself. I am pretty sure installing this voided any warranties on my case.
Antec DF500 vertical GPU mount Pro’s and Con’s:
The reason I wanted to use a Vertical GPU mount is pretty much strictly for looks. I like the way it looks mounted vertically showing off the GPU, and I think it takes some stress off the motherboard by not having the heavy card hanging off it horizontally. Plus I don’t like to see the video card sagging on the end due to the weight.
The main Con for me in using a Vertical GPU mount is that they block your PCI connectors. If I want to add a PCI card in the future I will need to go back to a horizontal mount. Another is some mounts put your video card right up against the side of your case and you do not get as much airflow to your GPU fans. And the final con which may be a deal breaker for some people is I needed to modify my new case by doing some cutting.
The unboxing
The mount I decided to use is the Cooler Master Vertical Graphics Card Holder kit , here is the link to it on the Cooler Master website for more specs and info: LINK
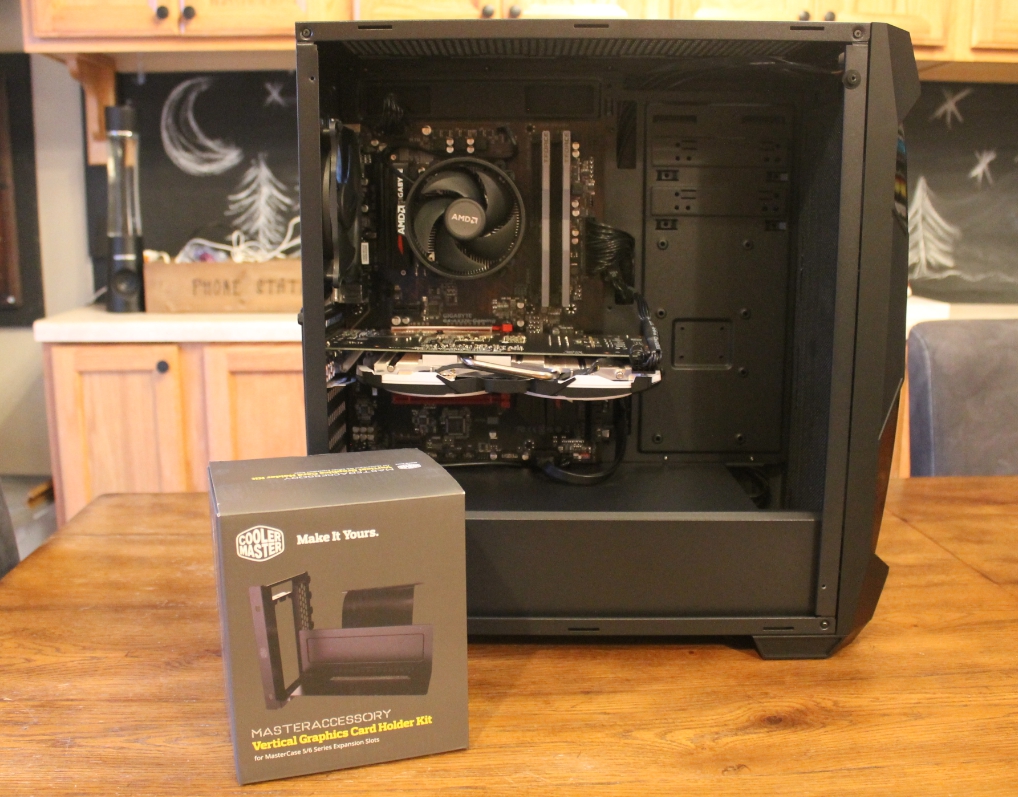
What was included in the box.

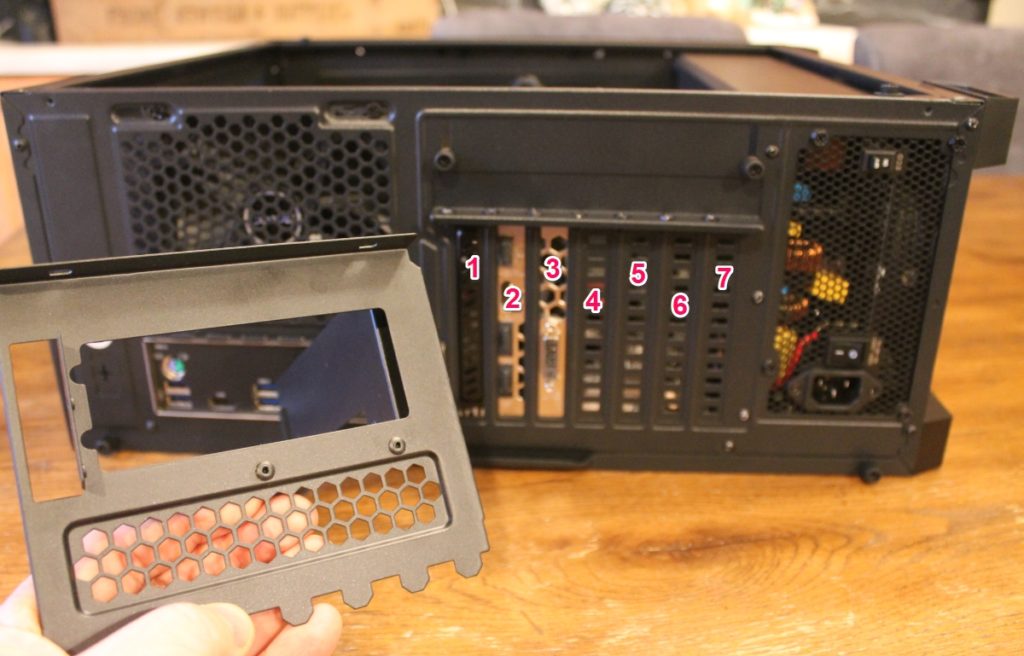
The mount needed 7 PCI slots available in the case. Luckily I had exactly 7 available in my Antec DF500 case.
Installing the Vertical GPU mount in the Antec DF500
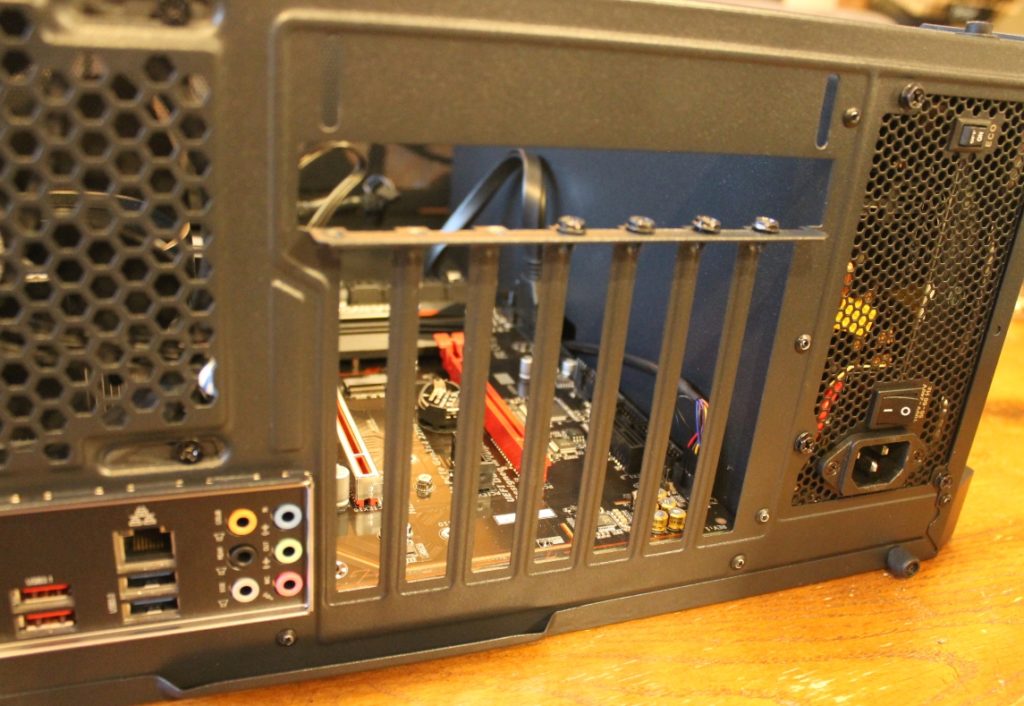
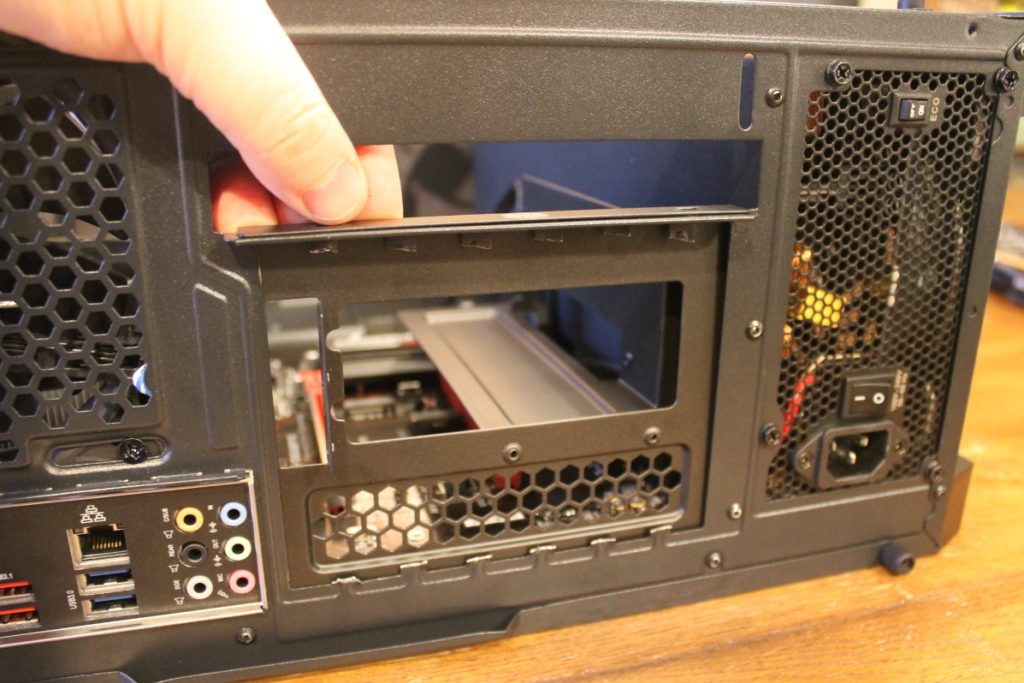
First I removed my GPU and all the PCI blanks.
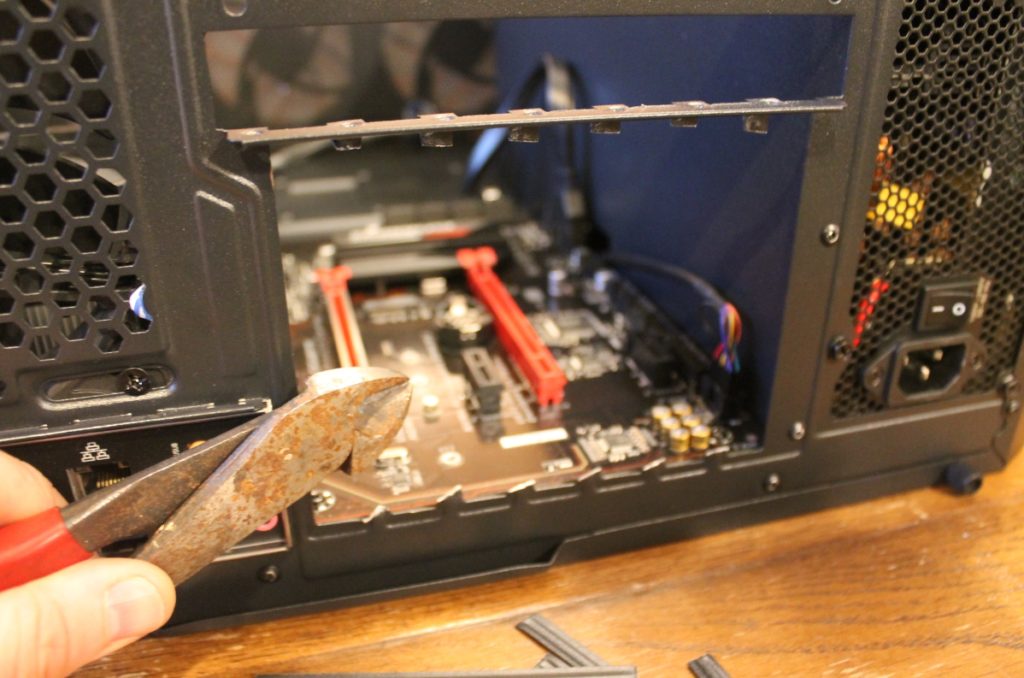
Next came the hard part (Well maybe emotionally). Cutting the bars between the PCI slots. I probably could have just cut a smaller portion just to allow my cables to plug into the card, but I went all in and just removed them all. Using a pair of big wire cutters I had in the garage I was able to get them cut, but you could probably do a more professional job cutting with a Dremel and then filing the sharp edges. Since I did not remove my motherboard I also had to be careful not to damage it in the process of removing the bars.
Checking the fit
Next I checked the fitment of the new bracket looked good. I was not worried about the sharp edges that were left as this is my pc and no one will be looking at the back or touching it but me. I did straighten them up a little with some needle nose pliers. If I was doing this for someone else I would clean it up a bit more.
Next I had to mount the PCI ribbon cable onto the mount with the two included screws.
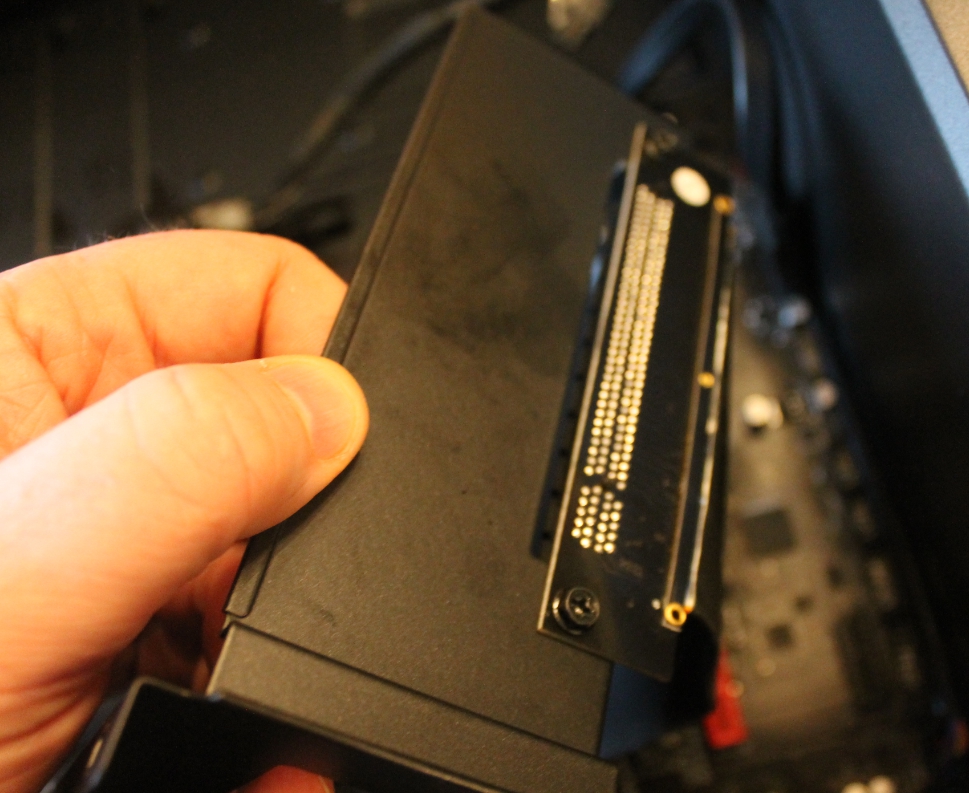
At this point I just needed to plug in the other end of the ribbon cable into my PCI slot and then screw in the mount.
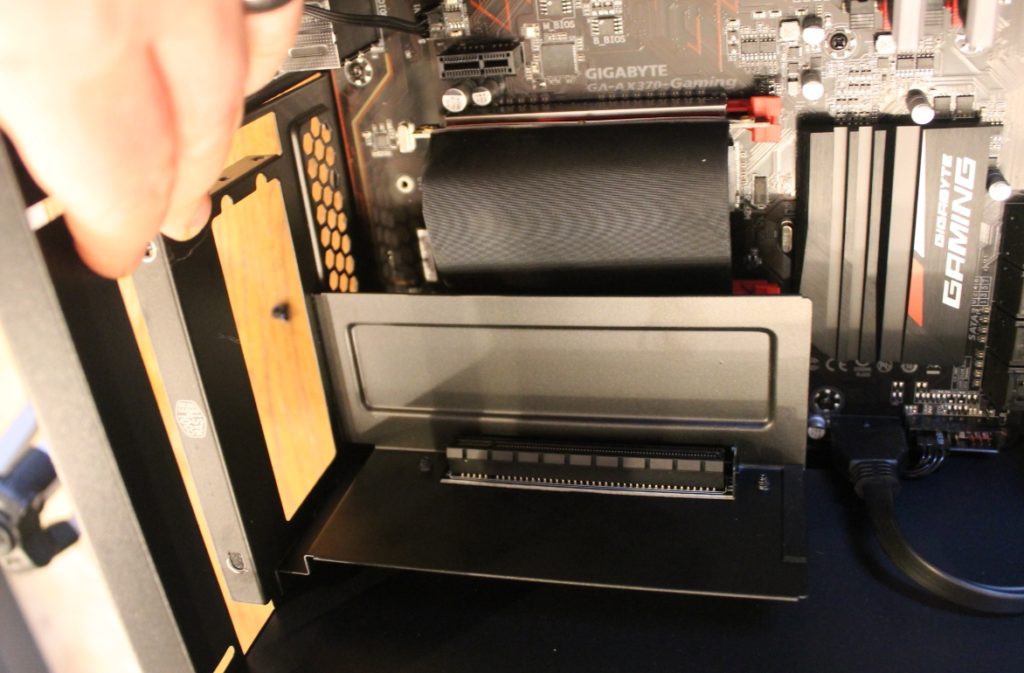
Plugged in the PCI ribbon cable into the motherboard.
Mounting the GPU
I then mounted the video card to the mounts PCI connector and added the screws to mount the GPU to the bracket on the end. At this point I also decided to switch video cards to a GTX 1070 from a GTX 1060.
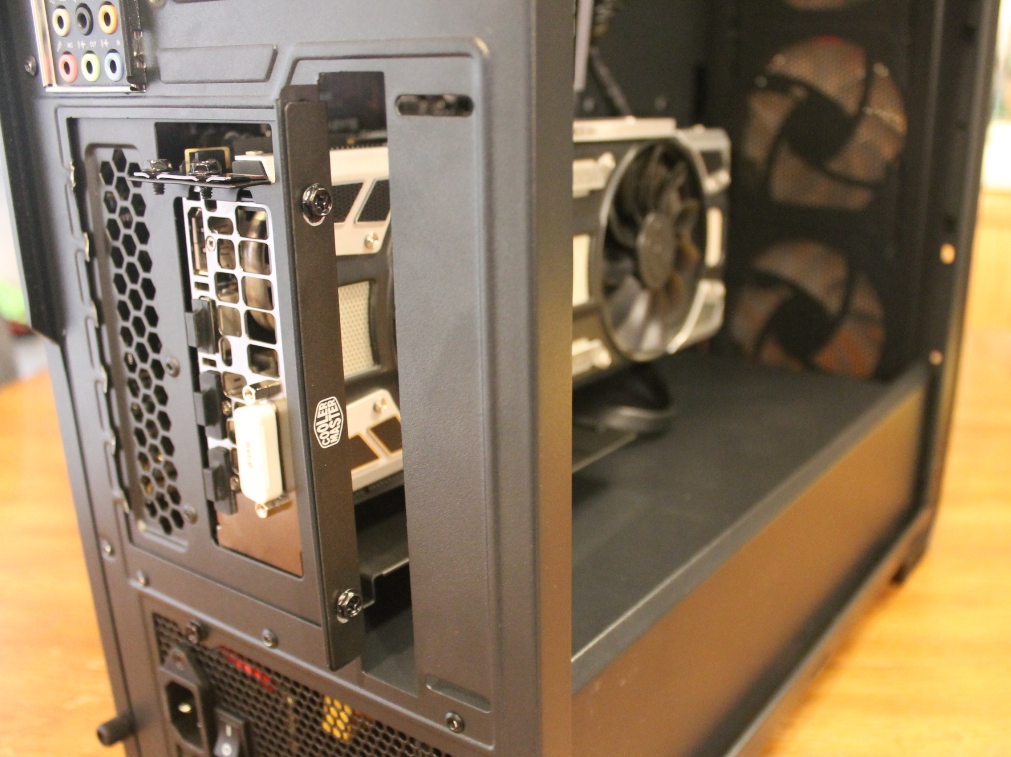
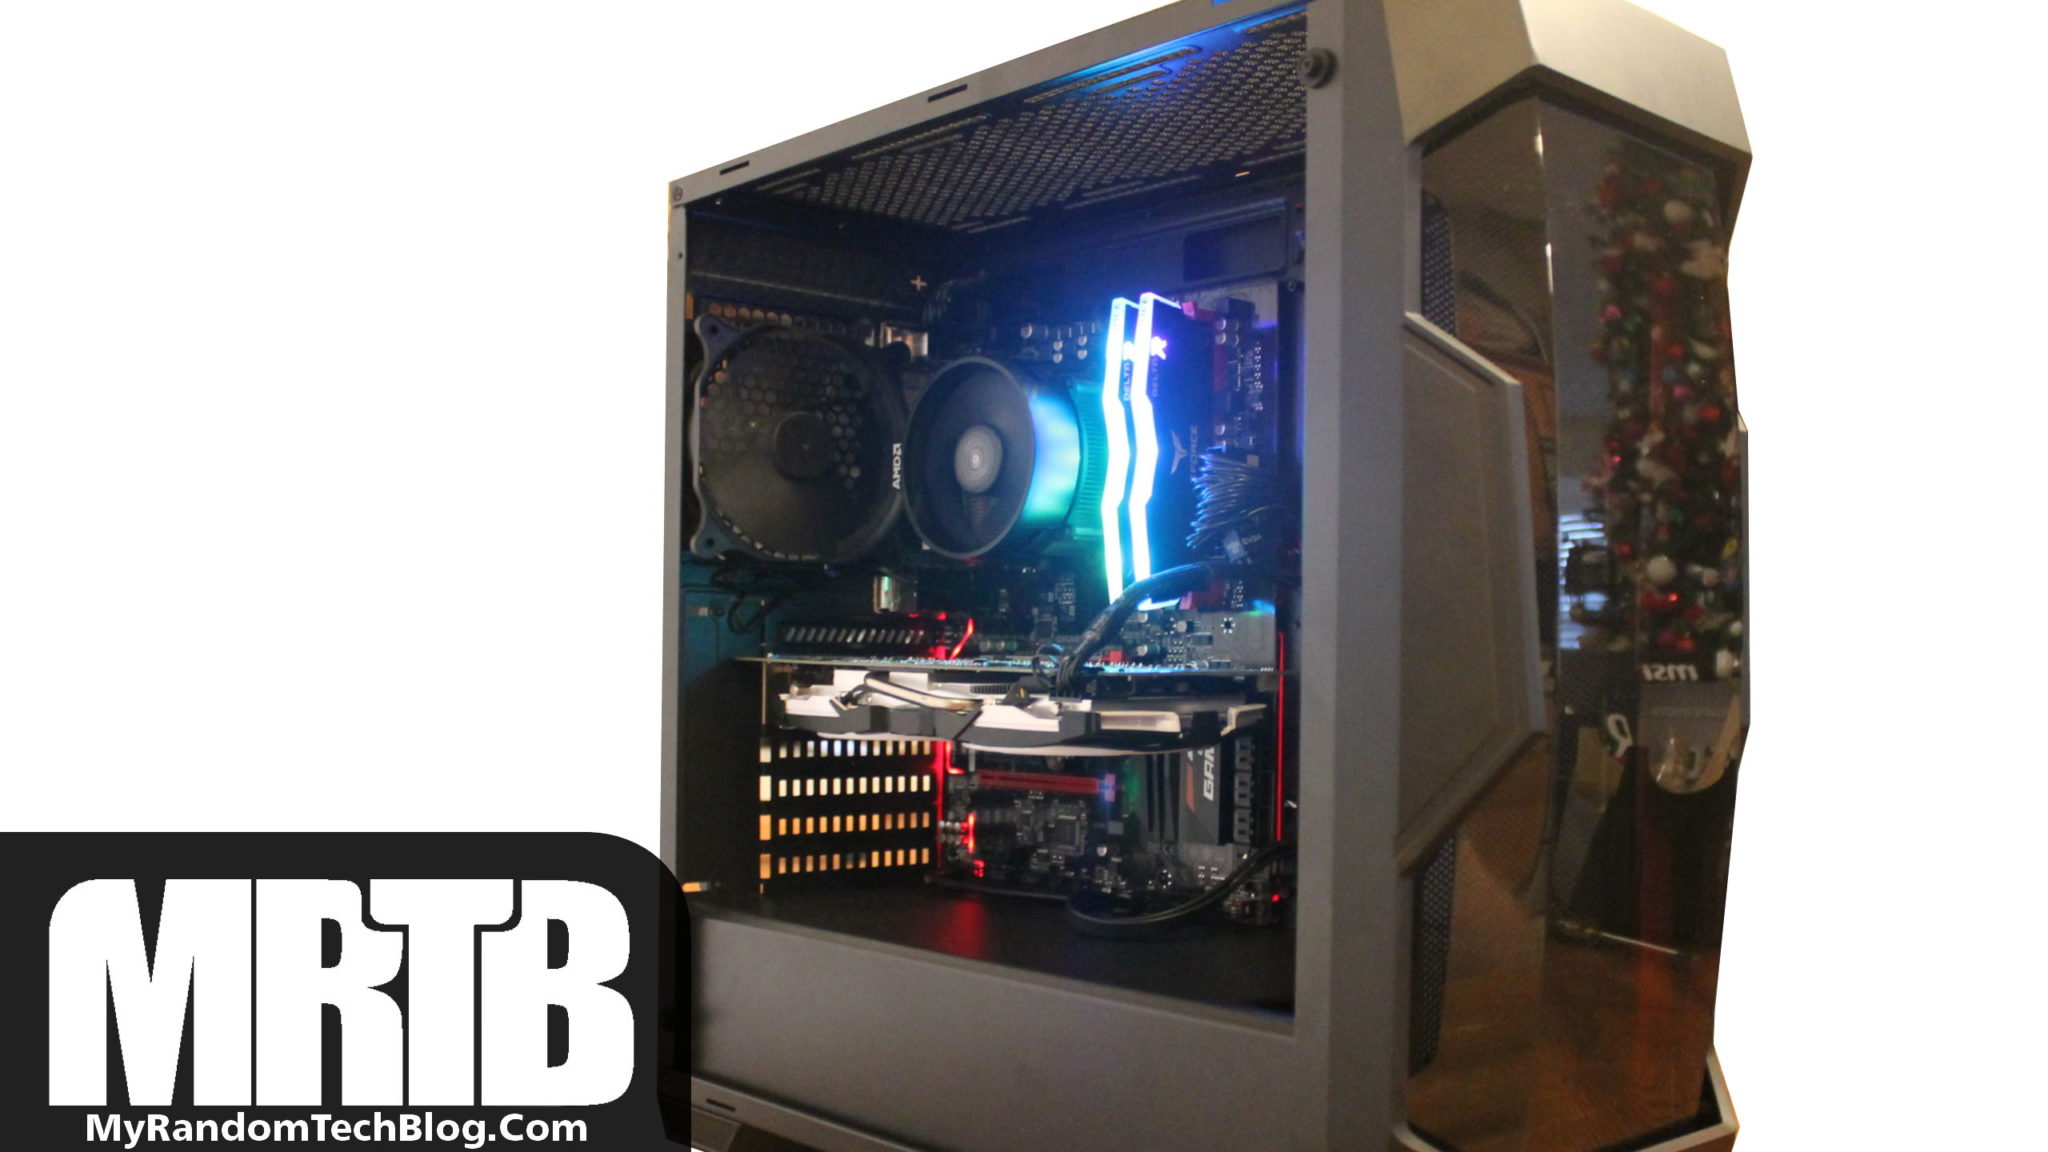
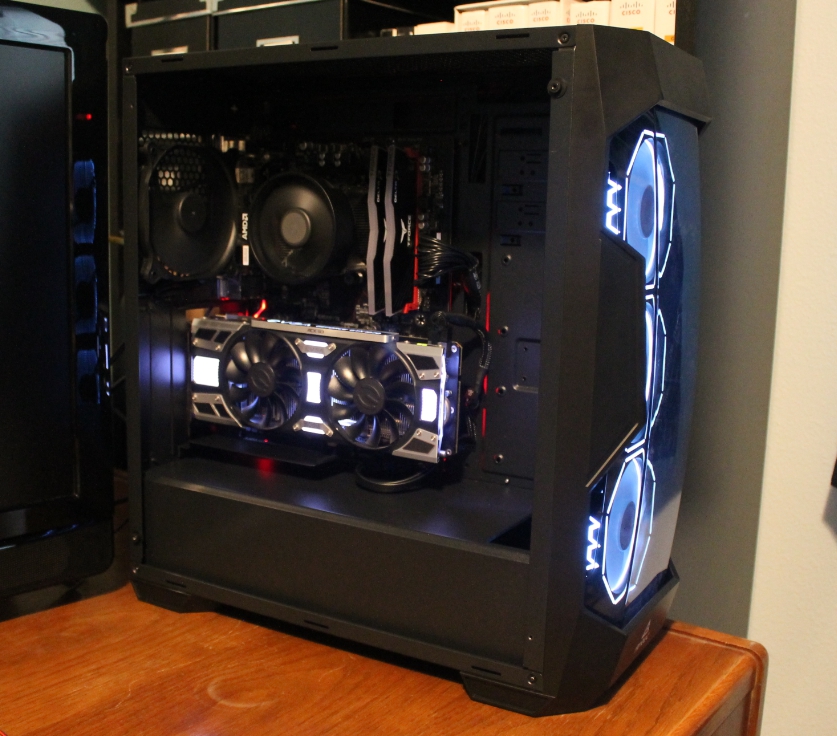
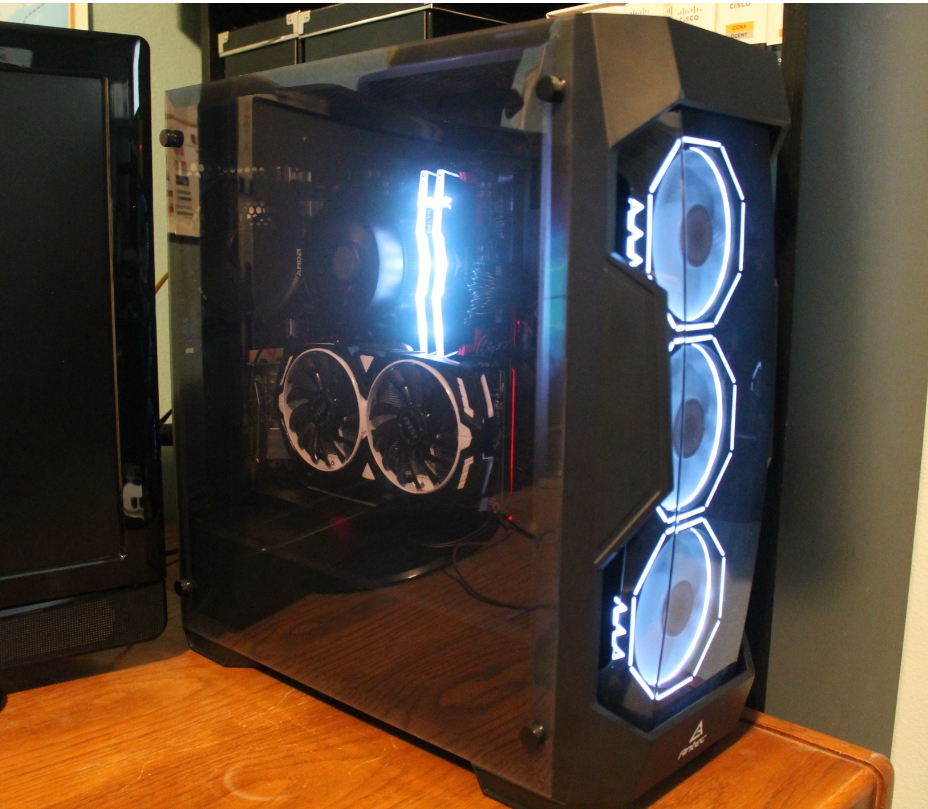
One thing that I did not notice until I got it installed was that this mount left a lot of room between the GPU and the side of the case. This was a big plus as it should allow for some good cooling with the clear panel installed. Here is a picture of it after powering it up. You can see from the angle it has some good room for cooling maybe 2-3 inches from the side panel.
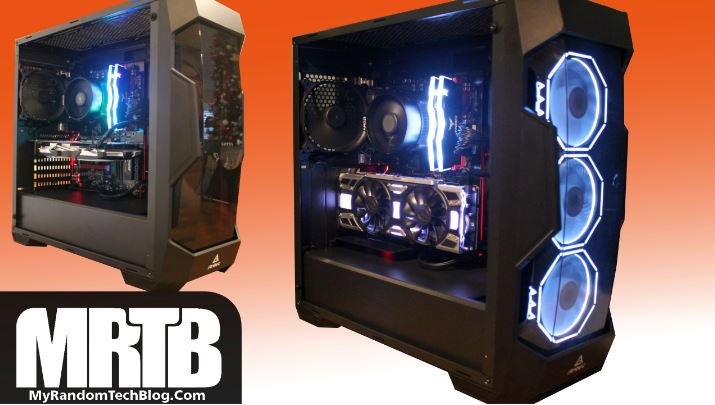
Here is another show of what it looks like with a MSI Armor GTX 1060 installed and the Acrylic panel on. I am going to let my son have the 1070 for his pc as he games more then I do.
Summary
First I want to say this Cooler Master GPU mount was surprising easy to install. I am REALLY happy with how it looks. Does it add any real functionality to my pc by installing a Vertical GPU mount in the Antec DF500? That’s debatable I suppose. I think it did take some stress off the Motherboard from hanging the GPU on its side. The downside was I did lose access to the extra PCI slots. Was it worth it for me? YES 🙂 especially as I look at my PC right now. I think it just adds that extra bit of “Eye Candy”.
Here are the links to the GPU mount used in my PC, and the PC case I have in case your interested: (Sorry links removed, but you can find it for sale on multiple sites)
- CoolerMaster Vertical GPU mount
- Antec DF500 case
If your interested in RGB fan’s Here is a review I did of the ones I had installed in this case HERE.
That concludes my post on my Antec DF500 vertical GPU mount install. I hope you found it entertaining and possibly helpful in some way. Thank for visiting my blog.