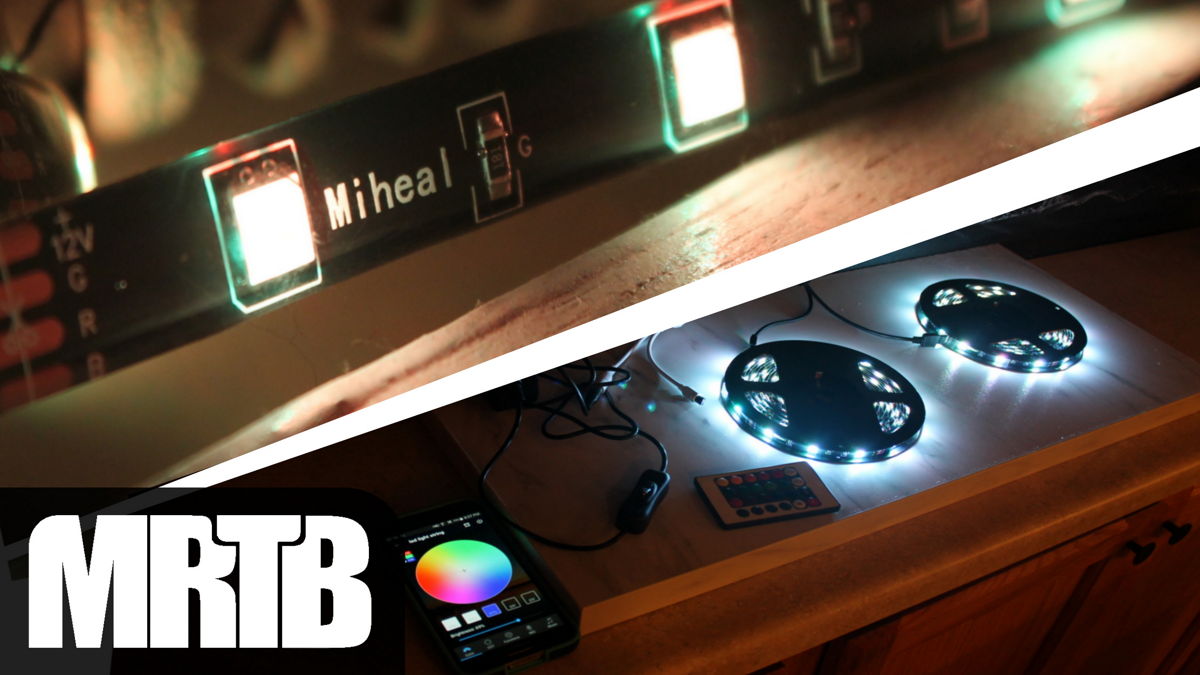
I was looking for some cheap 70 inch TV LED bias lighting and after seeing some of the prices I just decided to just buy a kit with single large strip and cut it myself to save a little money. The process is pretty easy and this way I could save some money and also get the size I wanted.
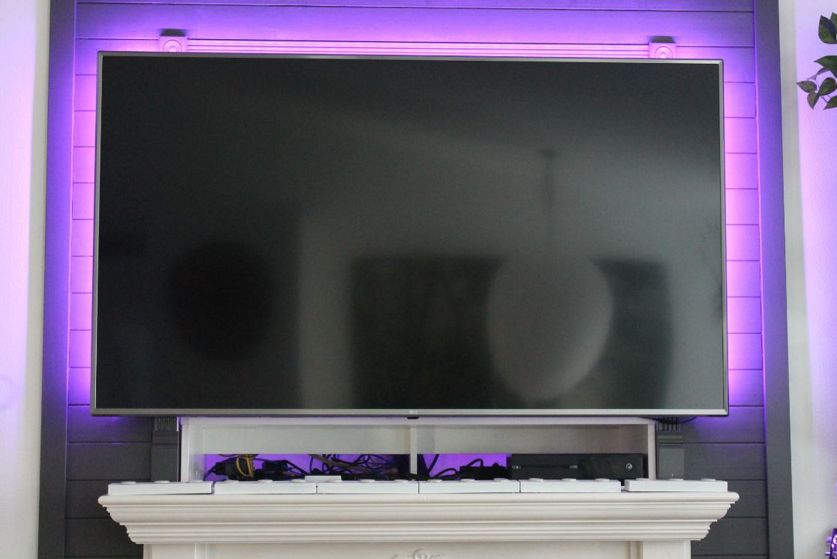
What is TV LED Bias lighting you may be wondering? Basically its placing a light behind your TV screen that will glow but not shine directly into your eyes. I find it really nice to have on while watching TV in a dark room.
Disclaimer: This post is for entertainment purposes only. I am not responsible if you damage your equipment or injure yourself. Also this site uses affiliate links. This means I may make a small amount of money at no cost to you if you buy something after clicking a link on this site.
70 inch TV LED bias lighting
The reason I went with this brand was due to the fact I already had a set of them above my kitchen cabinets. I have had great luck with them as they have been working trouble free with no issues. Plus this had an RF remote, so I do not need to point the remote at a sensor to turn on or off. They also had a good sticky backing that I could use to attach to the TV easily.
Here is the kit I purchased at Amazon along with some corner connecting clips.
LED BIAS Lighting KIT
LED BIAS Lighting Corner Clips

The price was really good and this came with 2 qty 16 foot LED strips. I knew I would be able to get by with just using a single strip, and I plan to buy another controller in the future for the other strip. ( You can buy the controller and remote separately here )

Now these are really easy to install. Basically the strips plug into the controller (The controller plugs into an AC outlet) and the remote will turn the lights on and off and change the color. One of the things I liked about this kit was it has an RF remote.
Design and layout
Lol, this is my “Design and layout” phase. Just kidding all I did was take a few measurements of the TV and draw it on the box so I knew how long to cut my 3 strips. I wanted to have the lights on the sides and top, not the bottom.

[TIP] I placed mine about 1.5 inches in from the side of the TV. If I was to do it again I would move them in a little further maybe 3 inches.
Now that I had the needed length, I just had to cut them to fit. This is really easy. I just used a pair of scissors and cut along the printed cut lines. You can make a cut about every 4 inches on the marked area like in the pic below. So you need to plan your fitment around those cutting constraints. I just cut it in the middle of those copper pads.

With my 3 strips cut to the length I needed I came across a little stumbling block. These are coated with a rubber type protective coating. I needed to slice the top of the coating to get to the pads to connect my angle connectors. It was not to hard, but you may save some time by buying some without the rubber coating if you prefer.
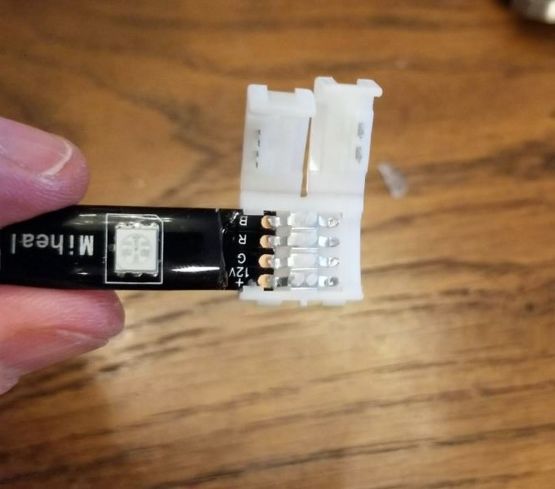
It fit right into the connector just fine after removing the rubber type clear coating.
Once I got all of the needed ends stripped and angle connectors installed I plugged them in to make sure they worked.

Now here is an optional step. While it worked fine with just plugging them into the connector, I did not want to risk one of them coming lose from the connector after being stuck on the TV with the sticky tape backing. So I soldered the connections. (I am the type of person who likes an excuse to solder something. I love to justify all my tools 🙂 )
Ok, not my best work, but you get the picture.

Putting them onto the TV was a piece of cake. Just peel the backing off and they stuck right on. Then plug in the controller and plug it into the power supply. Here is what it looks like.

70 inch tv led bias lighting Summary:
This worked out really well, and I am totally happy with the lights and final result. How could it have been better? I suppose I could have purchased lights that were rated indoor only and did not have the clear coating on it. That would have made connecting the strips to the connector a little easier. Also after sticking them up, I think it would have been a little better to have the strips moved in towards the center of the tv a little more. Maybe 3 – 4 inches from the edge.
But I am just being picky as I am still really happy with the setup. I even have a separate strip leftover to use for my computer or bedroom once I buy another controller. For the price this was much cheaper then buying a kit when I was shopping. Plus most were made for smaller TV’s. The colors you can chose with this RGB lighting is also great. So many choices of color and you can adjust the brightness up and down as well.
If you would like to see how they look in my kitchen on the cabinets you can see that post HERE.
These are the products used in this cheap 70 inch TV bias lighting review.
LED BIAS Lighting KIT
LED BIAS Lighting Corner Clips

