I had a spare Raspberry Pi 3 sitting around from an old project and was looking for something to do with it. I decided to try it out as a Raspberry Pi Ravencoin clock for my desk that will auto-update and show the USD price of Ravencoin. (It can actually also show stock prices, weather , news as well as other crypto currencies. ) I know a lot of people are running a Ravencoin full node off their Raspberry Pi and this may be able to be ran at the same time, but I have not tried that.
The short TLDR; version is I used Raspbian and the open source platform Magic Mirror 2 to accomplish this with a third party module.
Disclaimer: I am not responsible for any damage or issues that may arise if you try this. Follow your own procedures for checking software for viruses, safety etc.. This post is for entertainment purposes only.
While i added links in here for reference, and show the commands i used, you will want to doublecheck installation instructions as they may change as software is upgraded.
Lets get started with the Raspberry Pi Ravencoin clock project.
Parts Needed
- Raspberry Pi – (I used a model 3, but models 2 & 4 are also supported for this)
- Micro SD card for the Raspberry Pi OS. (I think an 8Gb – 32 Gb is fine. I used a spare 64Gb I had.)
- Raspberry pi power supply.
- Raspberry Pi screen for your model. (I chose a 5 inch model w/ frame from Amazon.)
- I did need a small Philips head screwdriver to put together the frame.
Getting Started
Install Raspbian
First you need to get you Raspberry Pi up and running. Here are the steps I used.
Download and install Raspbian from raspberrypi.org LINK
I chose the full version “Raspbian Buster with desktop and recommended software”
Follow their installation instructions. The only issue I had was that since I was using a 64GB microSD card, I needed to use a special program to format it to FAT32. If you use a smaller card this should not be a problem. They do mention this in the installation instructions.
Once you have the image written onto your MicroSD card, go ahead and plug it into your Raspberry and hook up a monitor and mouse and boot it up.
FYI – When booting the first time I did see stuff on the screen then it went blank for about 5 – 10 minutes while it finished up the process.
Once you get a desktop screen the wizard will pop up. I assigned a new password and followed the setup instructions.
You are done with the Raspbian install.
Install Magic Mirror 2
Here is a link to the Magic Mirror 2 site : https://magicmirror.builders/
To install Magic Mirror 2, I used the instructions found on their site, but instead of the manual install I used the automated install they mentioned from this github link – https://github.com/sdetweil/MagicMirror_scripts
Basically you can follow their detailed steps, but here is an outline of what I did.
Open a terminal program and entered the following command.
bash -c "$(curl -sL https://raw.githubusercontent.com/sdetweil/MagicMirror_scripts/master/raspberry.sh)"
A couple questions popped up asking for PM2 for autostarting I chose Yes, and Disable Screensaver I chose Yes.
Once it was installed and started you need to know a few commands.
To stop Magic Mirror click ALT key. This will open a menu at the top where you can quit.
You can also minimize Magic Mirror with the CTRL + M keys.
To stop Magic Mirror pm2 process or restart it you can run the following commands in the terminal window.
pm2 stop MagicMirror

pm2 start MagicMirror
Installing the Module
To be able to display the Ravencoin price I needed to install a third party module. They have a list of them on the MagicMirror main site I posted above. I used the MMM-CoinMarketCap 3rd party module. The nice thing abou tit was no API is needed to display currencies. A big thanks to glitch452 for making this awesome module. Here is a link to the 3rd party modules LINK.
Basically to install the module go to the GitHub HERE and follow the instructions. It was two commands for me. But I suggest checking the git to make sure nothing has changed with any updates.
cd ~/MagicMirror/modules

git clone https://github.com/glitch452/MMM-CoinMarketCap.git
He has very detailed instructions on how to configure the module. Basically you are going into you RPi and modifying a config.js file with a text editor. The config.js file you need to modify is located in /home/pi/MagicMirror/config
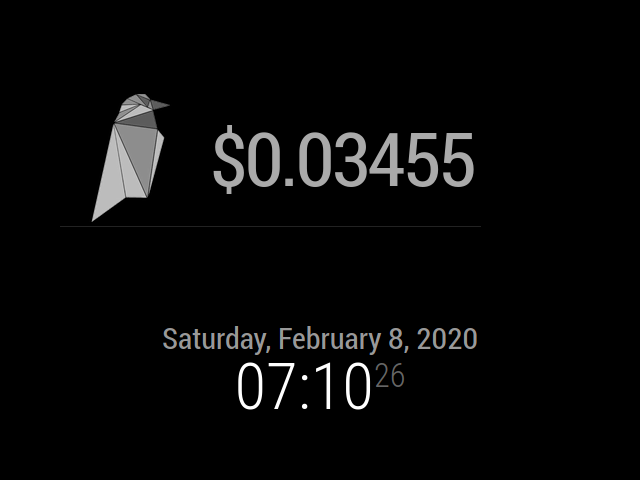
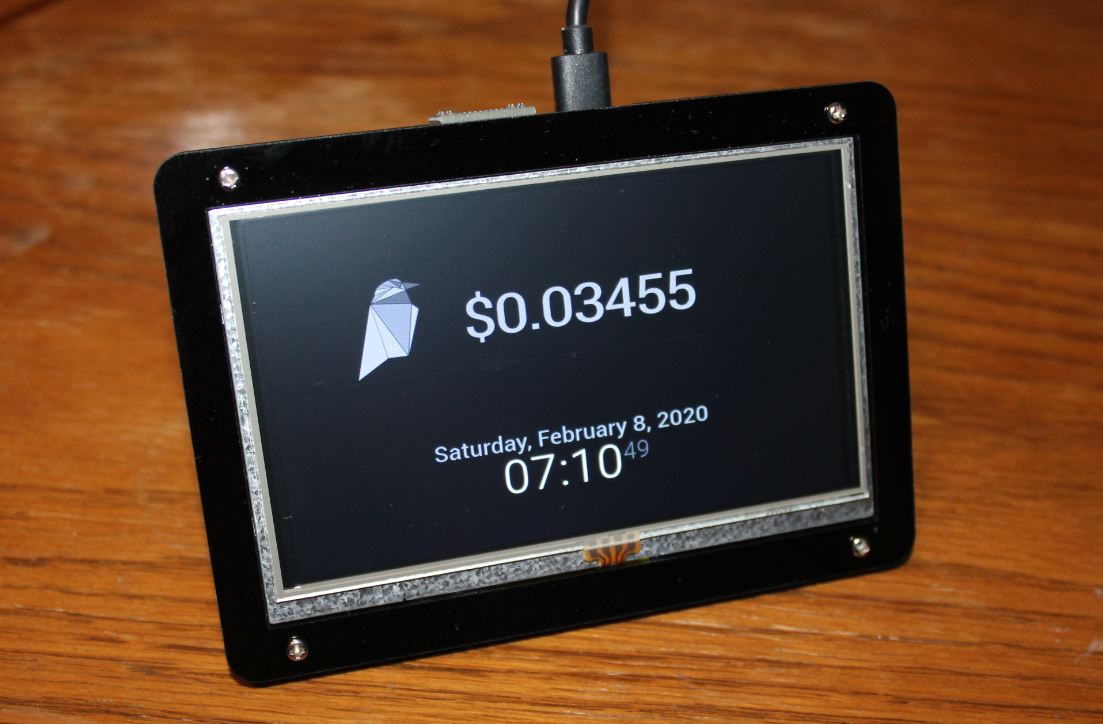
Here is what I added to the config.js file to get the Ravencoin price to display like the image below this. ( I also removed some of the sample models and moved the clock to the bottom in the config.js file)
		{
			module: 'MMM-CoinMarketCap',
			position: "top_left",
			config: {
			currencies: [{ name: 'Ravencoin', logoSize: 'x-large', logoColored: false, fontSize: 'x-large', percentChangeColored: true, significantDigits: 0, decimalPlaces: 5 }],
			showColumnHeaders: false,
			columns: [ 'logo', 'price' ],
			significantDigits: 3,
			decimalPlaces: 3,
			conversion: 'USD',
			graphSize: 'small',
			updateInterval: 5,
			graphRange: 7,
			}
		},
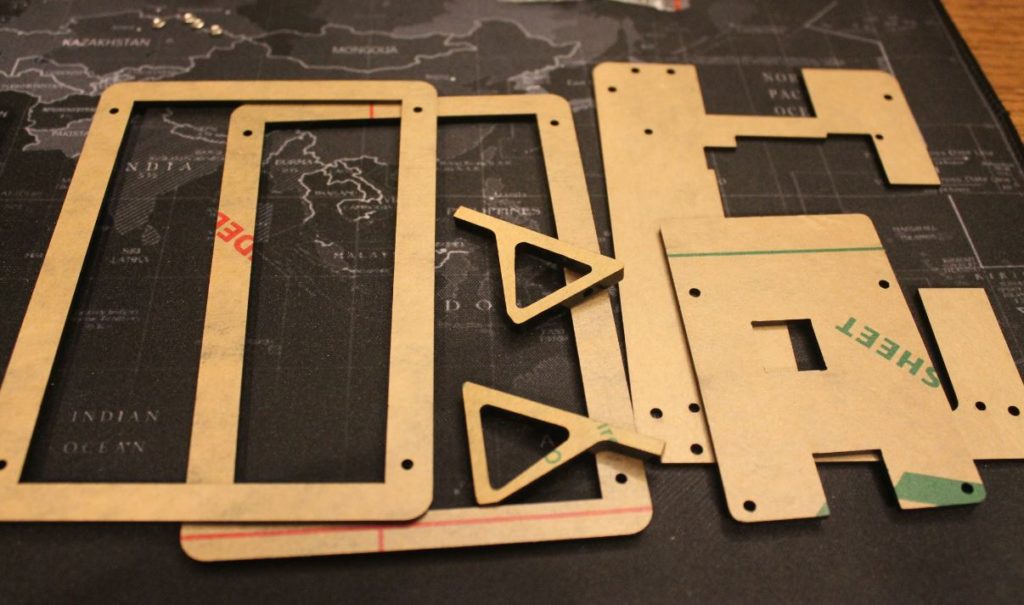
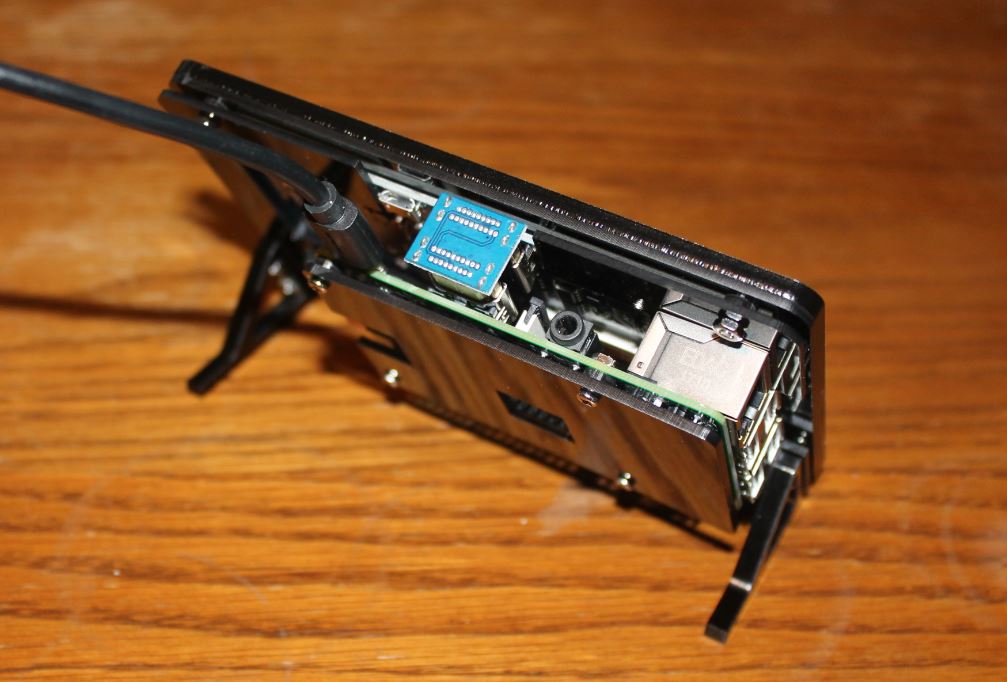
Installing the Frame.
This will vary depending on which screen and frame you get. But for me here are the parts that showed up. It was just a little time consuming to remove the brown plastic film. But it went together pretty easy.
Once i had the pieces together I could just attach my Pi to the screen header.
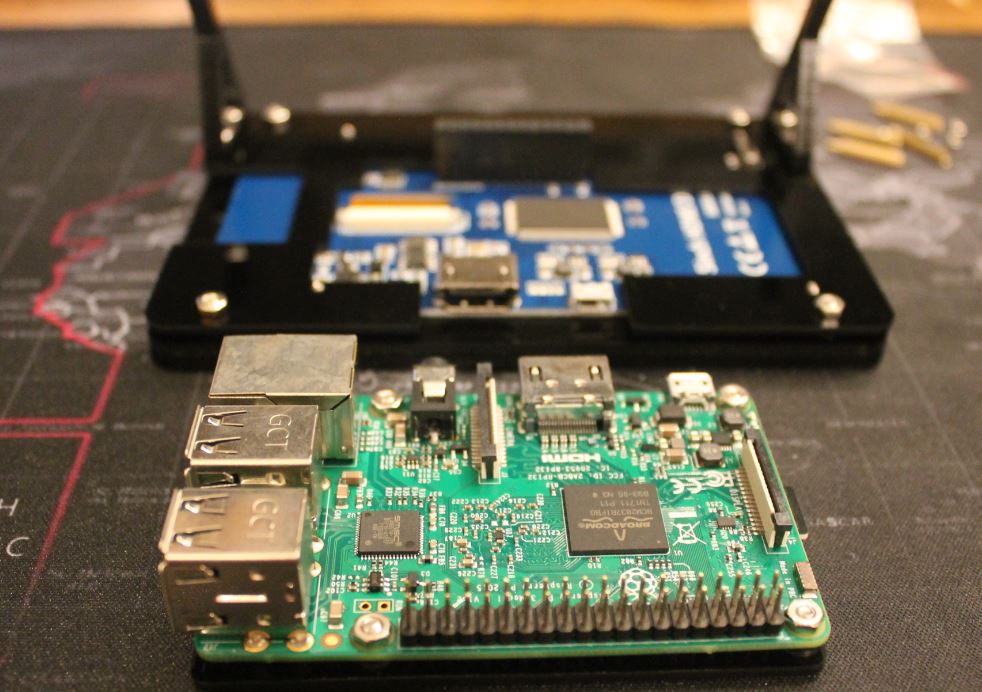
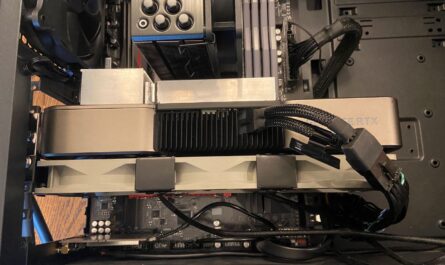
Luckily it went without a hitch and worked perfect. I have not bothered to turn on the touch controls yet, but may do that in the future. Here are a couple photos of the finished product.
Here it in from the front, I like the simplicity of black and white.
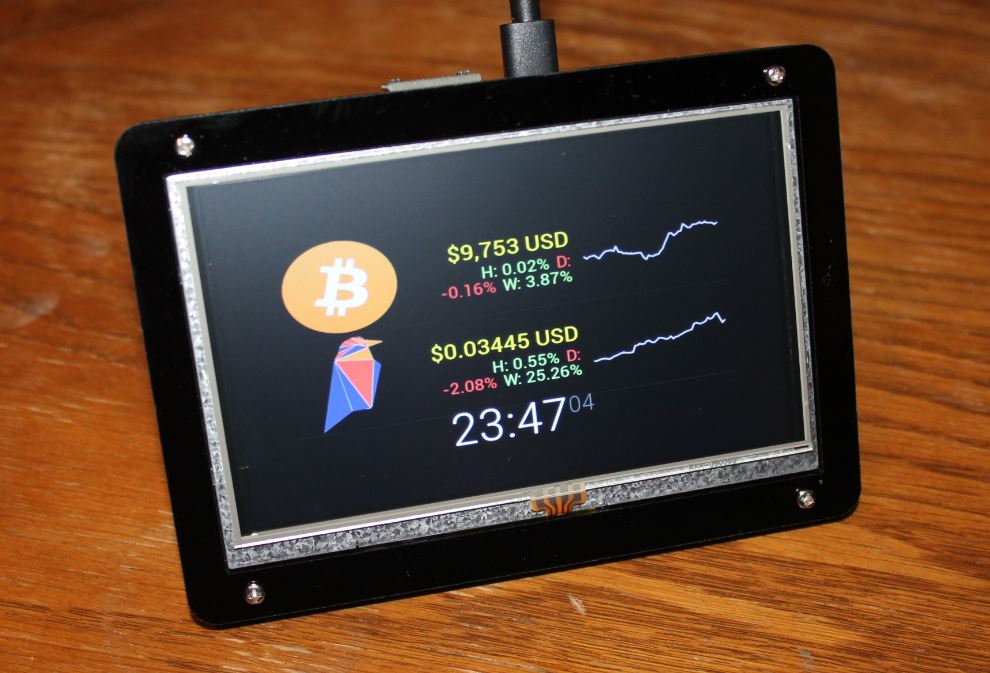
Another shot where I added Bitcoin and Raven together with a graph and price change along with color.
Summary
Well that’s pretty much it for the Raspberry Pi Ravencoin Clock Project. I want to thank the MagicMirror community as they made this possible with their opensource software and modules. Also to glitch452 to making such a cool and versatile module for cryptocurrency. Basically I did nothing special here, besides load up some software they developed. They made it super easy to follow along and was a fun easy project to complete.
Side note: Afterword’s I did notice my screensaver was still coming on.
To resolve this I installed xscreensaver and disabled it. Here are the command I used:
sudo apt-get install xscreensaver
sudo reboot
Once rebooted I opened the desktop start menu
Go to Preferences > Screensaver
In the mode dropdown menu, choose Disable screensaver
If your interested in adding a view only address to your Ravencoin QT wallet you can see this post here.