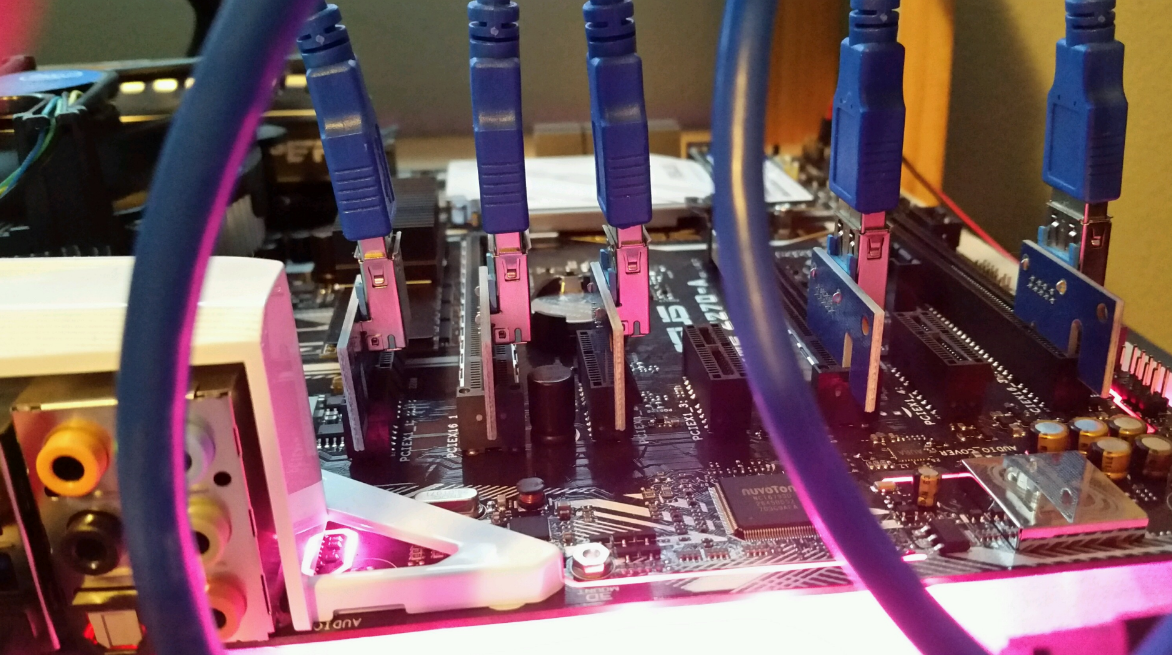
Decision time.
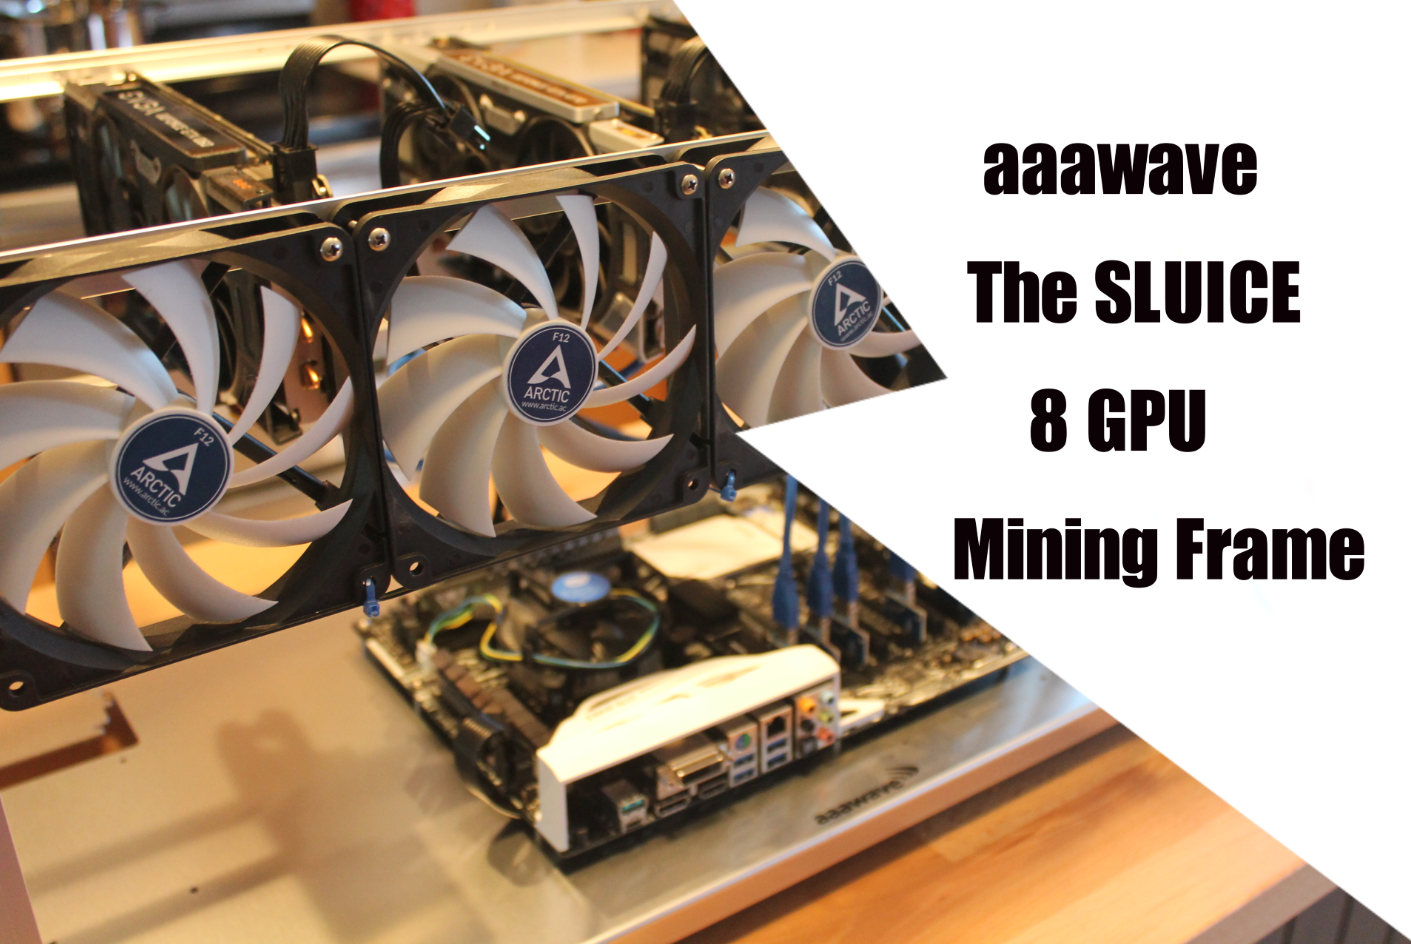
I decided to keep moving forward and go ahead and transfer everything into “The Sluice”. I just really liked the feel and look of it. Plus the simplicity. Its really versatile for placement of the power supply, I like the motherboard layout, and I was curious how it would look.
Assembly continued.
First I started by installing the power supply. It uses the two of the Q2 bolts to mount it. I chose to mount it on the right side on the outside spot.
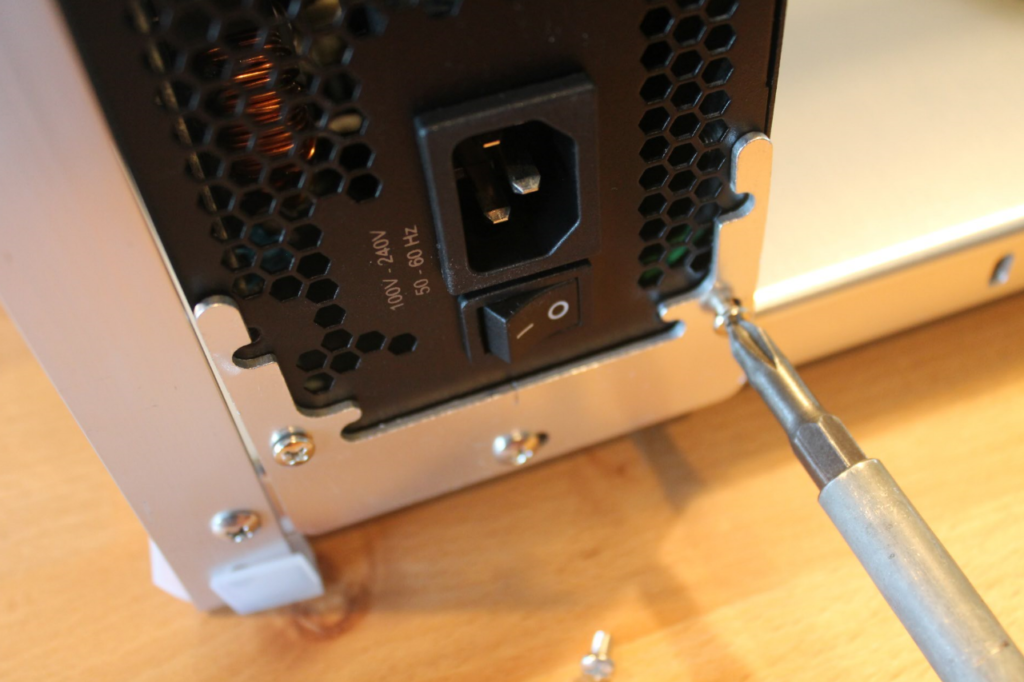
Here is the power supply installed. I also chose to have the fan on the inside facing the Motherboard direction. It will pull air from the motherboard side and exhaust it out the back.
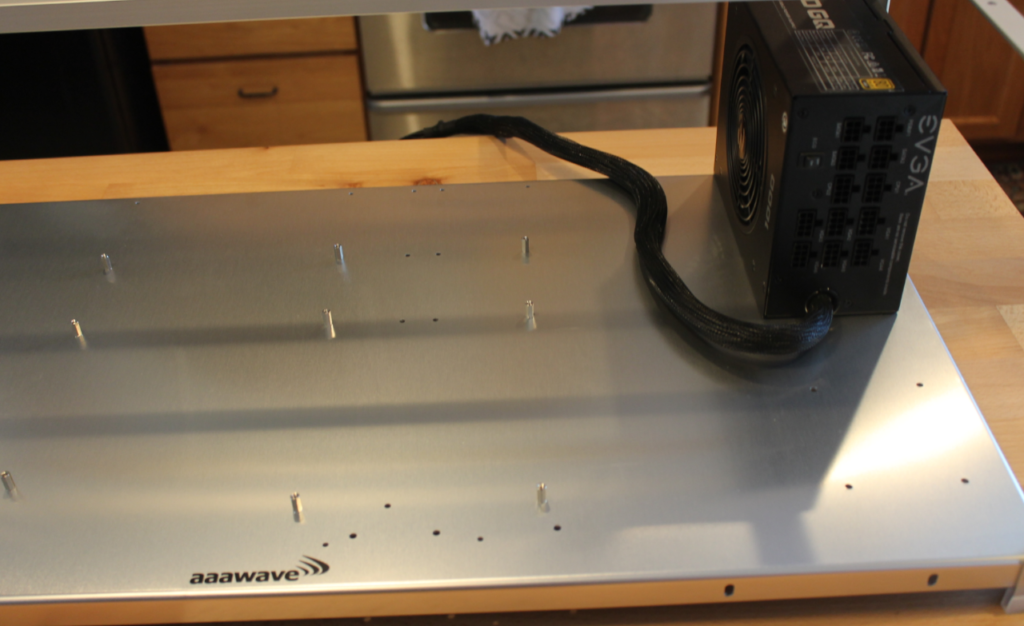
Next I mounted the Motherboard onto the standoffs.
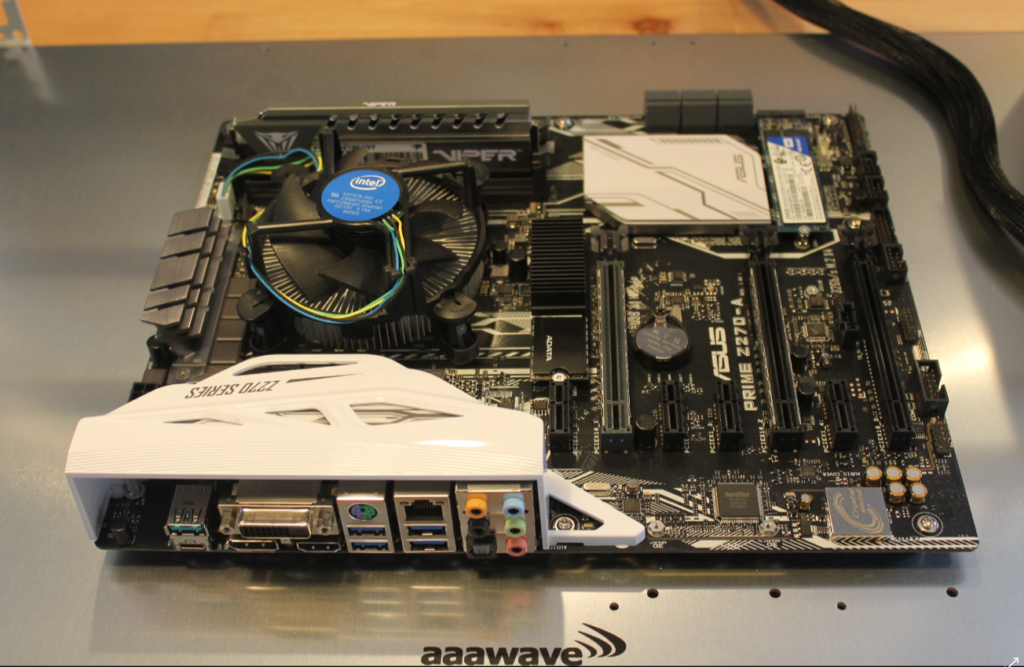
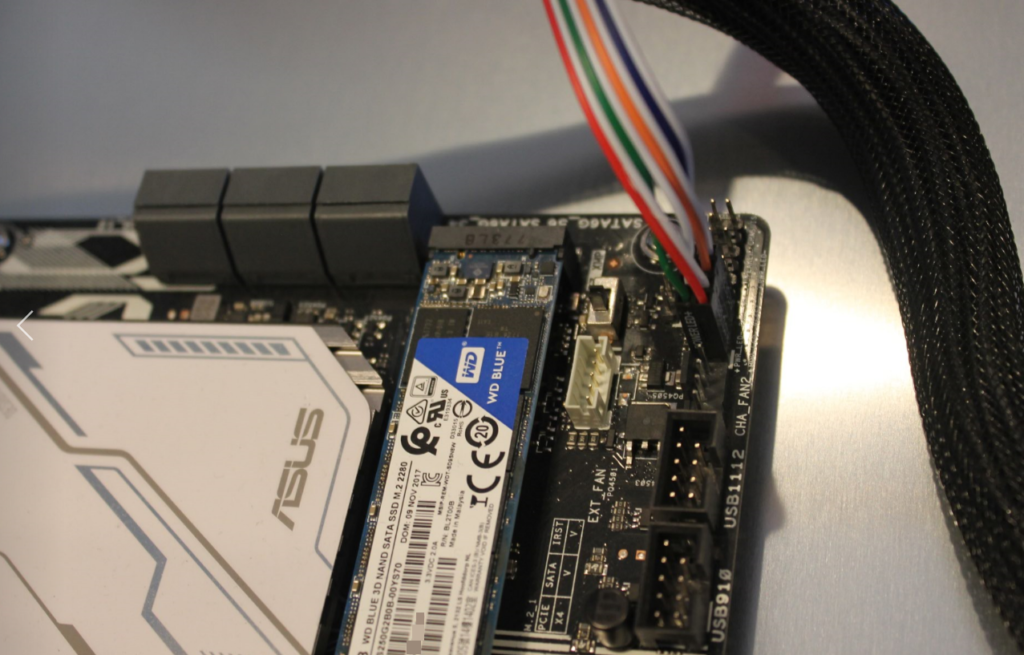
I went and installed the included power switch onto the motherboard .
Next I started installing video cards. This was another area that saved time as I did not need to install standoffs for the PCI risers. They just sit on the cross bar. This is a really fast rig to set up. I used the Q3 bolts to mount the video cards. One Q3 bolt per card. It was really easy to adjust the D5 bar for the video card mounting as it slides up and down.
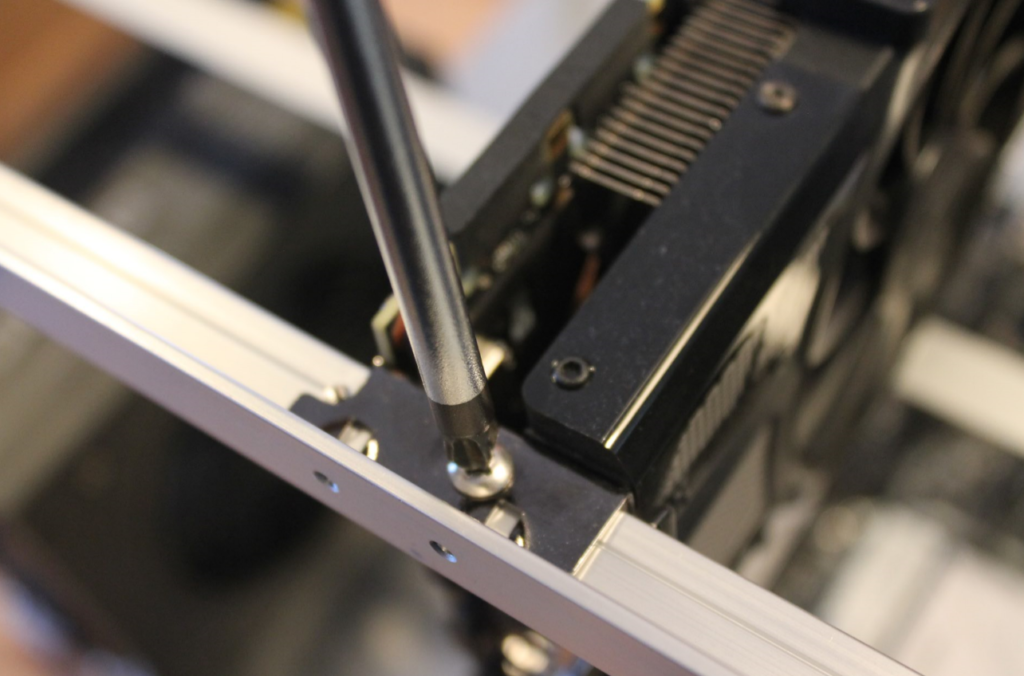
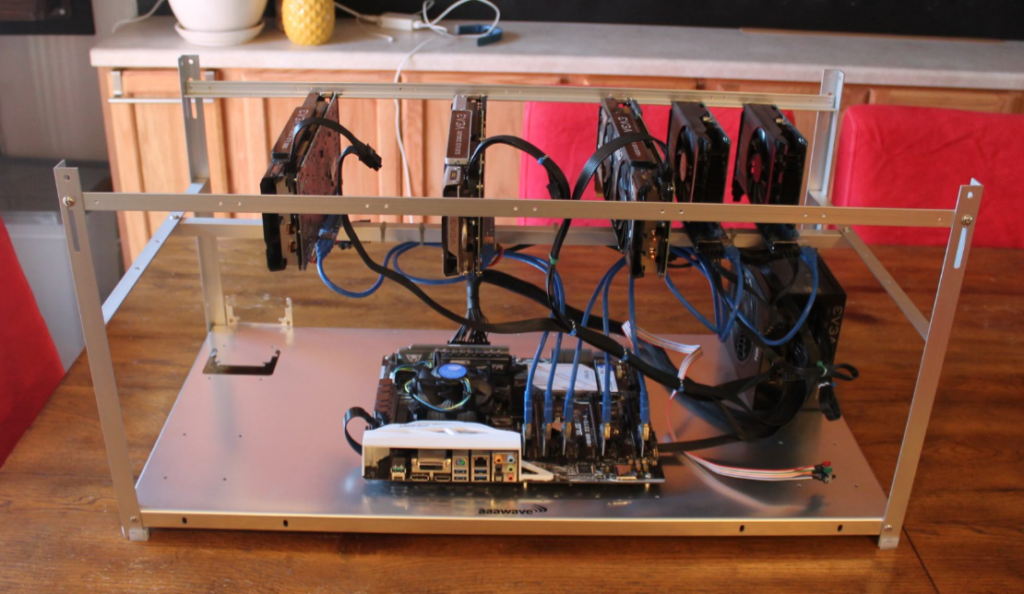
3 cards mounted so far in this picture. I decided to leave a gap between the cards as I had plenty of room. I only have 5 cards currently.
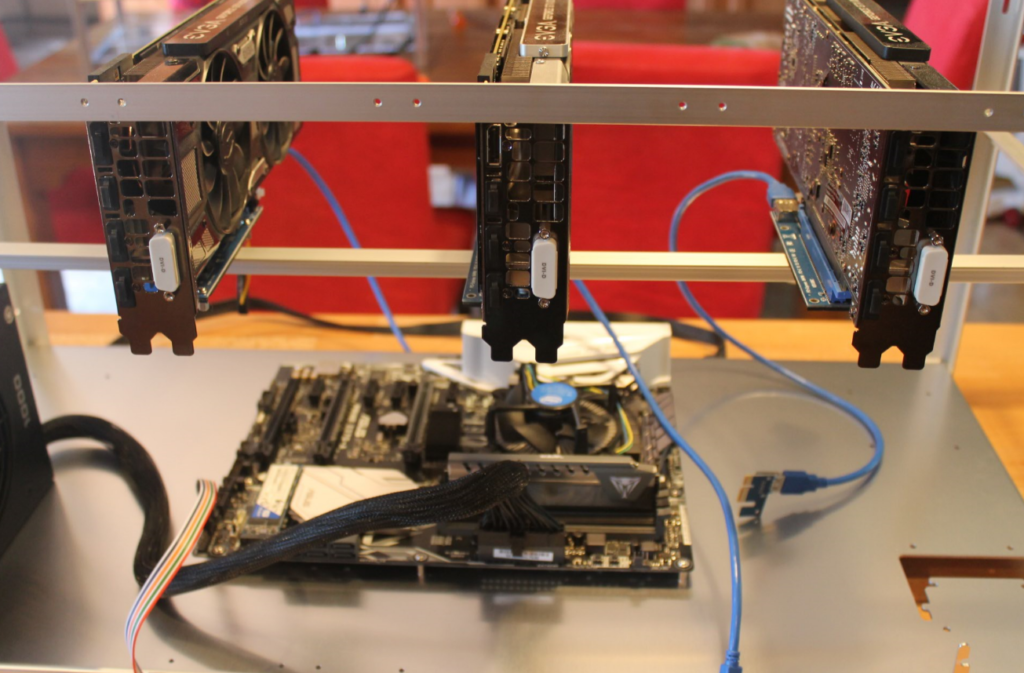
Here you can see how the PCI riser boards just sit on the cross bar. It seemed plenty stable.
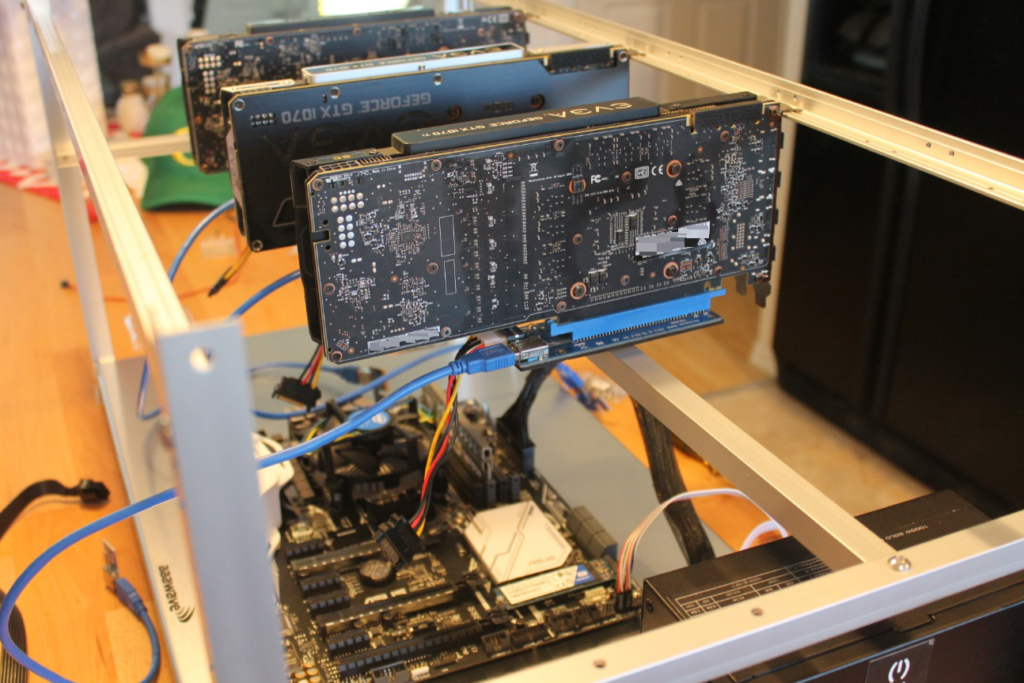
All 5 cards installed now. They are all NVIDIA, a GTX 1060, GTX 1070, GTX 1070 ti , and two GTX 750 ti’s.
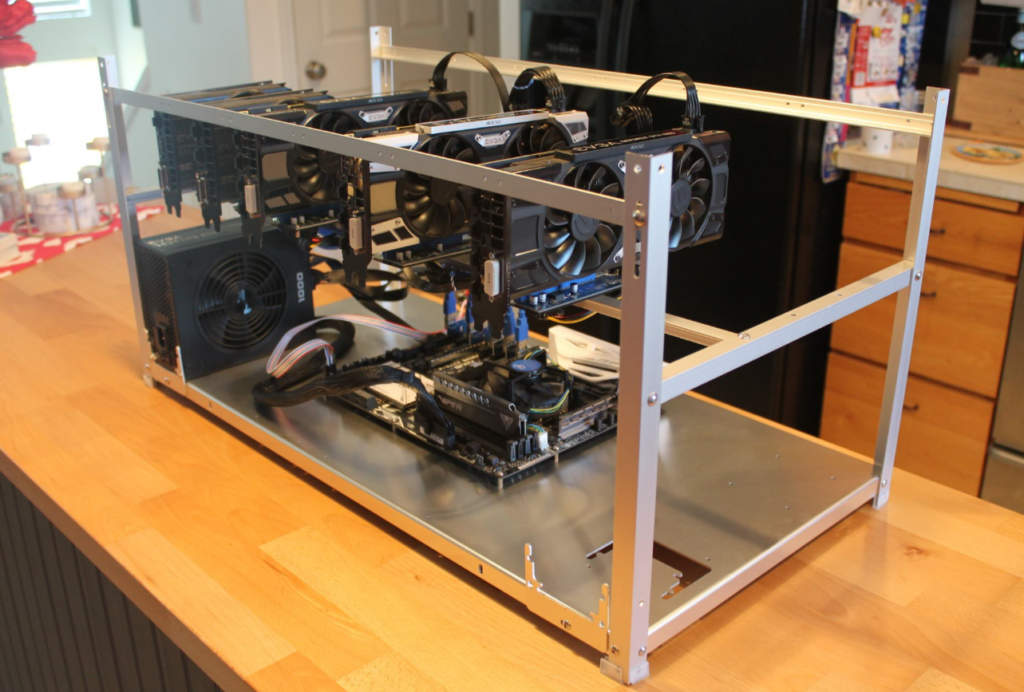
This is how it will look until you add fans. Some kits come with fans (If you pay extra) some don’t. But this will give you an idea of what it will look like just substitute with your gear in your mind.
