I got a great surprise from the folks at aaawave the other day. They offered to send me out their new mining frame to check out and review. The new mining frame is called “The Pan” and I was excited to check it out after viewing it on their website. Its a compact 6-8 GPU frame and VERY reasonably priced. (Under $50 dollars at the time of review).
Currently my mining rig was built using their Sluice model frame which is really a nice frame. I was anxious to see how this frame stands up.
Disclaimer: This article is not financial advice, or instructions on how you should do anything, it is for entertainment purposes only.
The unboxing
aaawave also sent me 4 of their new 120mm fans and PCI-E risers to review. Here is the box with “The Pan” mining frame and the fans and risers.
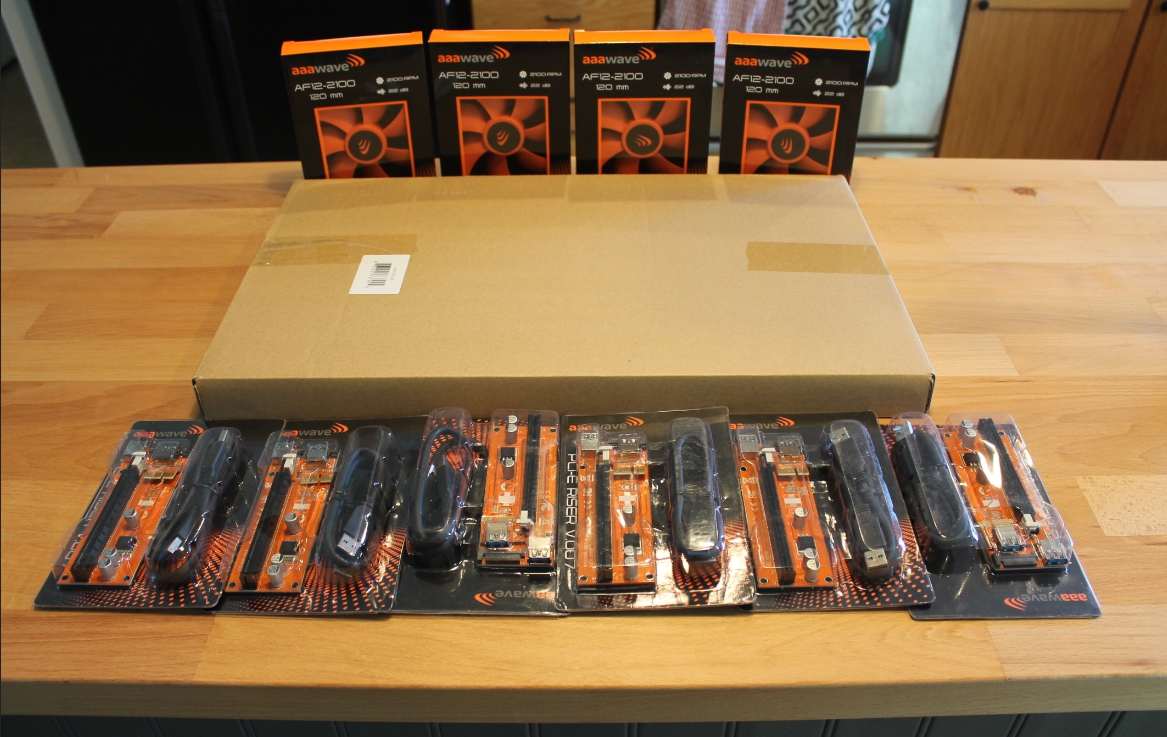
For reference here are links to “The Pan” mining frame, PCI-e risers and 120mm fans I am reviewing.
PCI-E risers
120mm fan
“The Pan” mining frame.
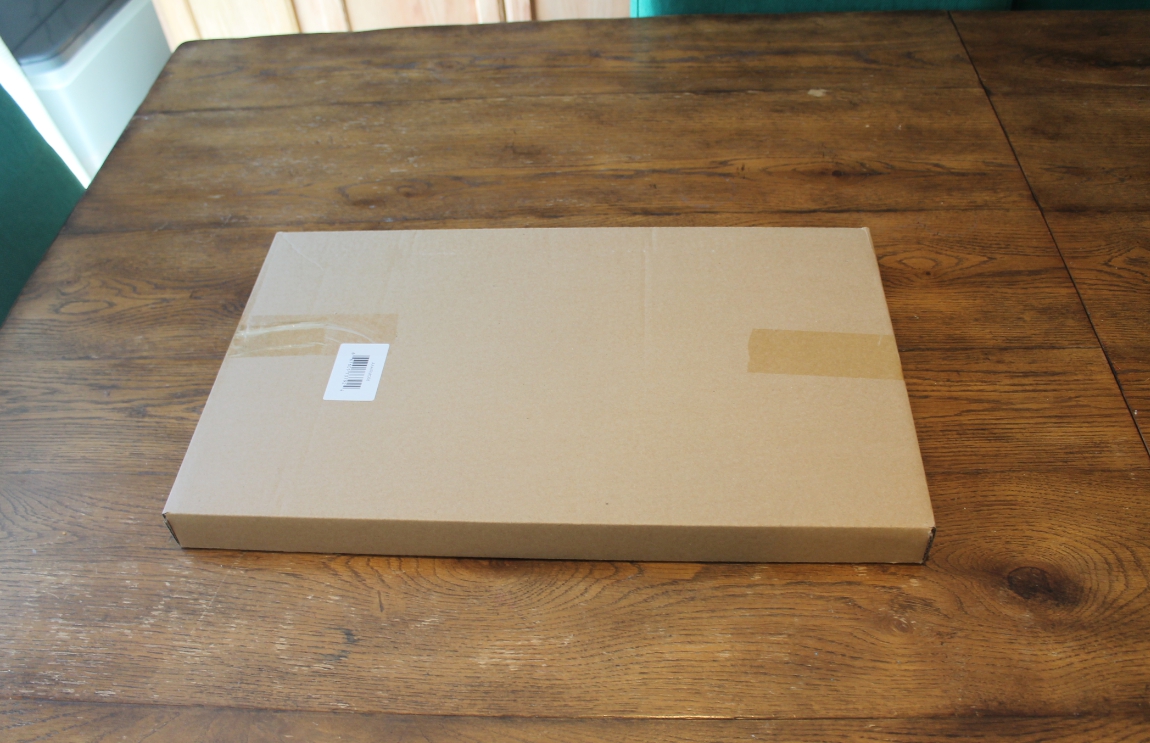
The fist thing I noticed was how small the box was. After putting together a few frames in the past, I really liked how easy The Sluice was to put together. I was hoping this model would be as easy and quick to put together.
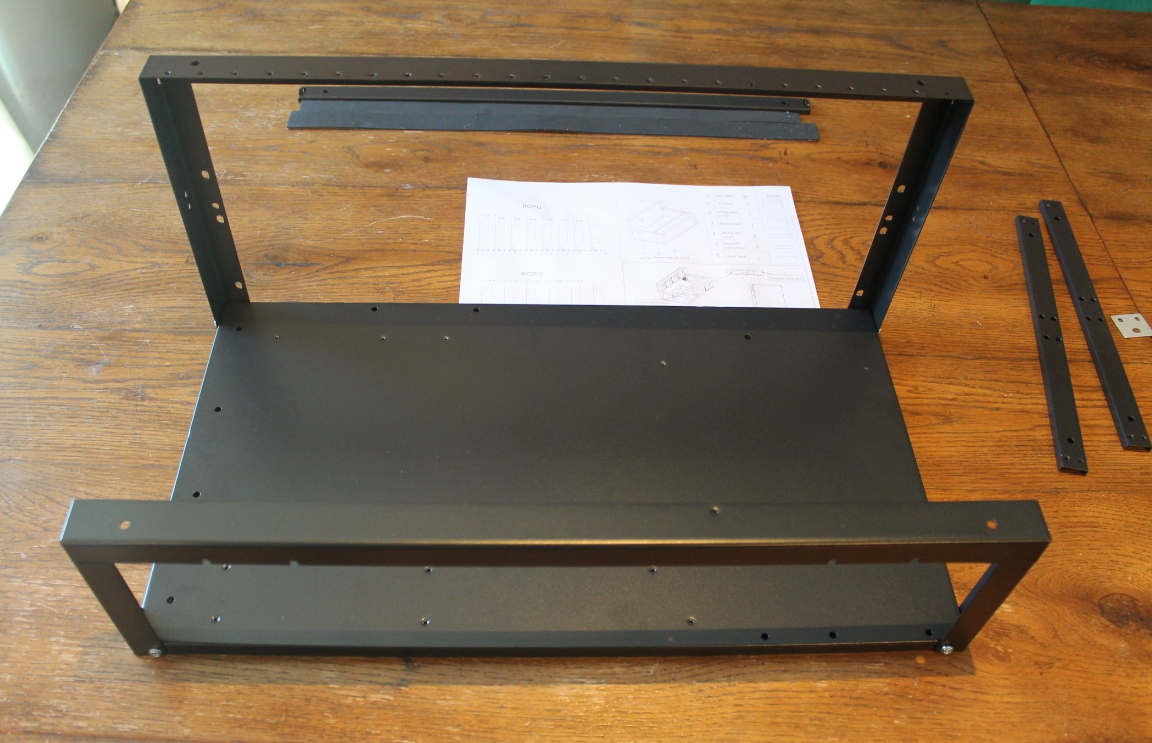
I popped open the box and pulled out the contents. This is what I found.
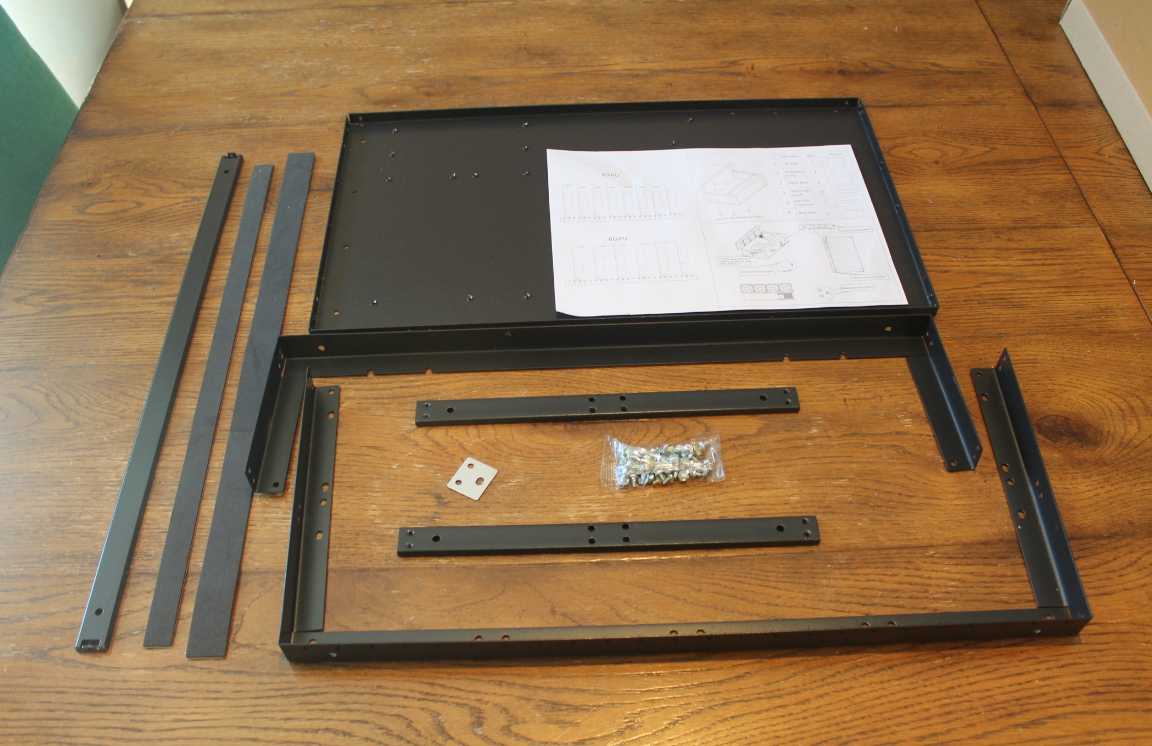
The Assembly
I was pleasantly surprised as I could already tell this would be a quick install. I was also really liking the base plate size as it was really compact. The base plate is tapped for the screws to just screw into, no nuts needed.

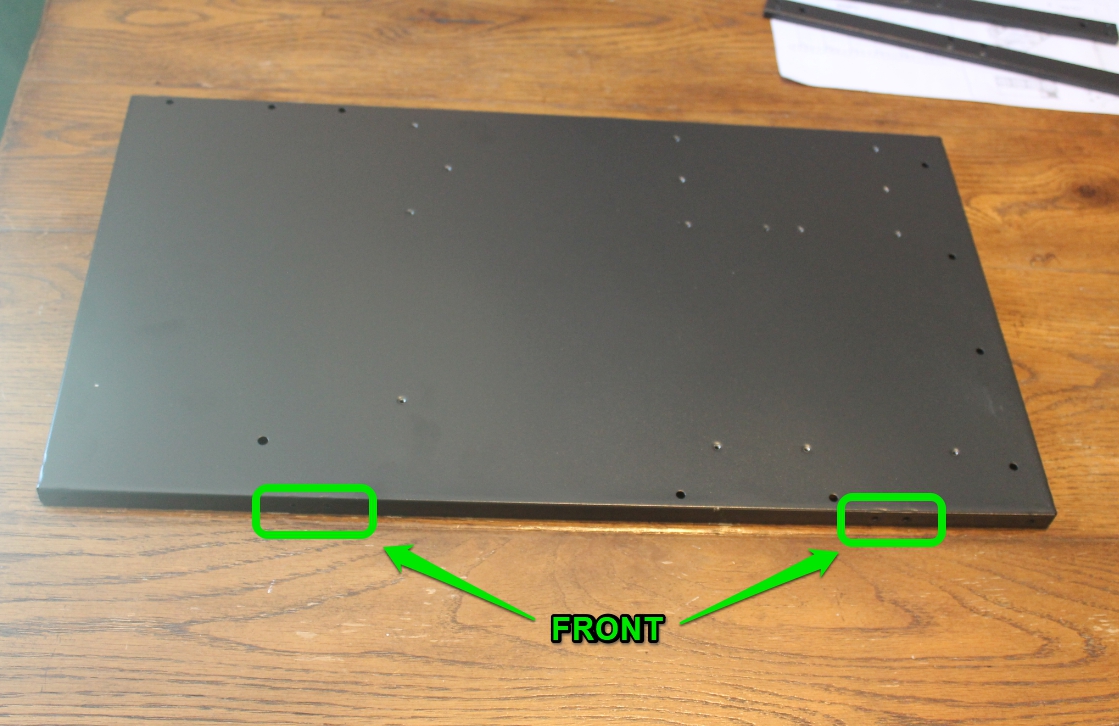
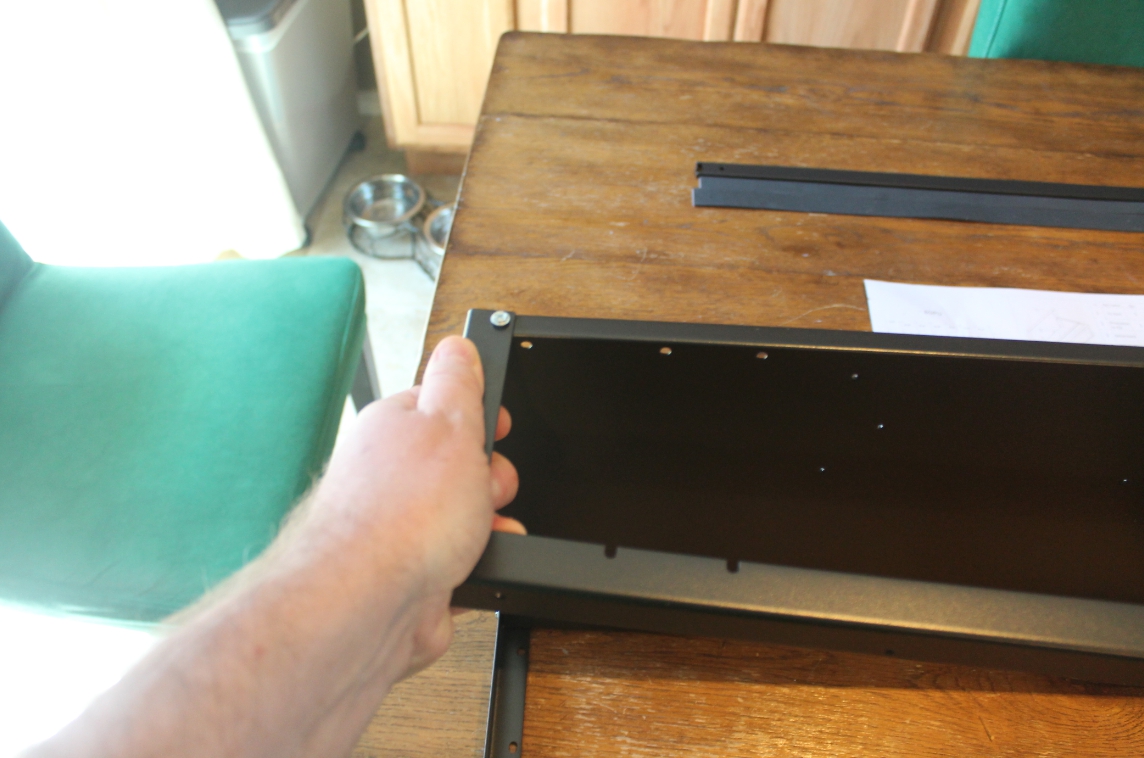
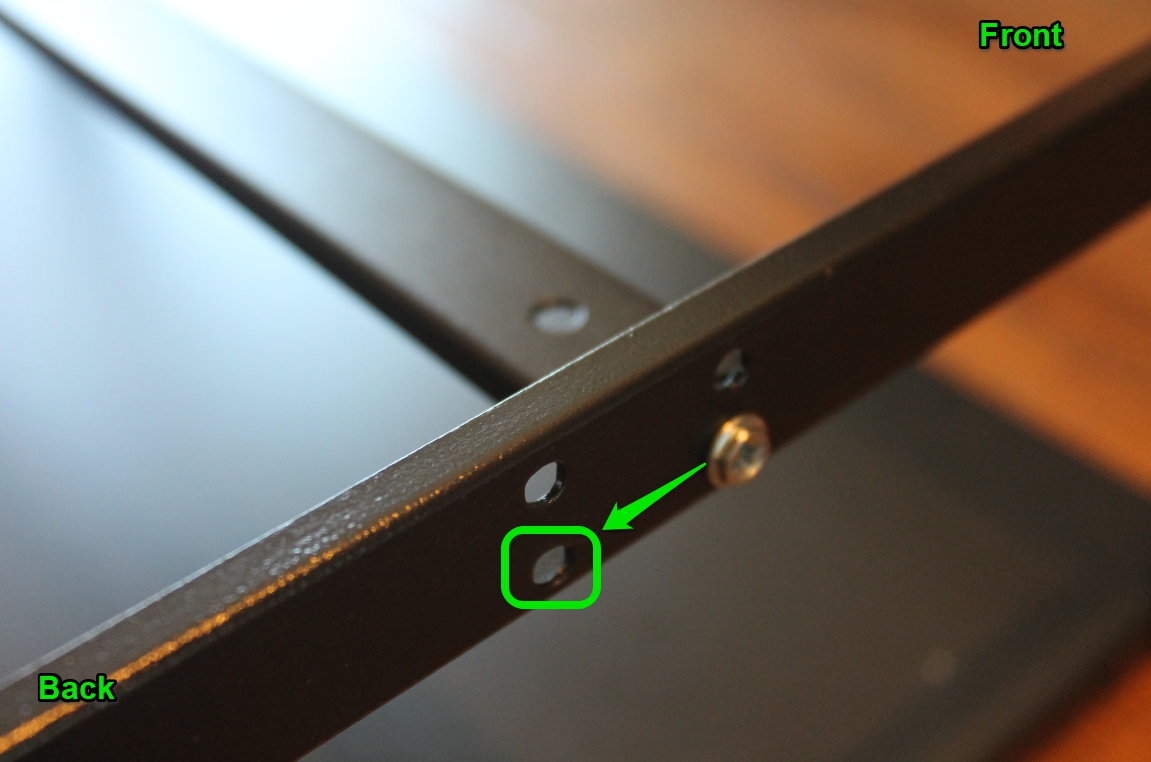
So starting with the base I found the front. Quick tip, the front has the screw holes in the long side for the power supply as seen below.
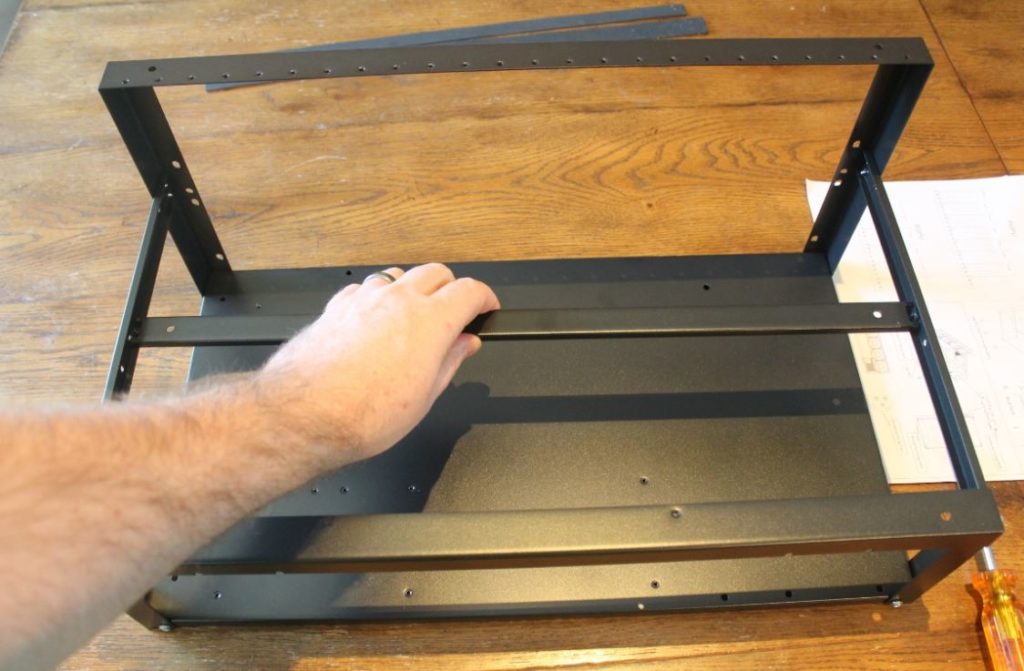
At this point I was ready to put it together. They did include instructions, but it was looking pretty straight forward. I quickly sorted the screws and got started. First was to grab the front tall bars that the GPUs will screw onto. The instructions call this the PCI rack. I went ahead and screwed this to the front side of the base. I left all the screws slightly loose for now, so all the other holes would fit. After completing everything I do a final tighten.
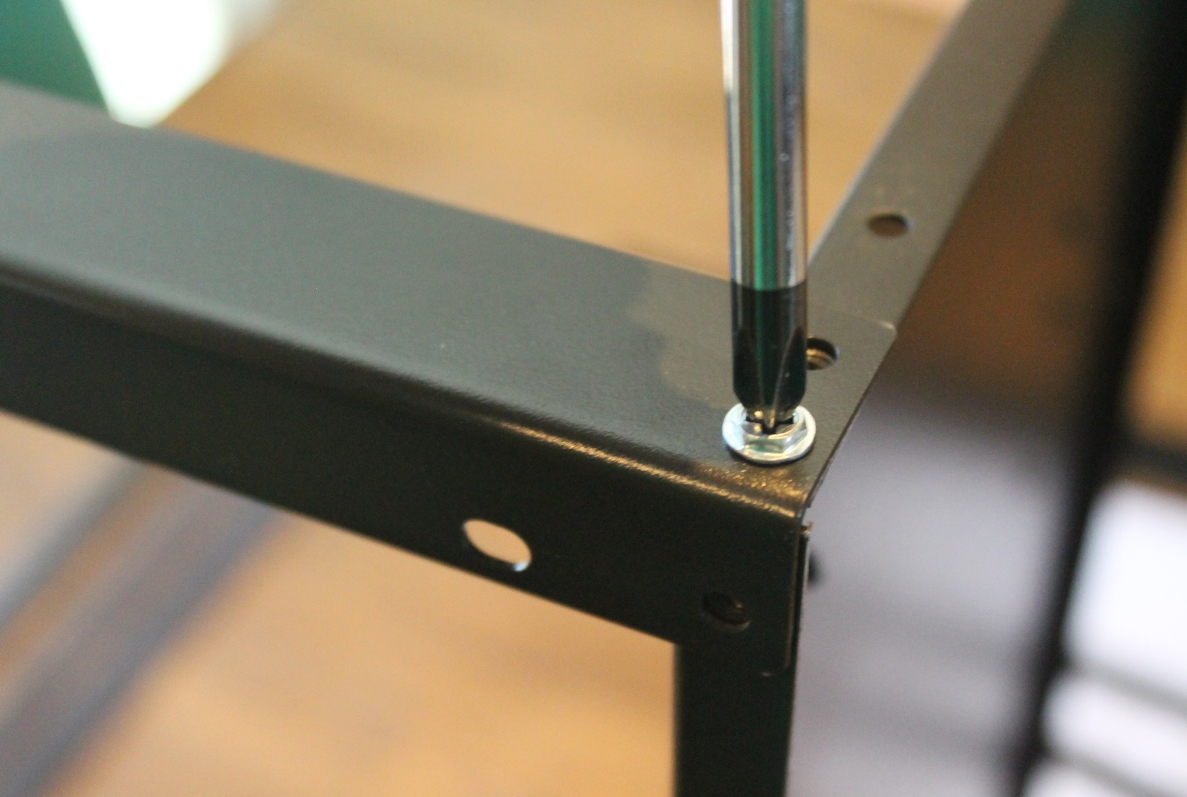
6 screw later and I had the front piece screwed into place.

Here is another shot, I could tell this was going to be crazy fast. So much nicer then having the Unistrut with those channel nuts.

Next was to do the same thing with the same shorter piece for the back rack.
Here it is with the front and back done.
Next were the side pieces.
4 screws per side and both sides done.

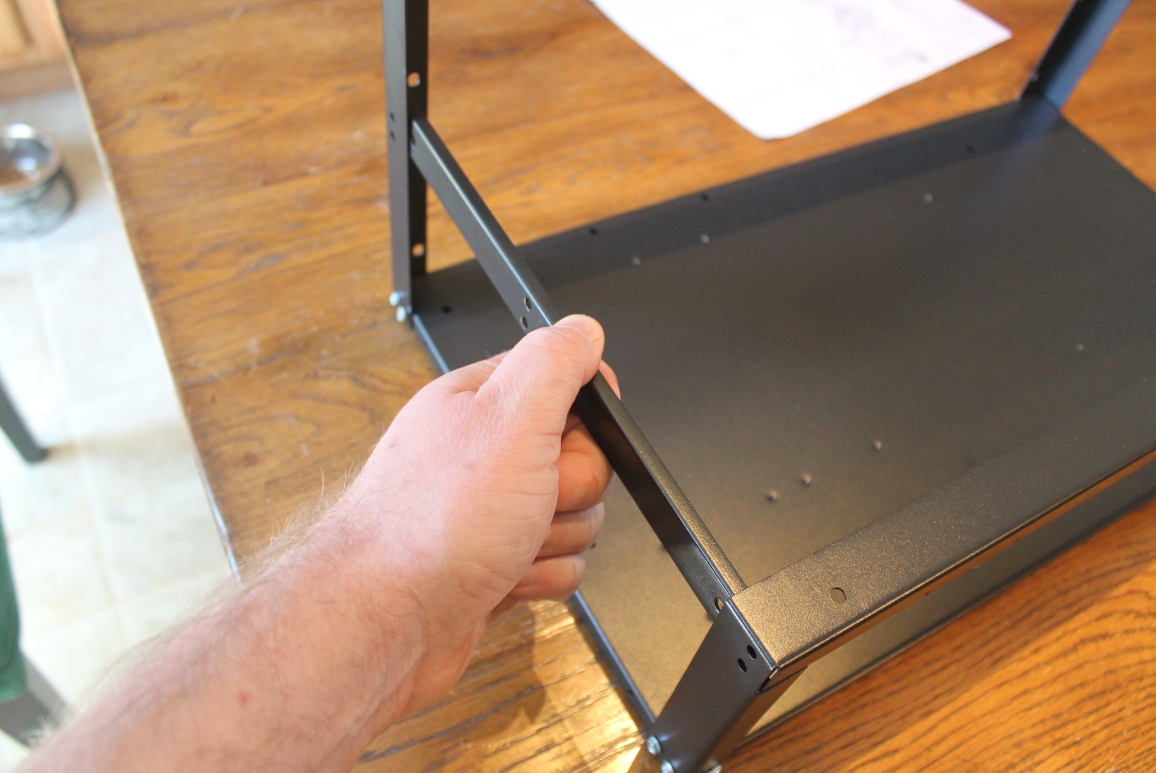
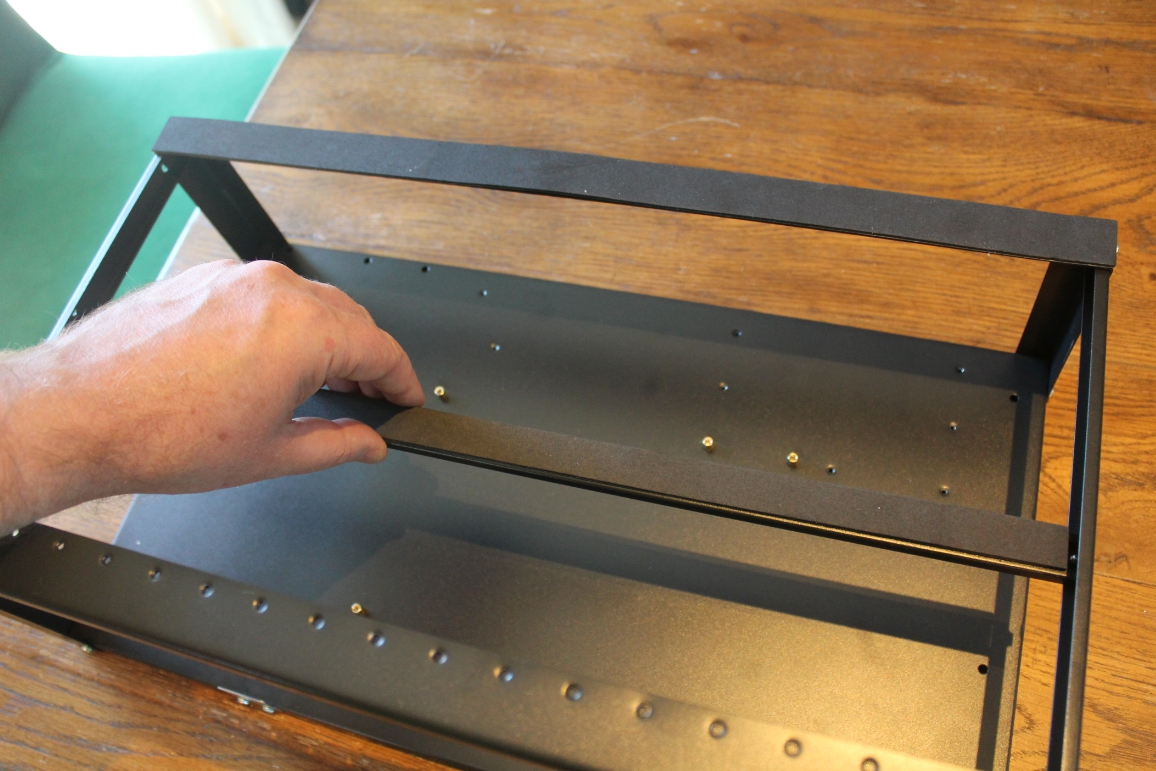
Next is the middle bar to support the GPU’s.

I attached the bar to the lower screwhole.

** After taking these pictures and putting my video cards on, I decided it fit better by adjusting to use the screw towards the back side.
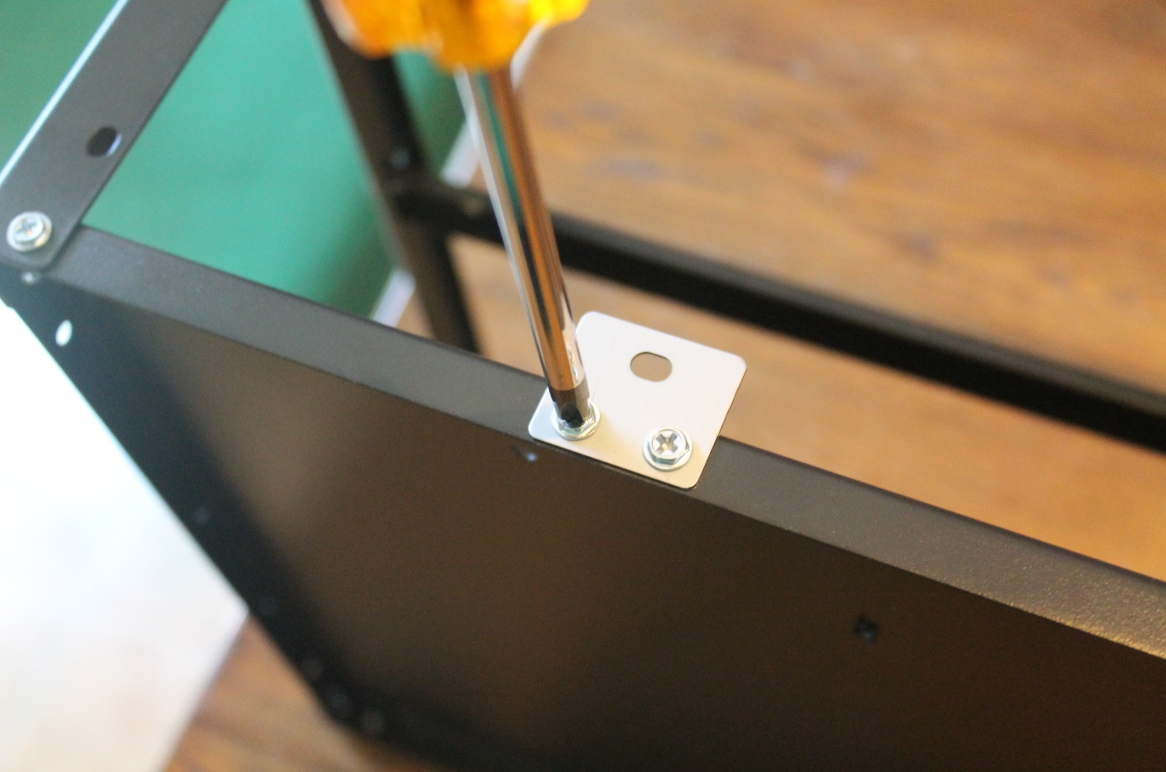
Next I mounted the power supply bracket to the front left side.
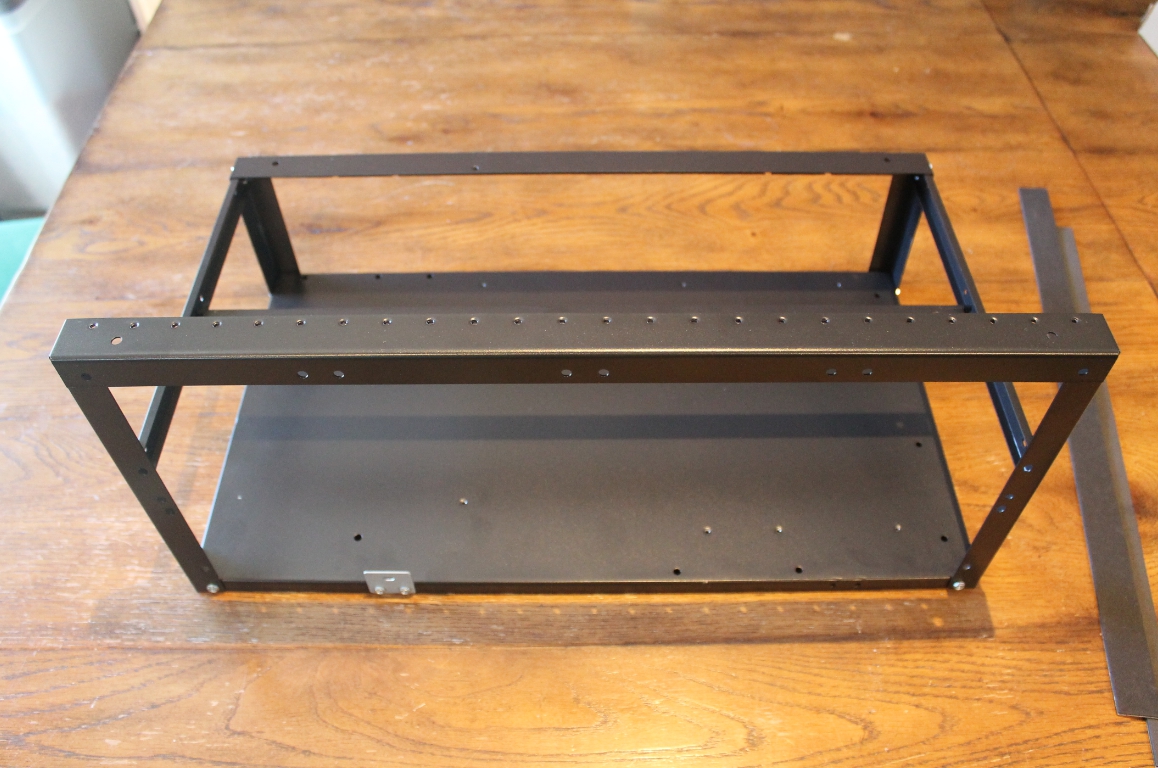
Here it is, Front, back, sides and middle assembled.
Now install the insulation strips on the bars the GPU’s will set on. They just attach with a double stick tape in the locations below.
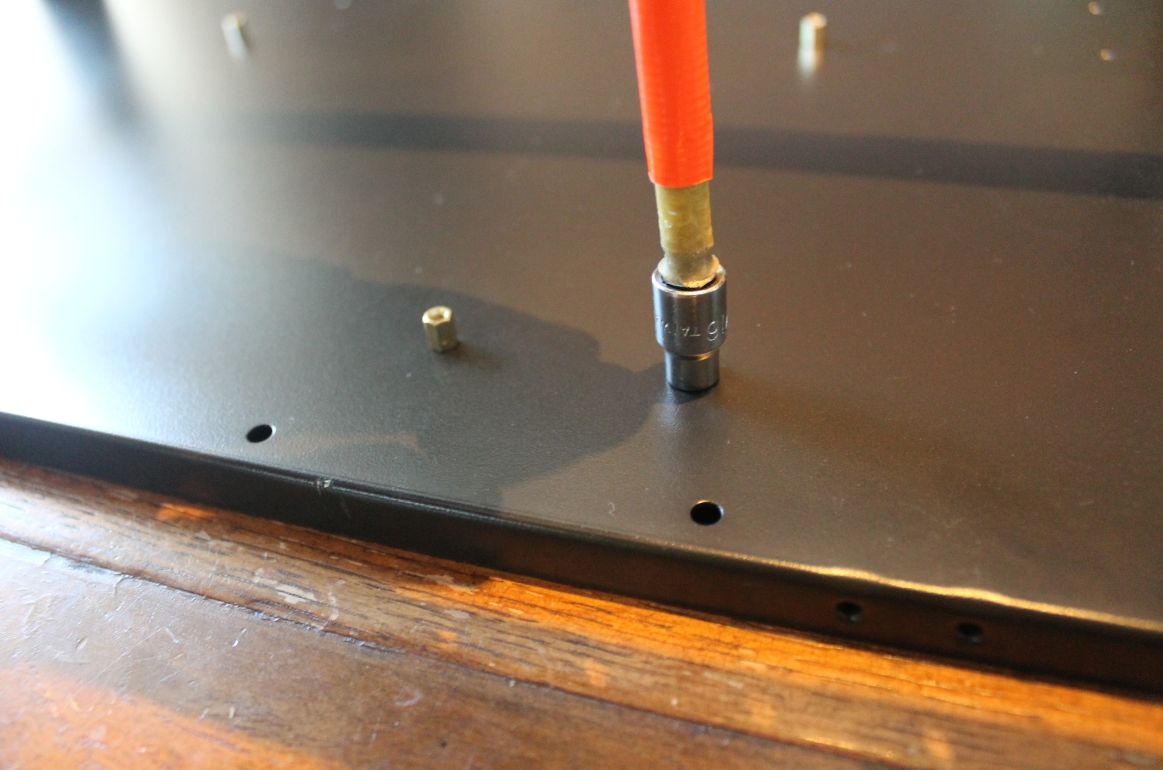
Next I went to install the standoff’s for the motherboard. This was a slight issue as the package only included 6 standoff’s. This may be enough for some motherboards, but my Asus Prime 270-A has 9 holes. So I had to had to go to my stash as I wanted to use all standoff’s for all 9 locations.
The Fans
Next was time to install the fans. Only 4 fans for this mining frame.

The fans screw in from the back of the front frame.
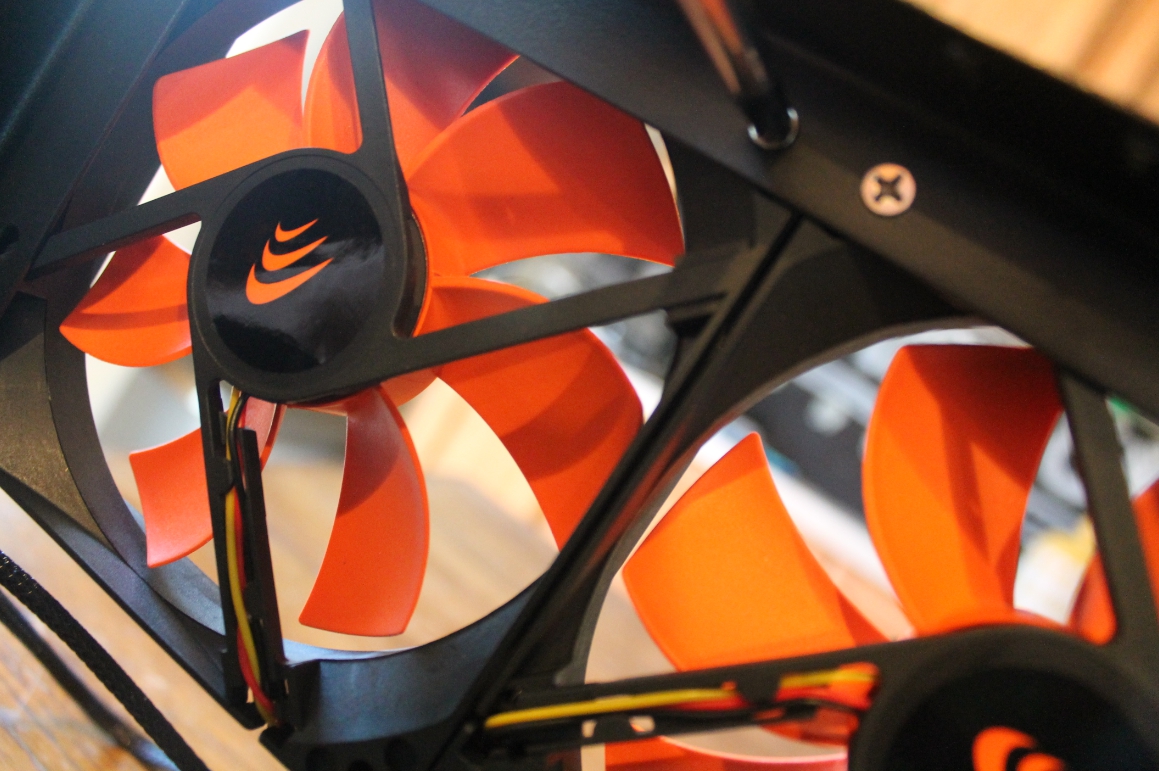
Here it is with the fans installed, It sure is a nice and compact frame.

With the assembly of the frame done, I was really liking the size of this frame compared to my other one, as it was much more compact. So I decided to mount my GPU’s and MB into it.
Mounting GPU’s, Power supply and Motherboard.
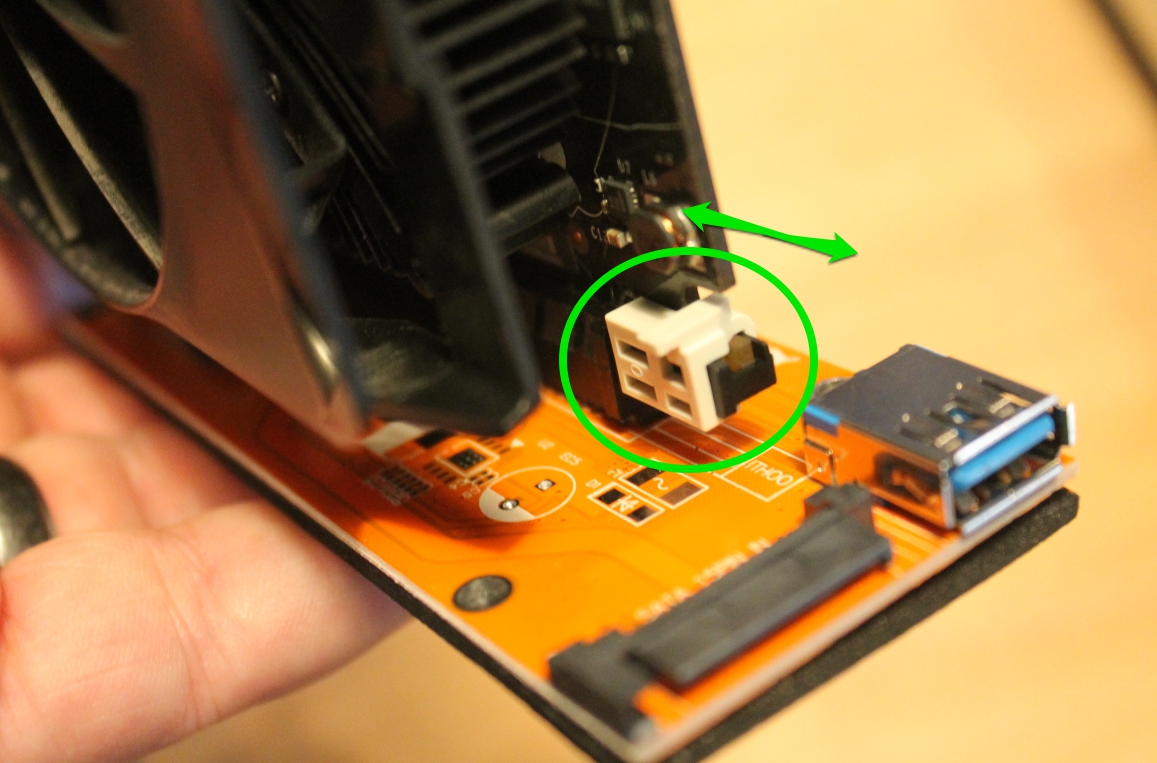
Since I was transferring the GPUs and MB and PS to the new frame, I thought I would try out the new PCI risers they sent. One thing I really liked about these was that they use a SATA power connector, not the 4 pin molex like my old risers.
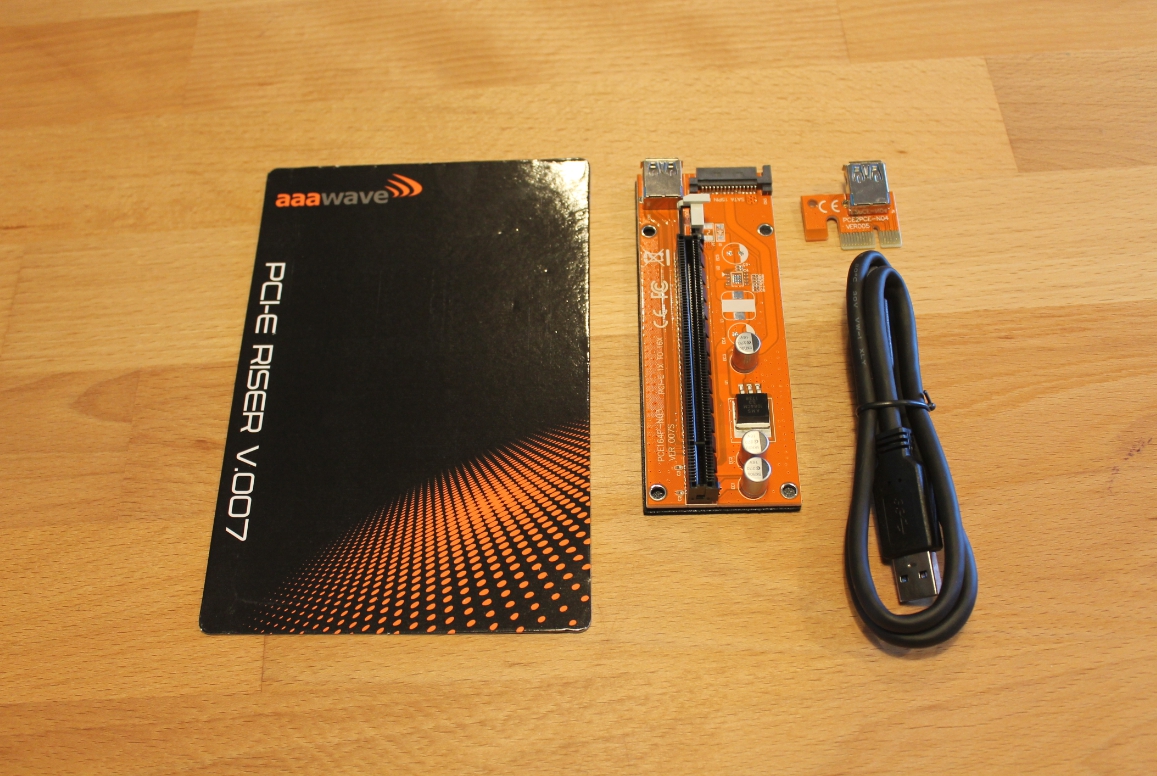
They also have this sliding lock to hold the tab on the GPU which is nice. The white tab slides back and forth. I liked this design as my older risers did not have this.
So I started by adding my power supply into the mining frame. Once installed was very stable.

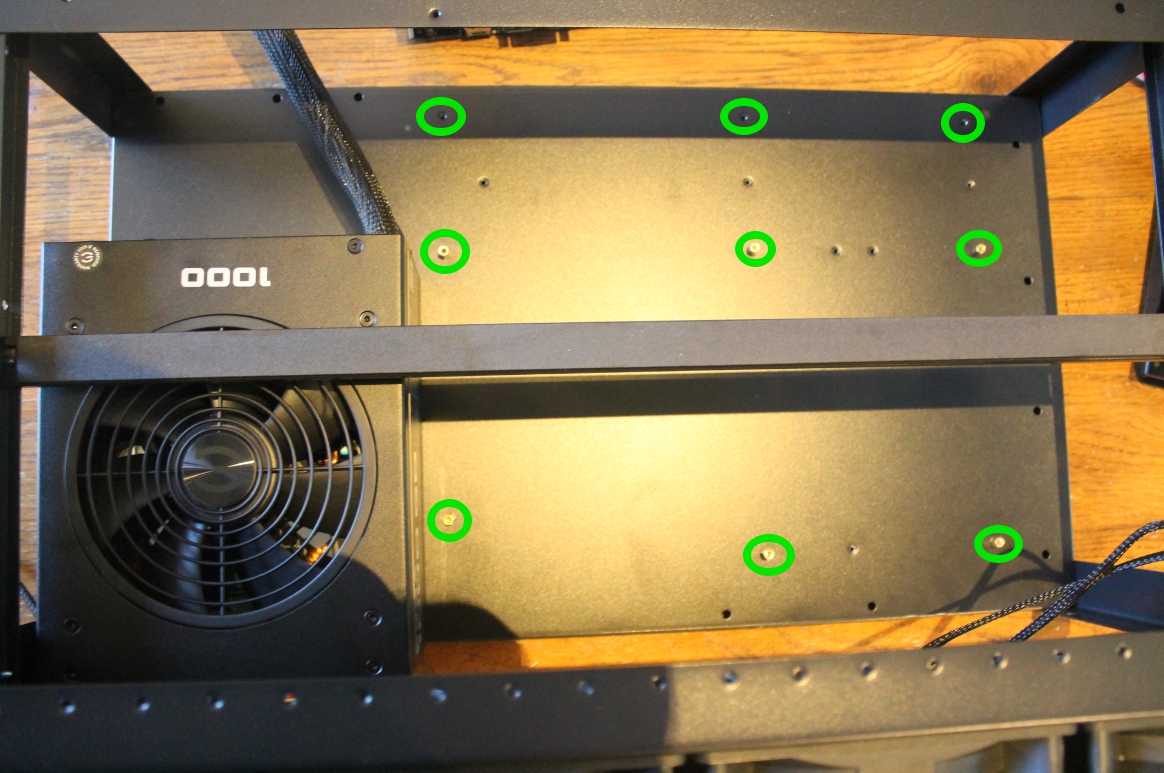
I added 3 more standoff’s for my motherboard in the following locations. Forgot to snap a picture. But circled all 9 locations.
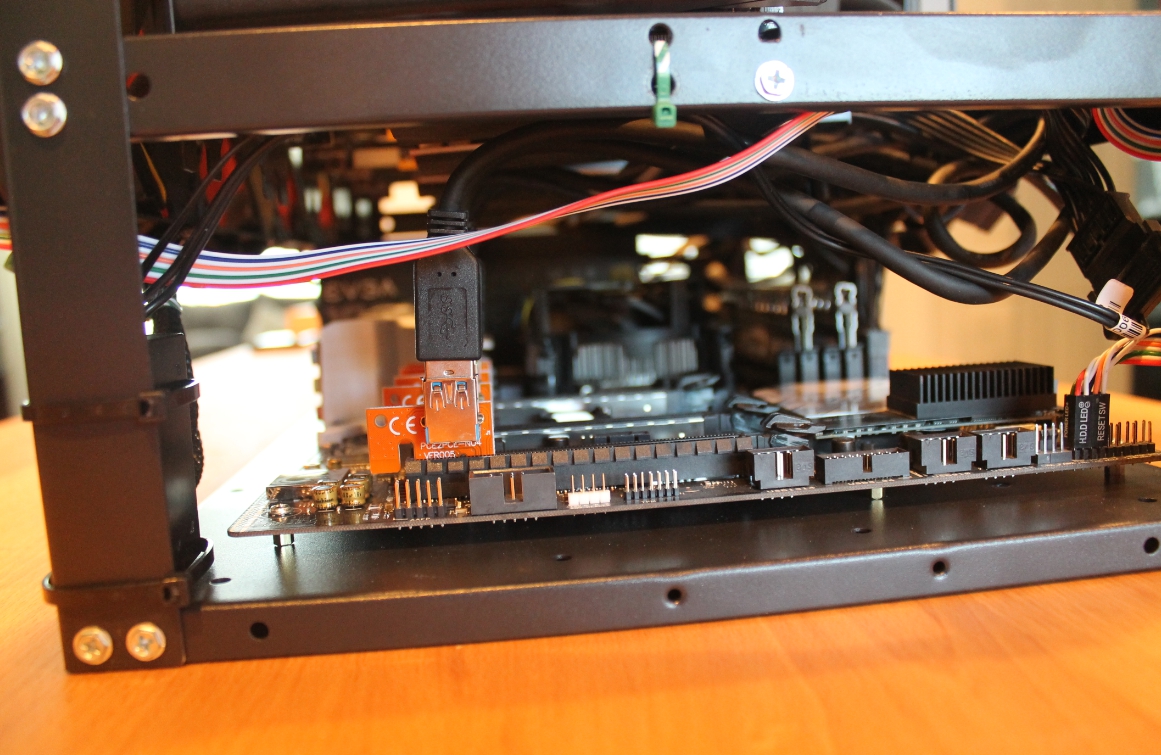
Motherboard installed and starting the PCI-e riser pieces.

Now to start adding the video cards.
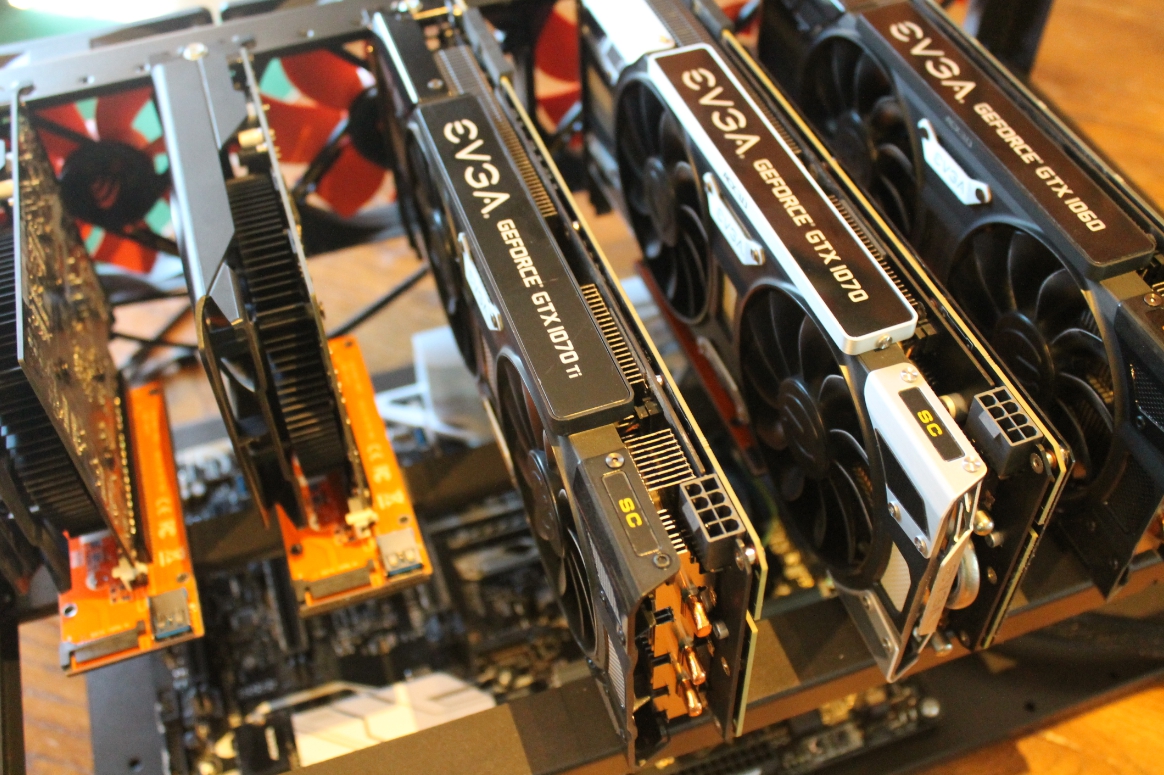
Its a tight fit, but that’s what makes this such a nice compact frame. It still had adequate air flow around the cards and power supply.
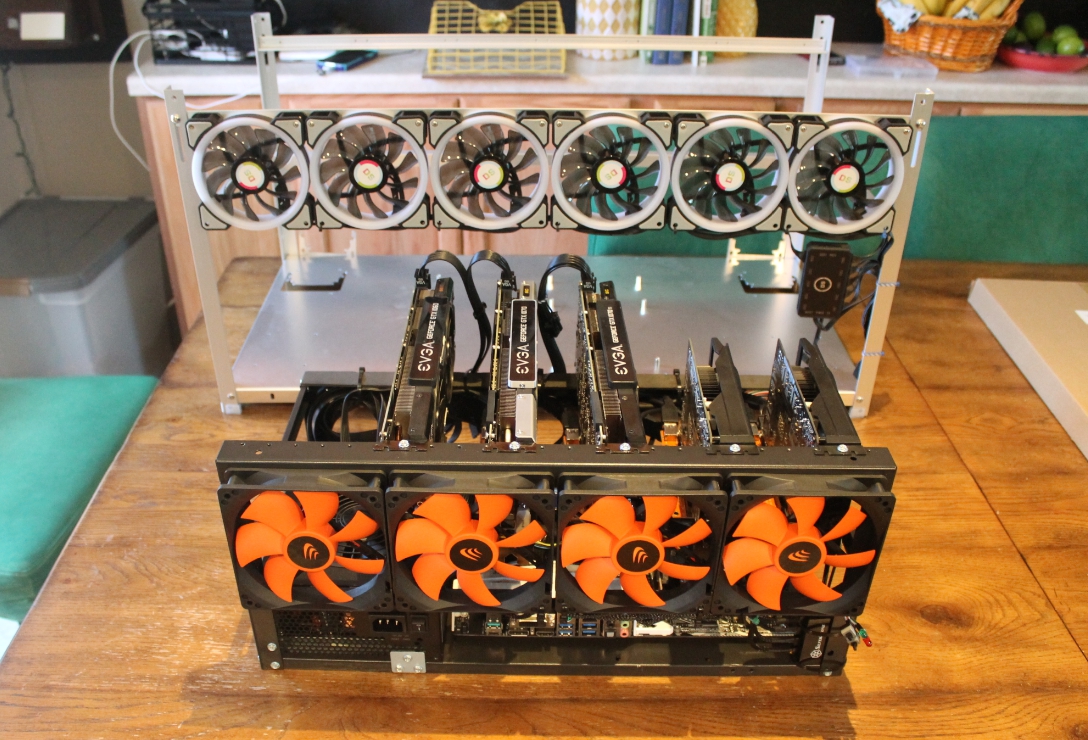
Here is a snapshot of the new “The Pan” sitting in front of “The Sluice” 8GPU model. The Sluice is really nice and stackable and allows for more room between cards. But I am really liking how much smaller of a footprint “The Pan” has. It makes for a tough choice to choose between them.
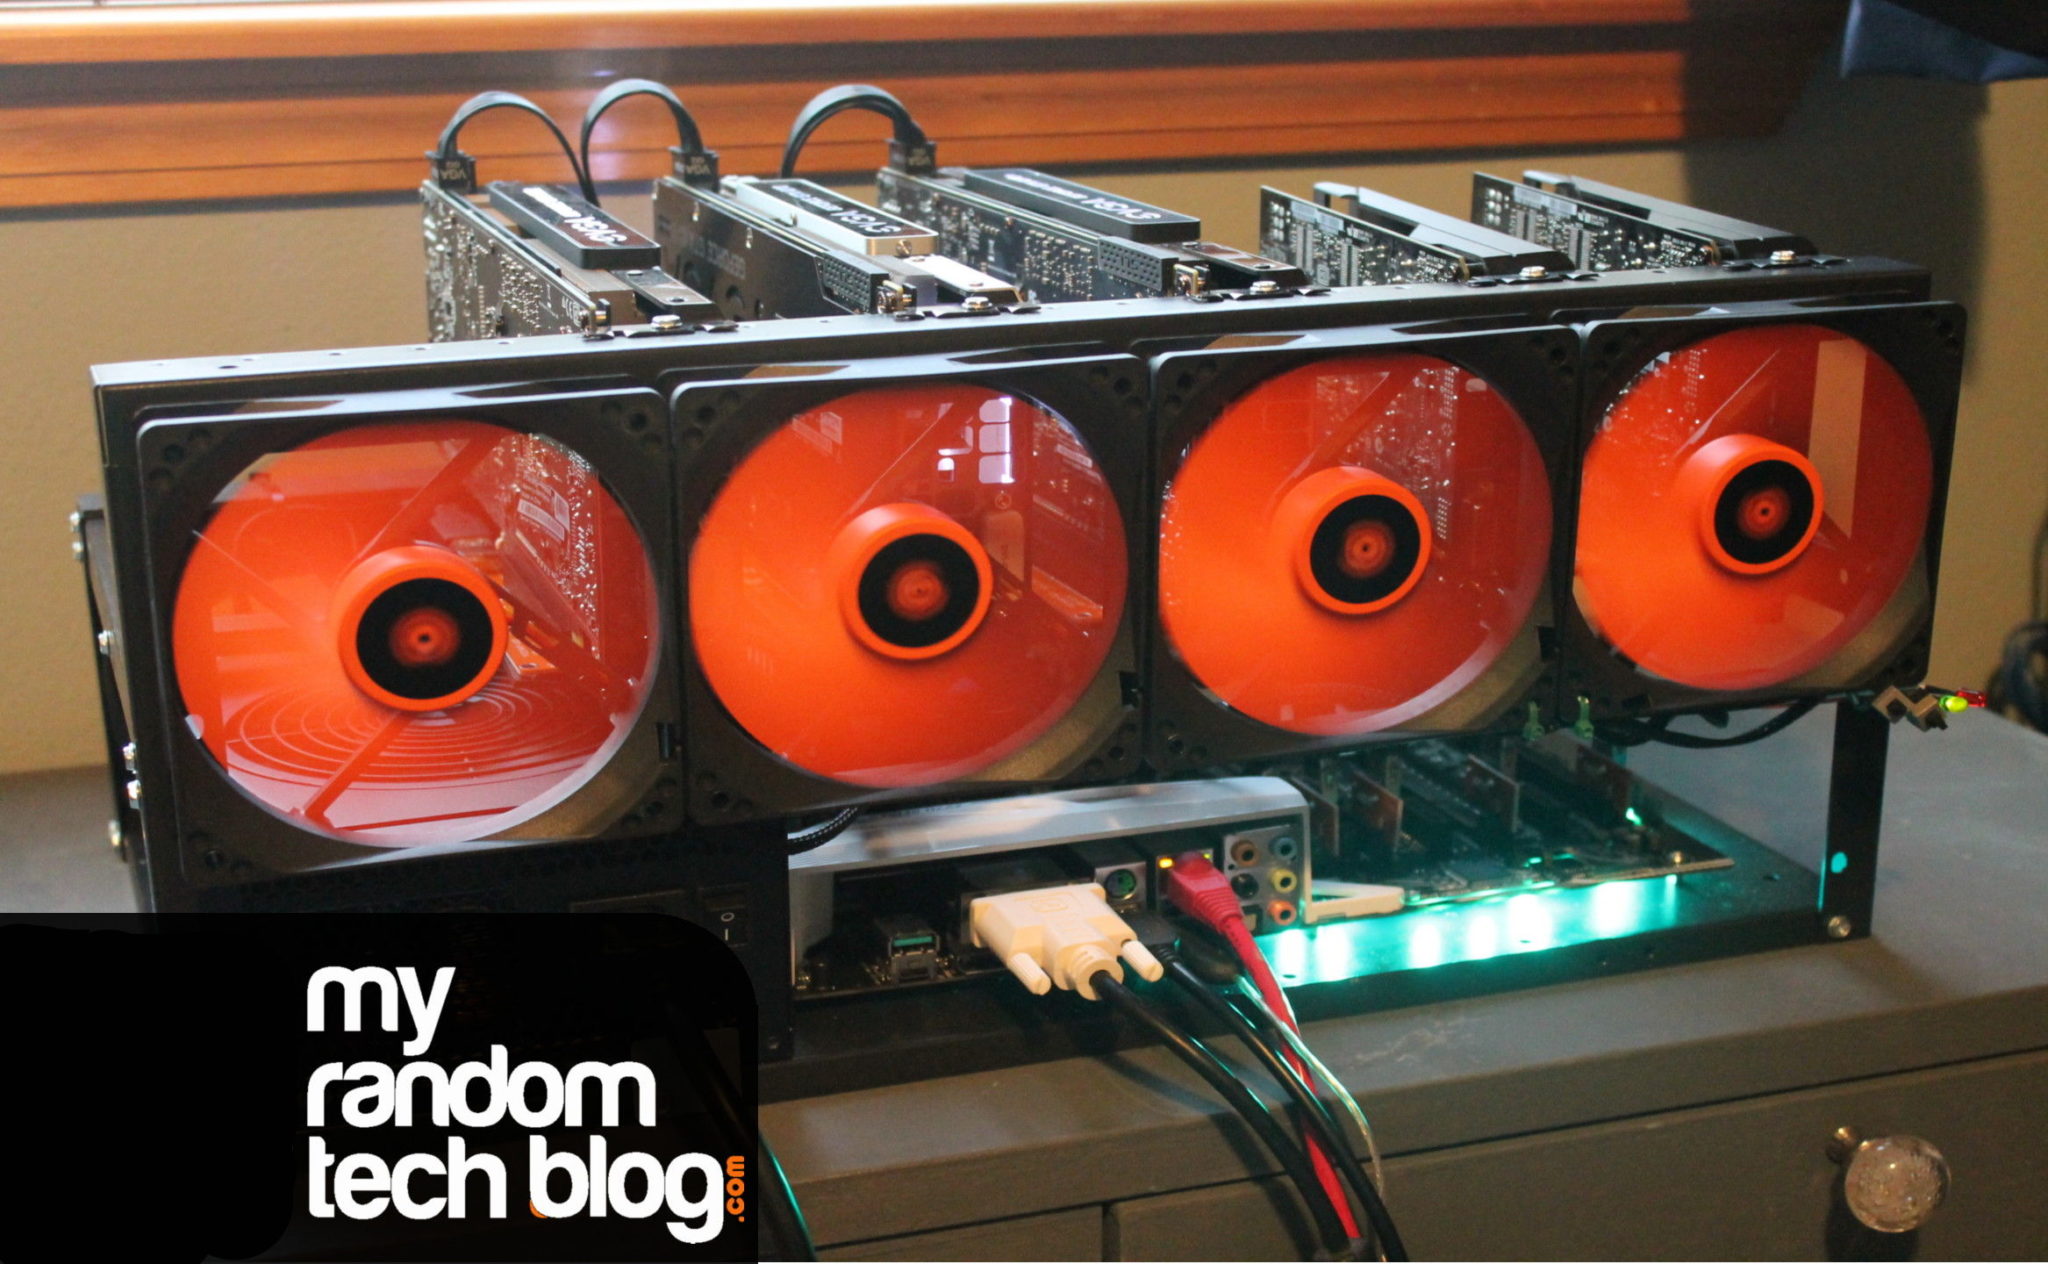
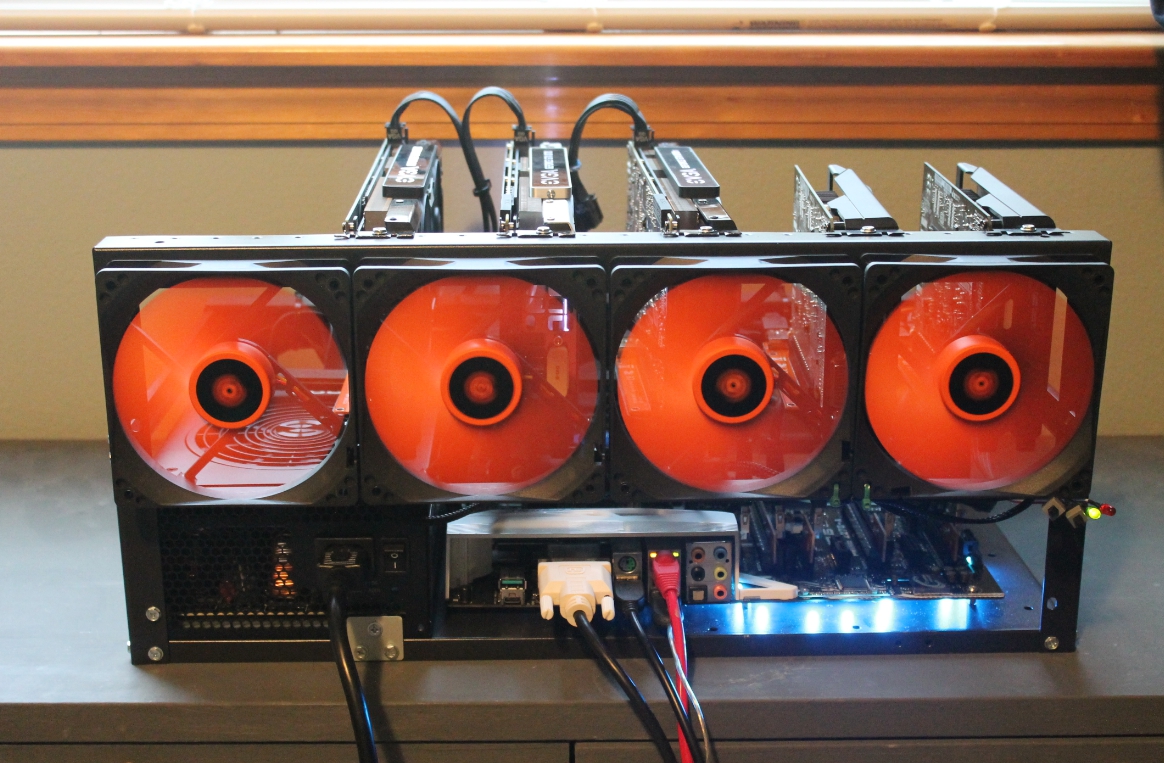
Here is the rig back up and running. Currently mining Ravencoin (x16R).
SUMMARY:
“The Pan”
I was really impressed with this mining frame. For me a hobby miner this is perfect. I really did not need a stackable frame, and while I loved the size and look of the bigger frame I had been using, “The Pan” just seems to fit better with less wasted space. As for assembly it was amazingly easy. All you need is a Philips screwdriver, and I use a 3/16 mm socket for the standoffs. The only downside I found was that it could have used 3 more standoff’s for larger Motherboards, you might want to make sure you have some handy just in case you end up needing them. The stability of the frame seems good as I just grab it from the base to move around. Being so compact it was easier to move it around and get through doorways. This is a good thing as I tend to take it outside once a month to blow off the dust the GPU’s accumulate. My older frame was a handful to maneuver around. For sturdiness I would say the sluice was more sturdy, but also double the price. It was made of a high grade aluminum. The Pan is listed as being iron. I think the Pan is a very nice compromise at this price range. I am only using a single power supply so the compactness of “The Pan” wins for me. If you want to run dual power supplies you would need to get a larger frame that supports that (I would recommend “The Sluice” model).
The size of the rack with Fans mounted is approximately
12.25″ deep x 19.75″ wide x 9″ tall
PCI-E risers
As for the PCI-e risers. I liked the sata connection for power on the new pci-e risers so I did not have to use molex to sata power adaptors. I had no issues with the risers and the GPUs once installed, no failures and its been running for quite a while now. They look to really good quality. They fit nicely in the PCI slots (I have had some other risers and some of them seemed to be almost to tights when pushing into the slot.
120mm Fans
The 120mm fans are working great as well. They push a lot of air at full speed, although I only have them running at ~40% which I found to be a nice balance between airflow and sound. All the parts were packaged nicely and seem to be of good quality. They included molex adapters as well. They seem to be pretty quite also when not at full speed which is nice. Plus I really like the orange color.
You can get the aaawave “The Pan” mining frame from Amazon HERE (Link no longer working)
or from the aaawave website HERE . It is worth checking out the aaawave website as they do have special offers sometimes.
I hope you found this helpful, feel free to hit me up on facebook if you have any questions.