I just swapped out my existing speakers in my 2008 Yaris Hatchback with some Pioneer TSA1676R 6.5″ 3 way speakers. The main reason for doing this is I wanted a decent 3-way speaker that would sound good not only with music, but also my audio books for my long commute. I went ahead and took some pictures and a video as I did it. Here is a summary of the install and a quick review of the speakers.
Disclaimer: This post is for entertainment purposes only. I am not responsible if you damage your car or injure yourself if you decide to try to follow what I did. If you are unsure on what you are doing please seek out a professional to assist. (I am not a professional mechanic. ) .
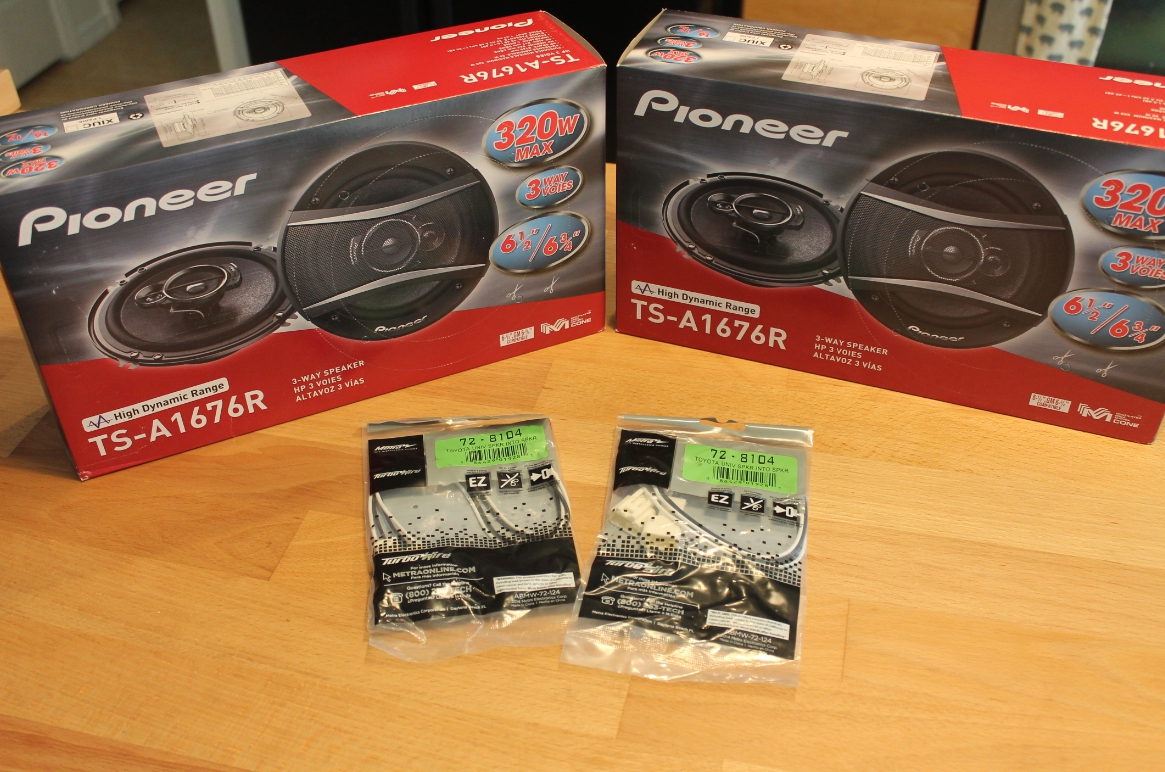
The speakers I purchased and am installing are the Pioneer TS-A1676R 6.5″ 3 way speakers. I had swapped out my factory speakers in the past, but in hindsight I decided I wanted to upgrade to a better 3-way speaker. Having a 3-way speaker gives you separate drivers for low, mid and high ranges, which allows for better sound clarity. The reason I picked these Pioneer TS-A1676R, was partly due to having had Pioneer speakers in the past and I liked the way they sounded. I guess the second part was they were pretty reasonably priced.
Here are the links for the parts I used for the install.
Pioneer TS-A1676R 6.5″ 3-way speaker
6.5″ speaker adaptor
Toyota wire adaptors
Just so you know. I do not show the 6.5″ speaker adaptors above as I had already installed them. Also I only used one set of the wire adaptors as the back speakers already had been set up and I could just plug in my new speakers.
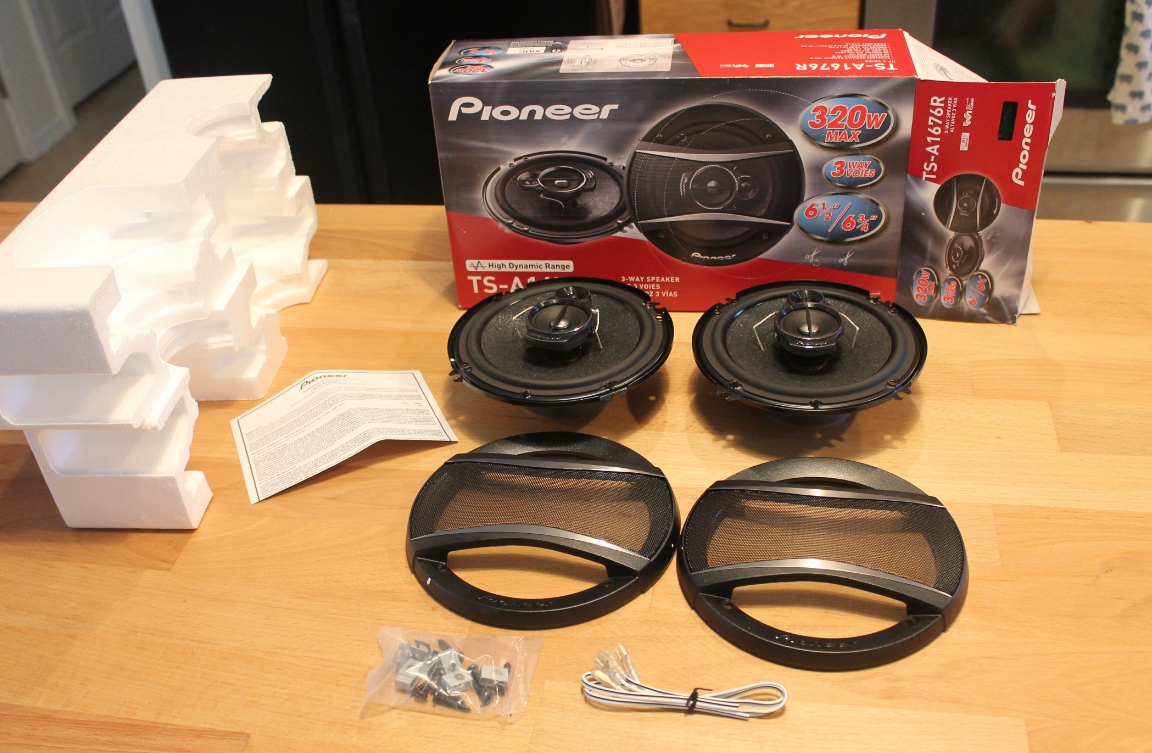
Here is what you get when you buy a pair of speakers. (I had purchased 2 pairs as I was replacing both front and rear speakers.)
Installation
I did a quick video of me pulling off the door panel here if you want to see it. Video of front door panel removal
But here are some pics as I did it. I did cut my finger removing a panel, so be careful if you try is as there were some sharp edges. Also on the rear panel I broke a clip that I might need to replace. It went back together fine, so I am holding off for now.
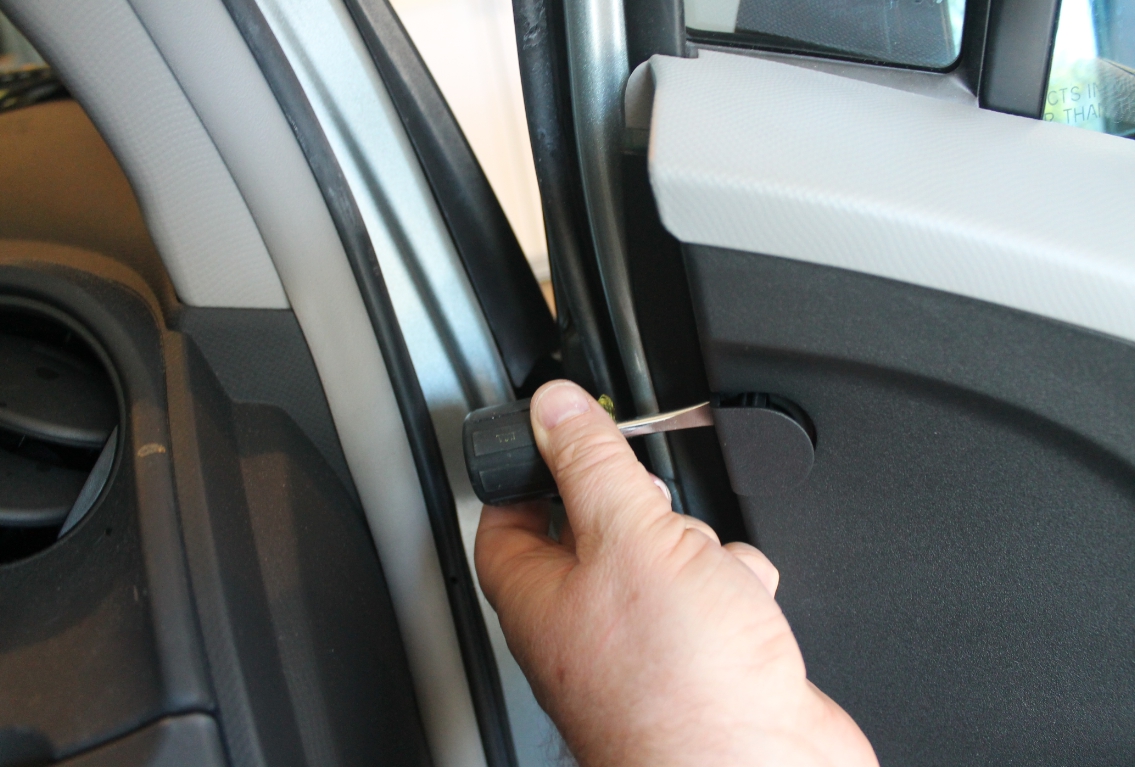
First I removed this plug on the front of the door panel by sticking a flat blade screwdriver in the back and turning it to pop out the plug and remove it.
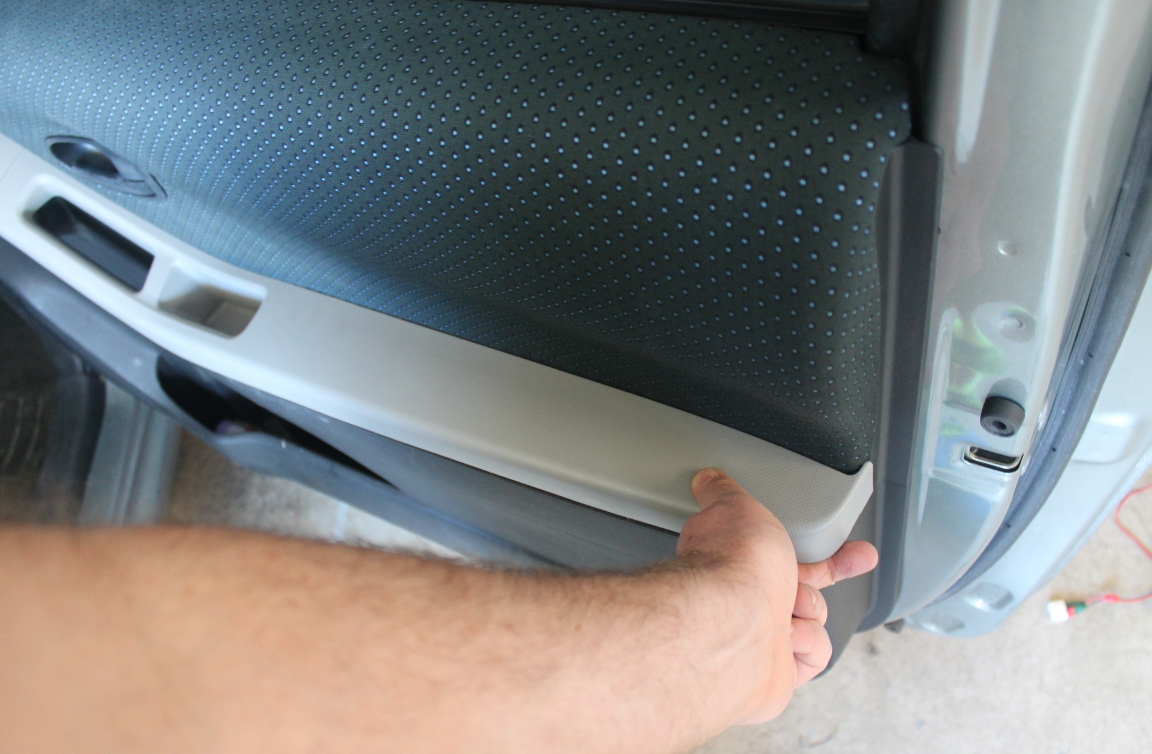
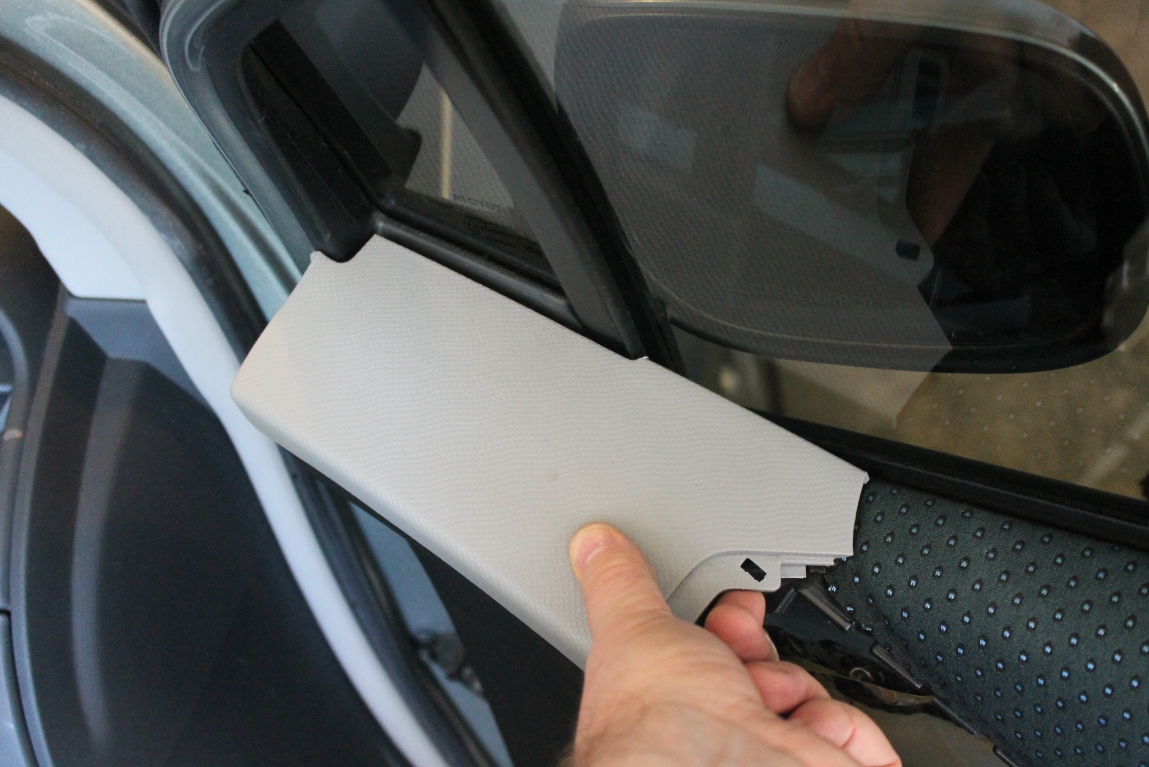
Then I had to remove the armrest by tugging on the back.
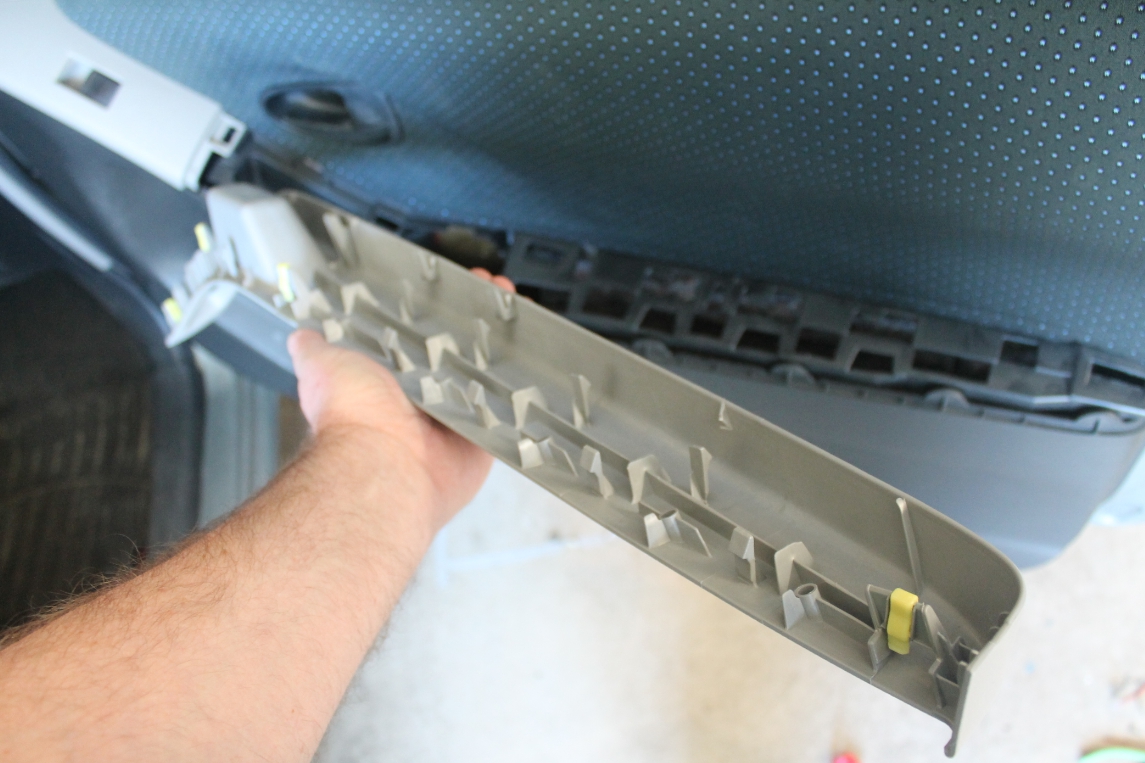
Once you pull it off you can see all the clips on the bottom.
Next I removed my power window switch assembly by lifting up and gently tugging the clips loose.
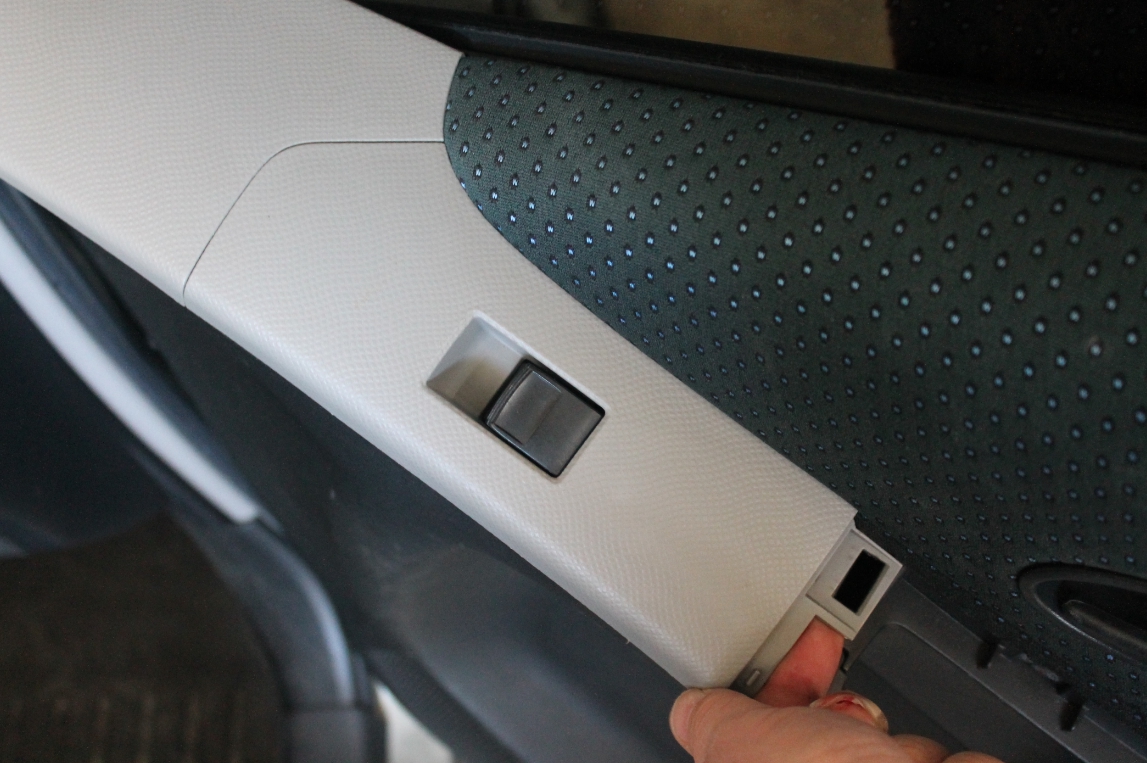
Then I disconnected the power window connector.
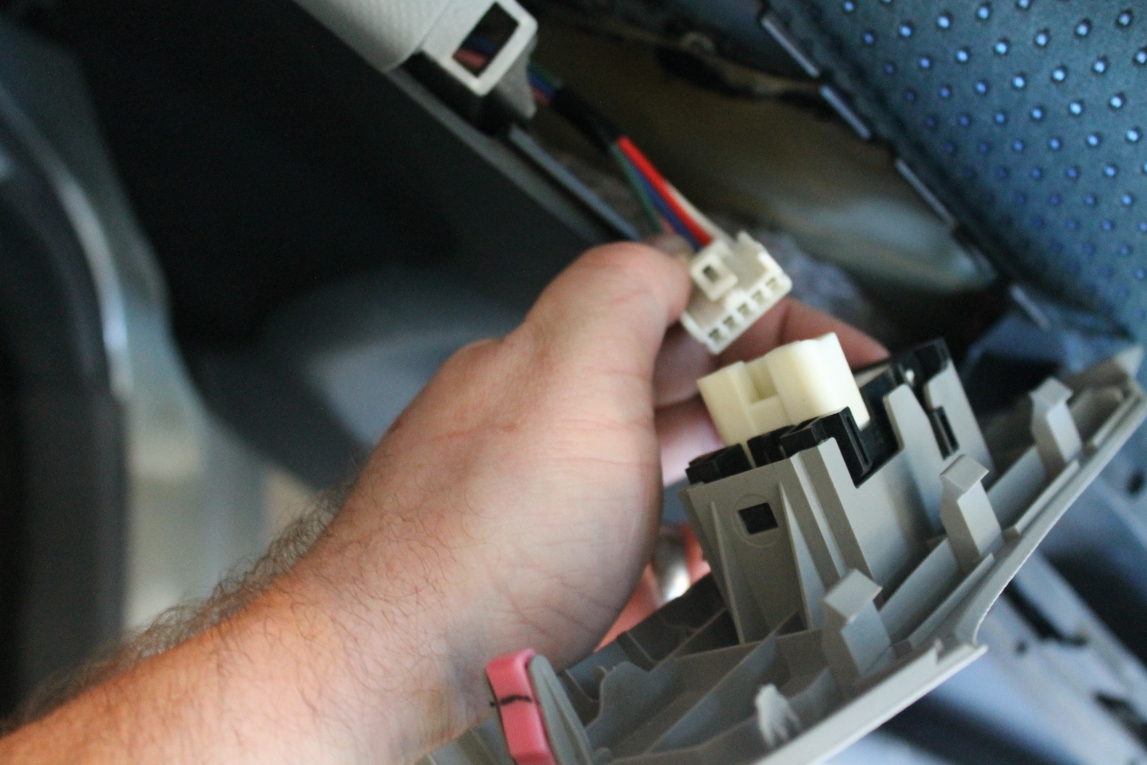
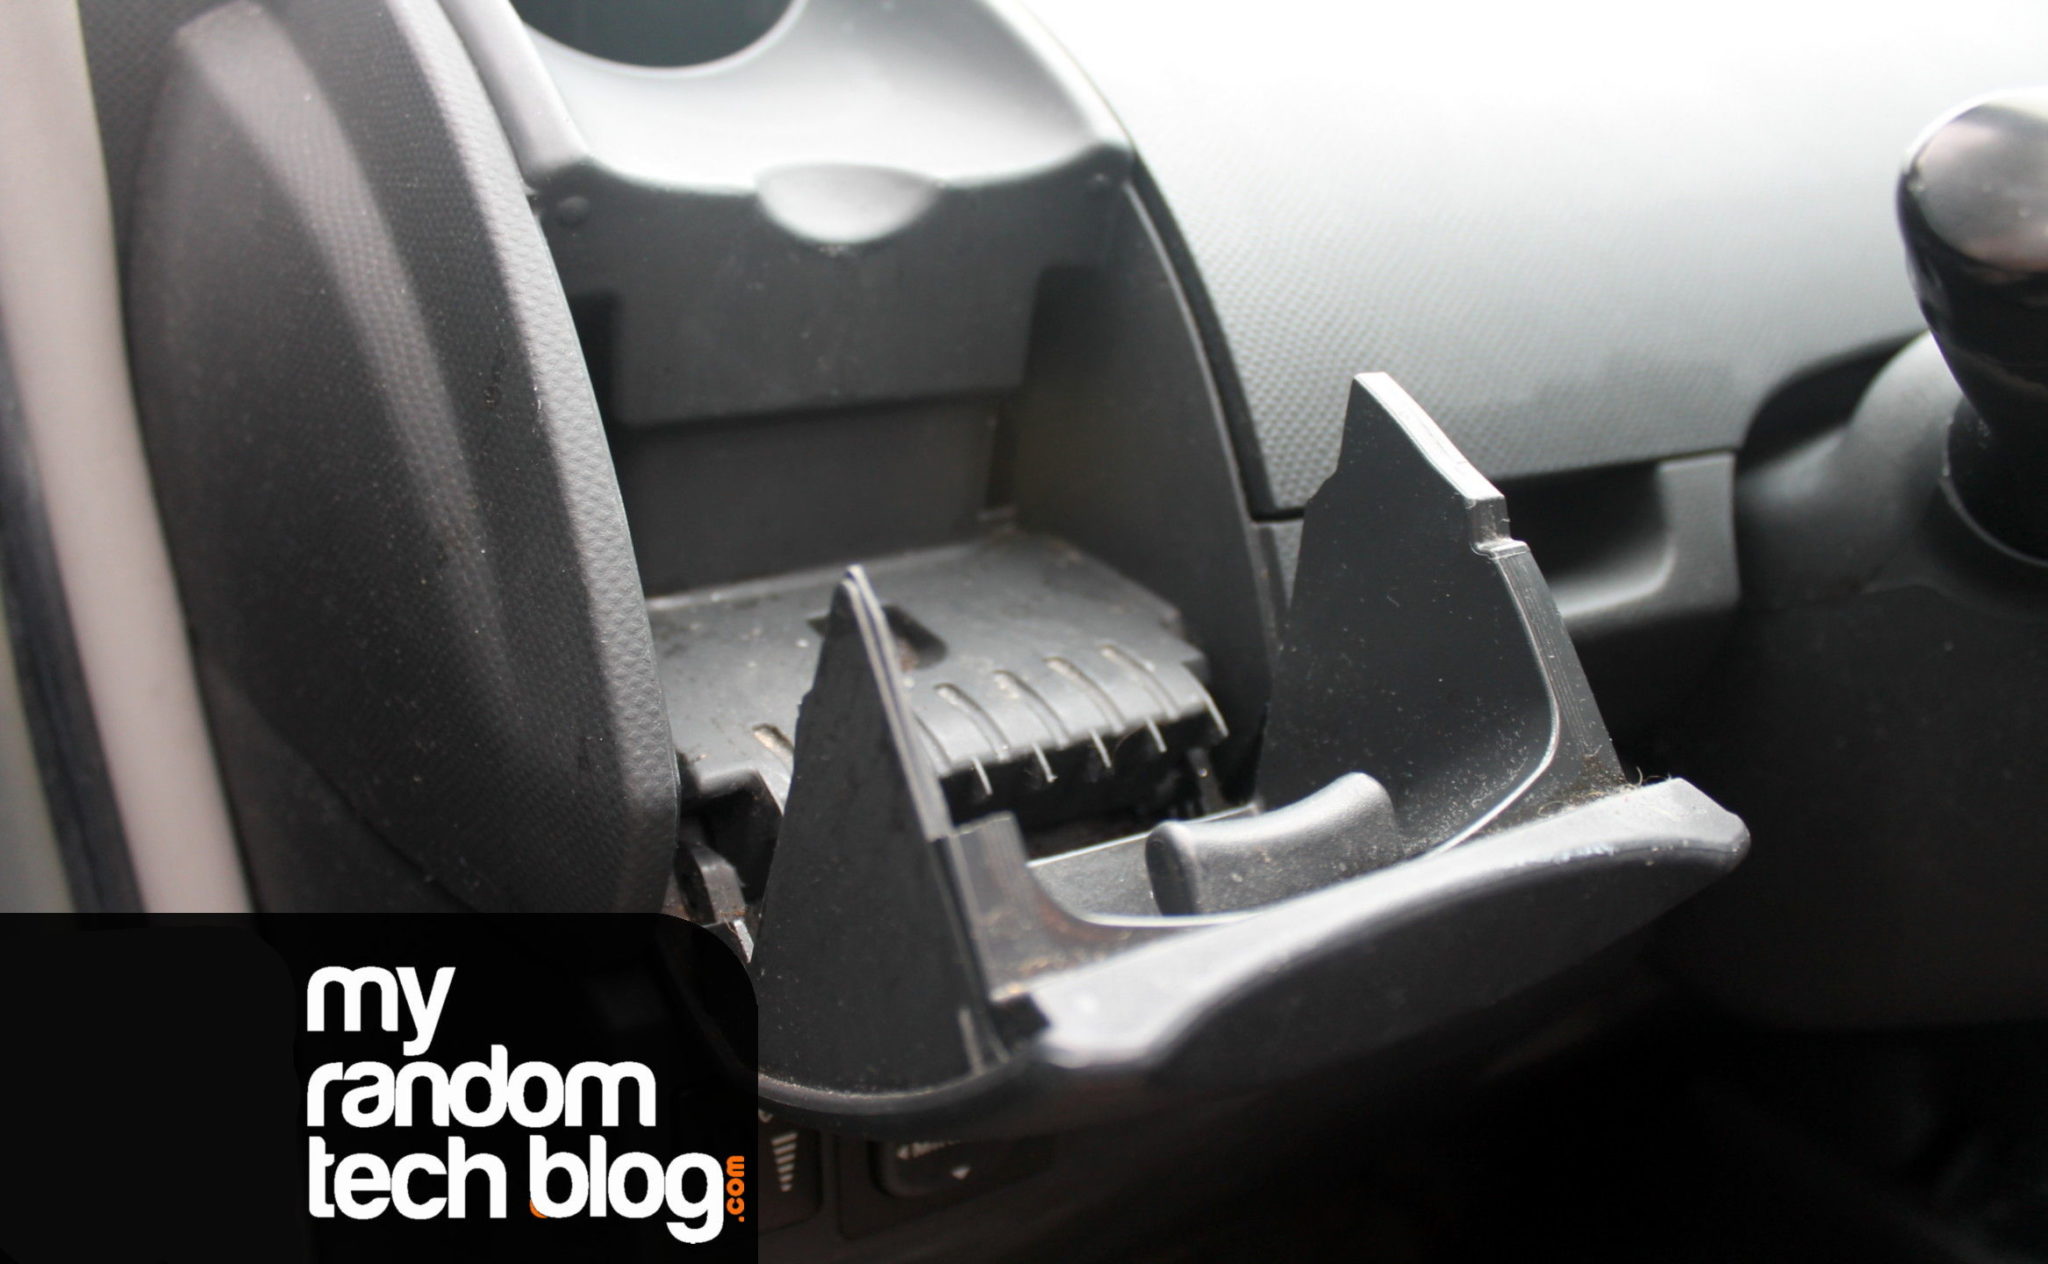
I have no idea what this piece is called, but I removed it.
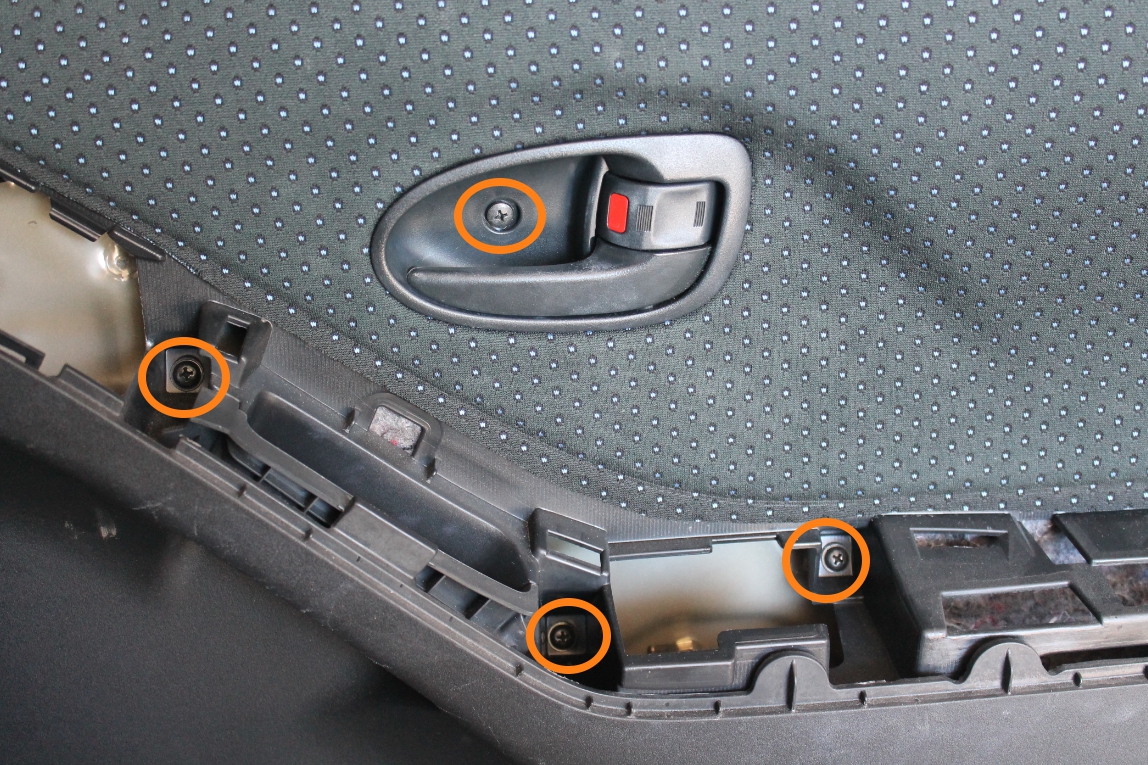
Now with the armrest off, I could remove the 4 screws circled below. (Note: the one in the door handle is shorter then the other 3)
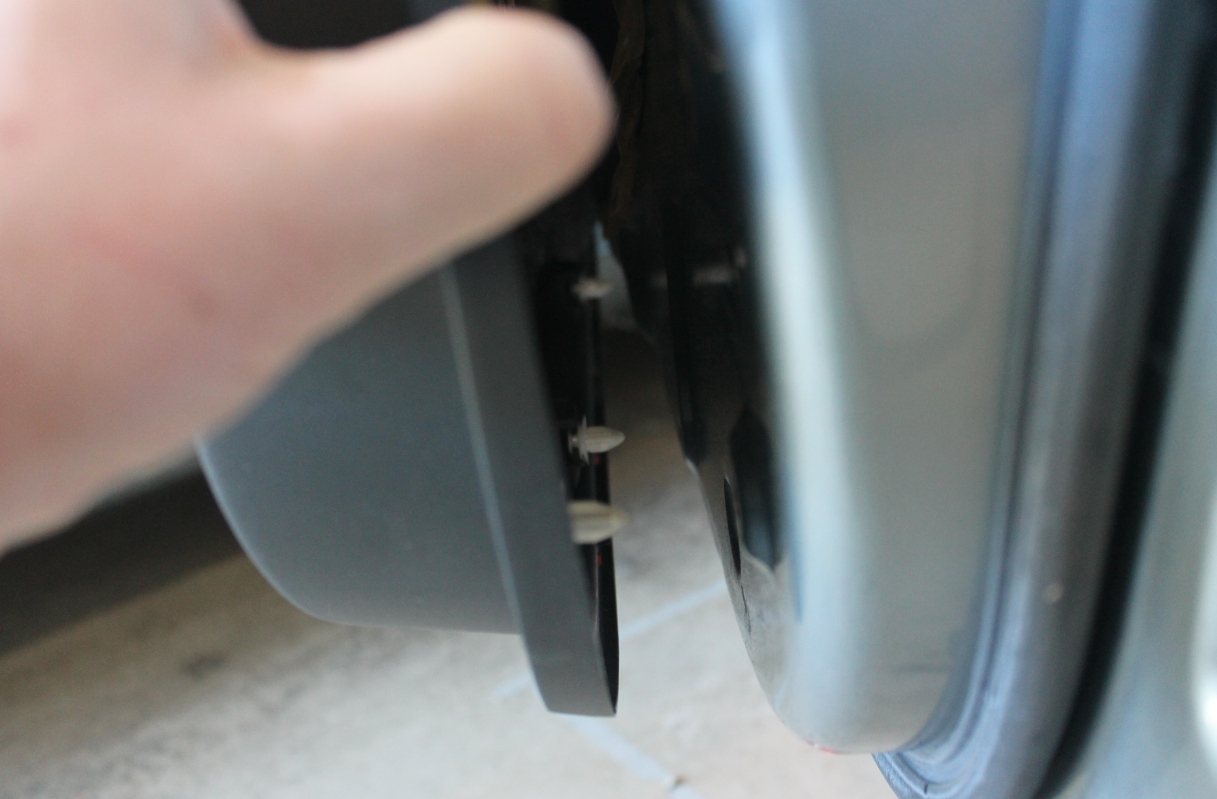
Now to release the clips I grabbed the door panel towards the front lower corner and started to tug around the bottom towards the back and sides.
Here you can see the clips releasing.
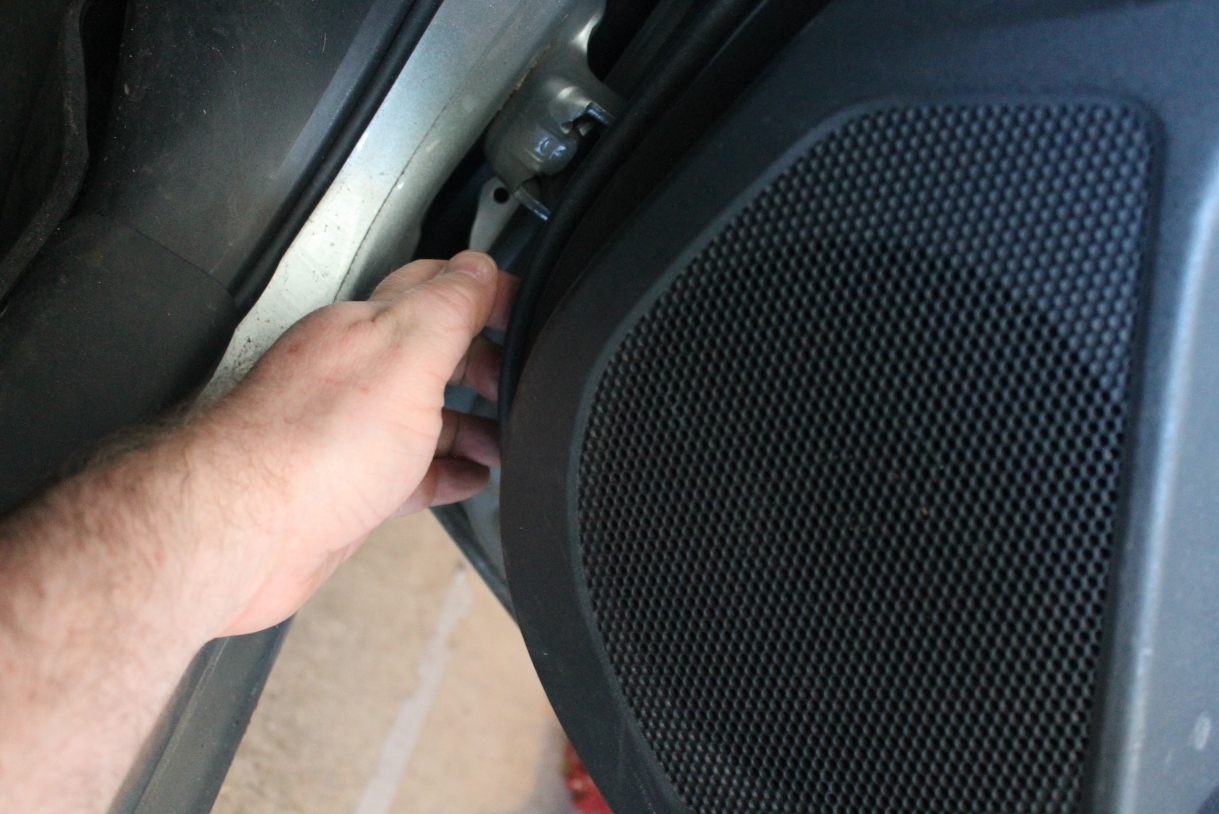
Now I was able to lift the door panel up and away from the door enough to get may hand behind it to pop out the door handle. Then I could turn it and push it back through the hole.
Now that I could get to the speaker, I needed to expand the hole in my speaker adaptor for the cable.
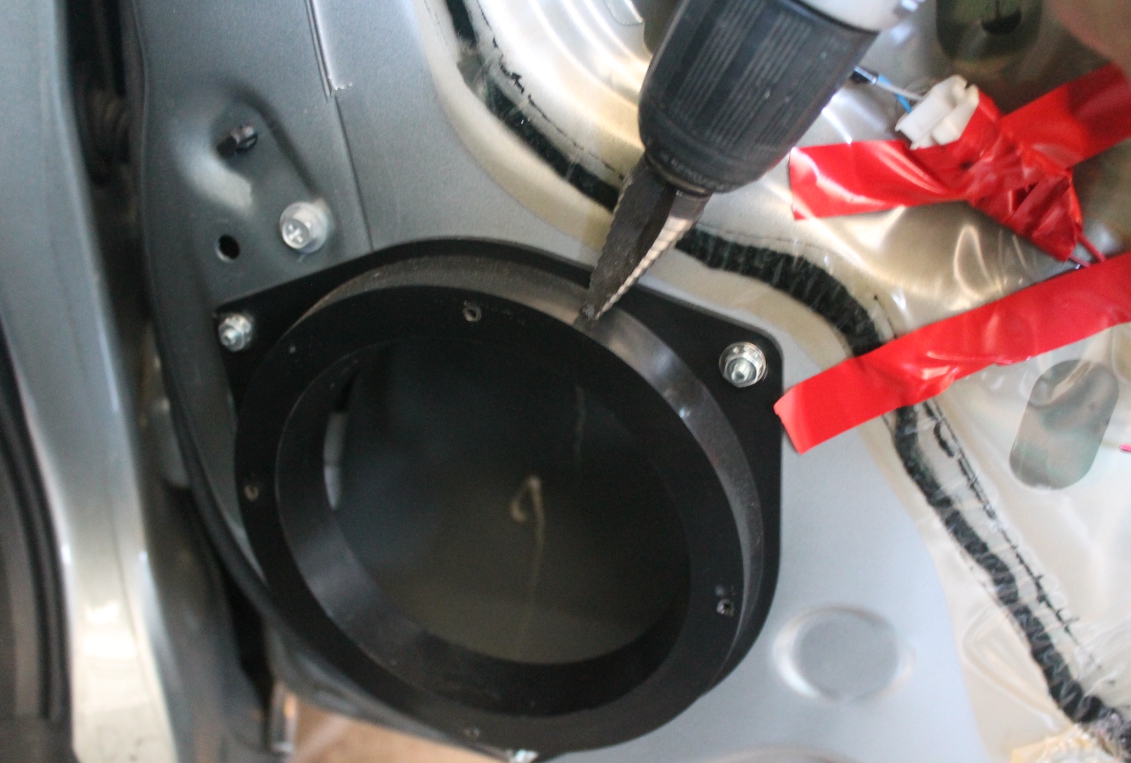
Now I could plug in my new wire adaptors.
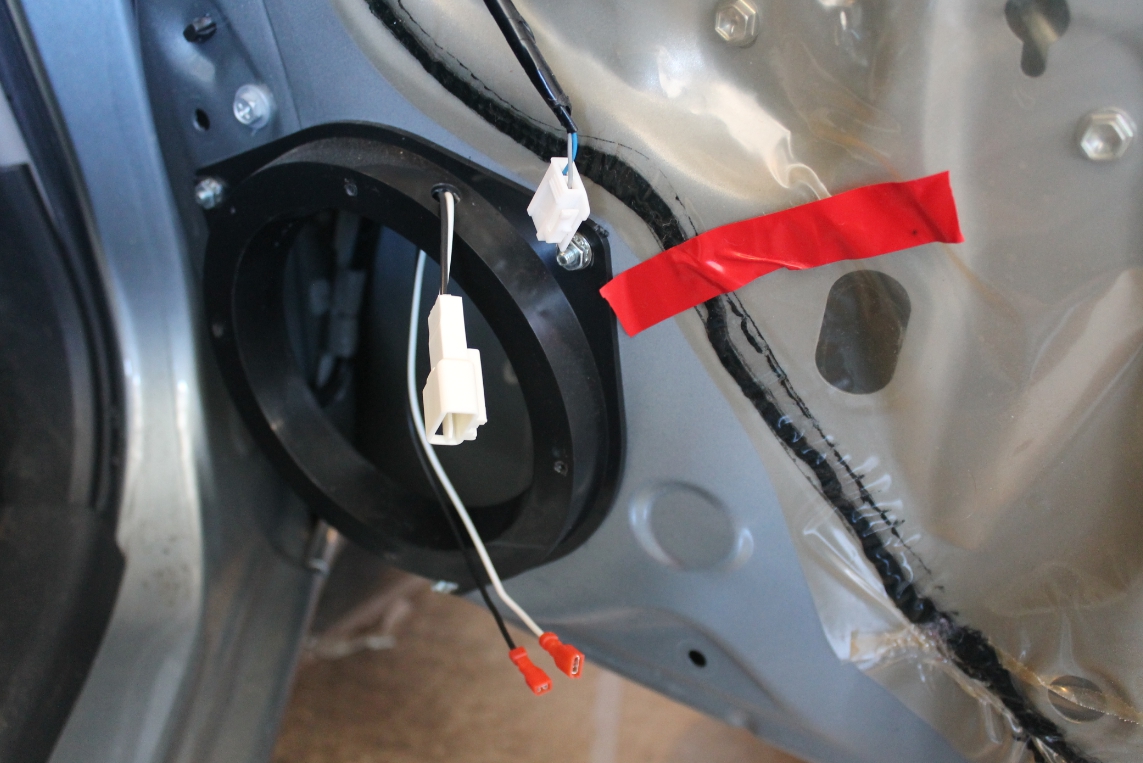
Speaker adaptor plugged in…

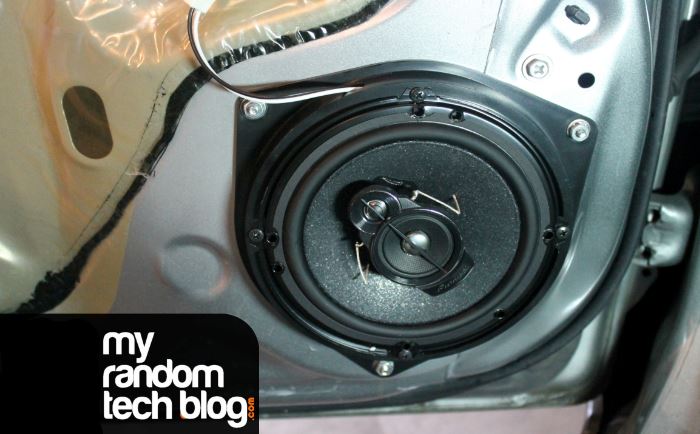
Now it was just a matter of plugging in the speaker and screwing it onto the adaptor.
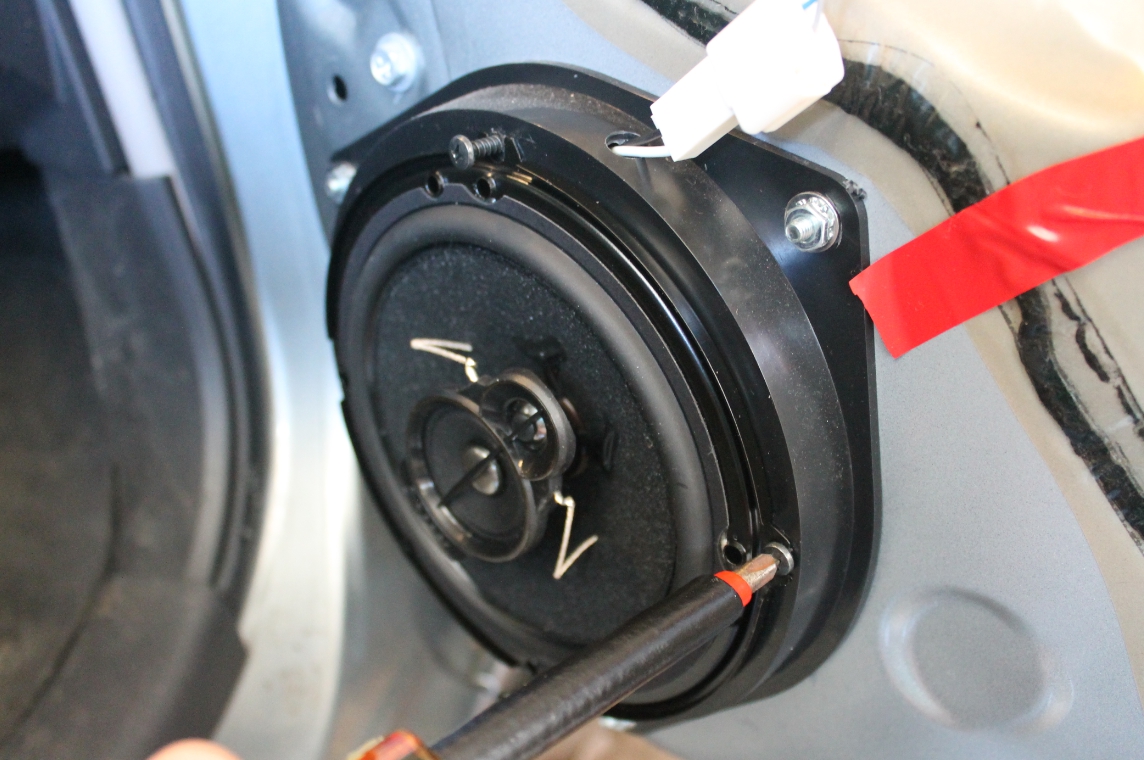
Speaker installed and just need to put it back together and then do the other side.

OK… Sorry… This is the point I mention I got in a hurry and forgot to snap pictures of doing the rear..
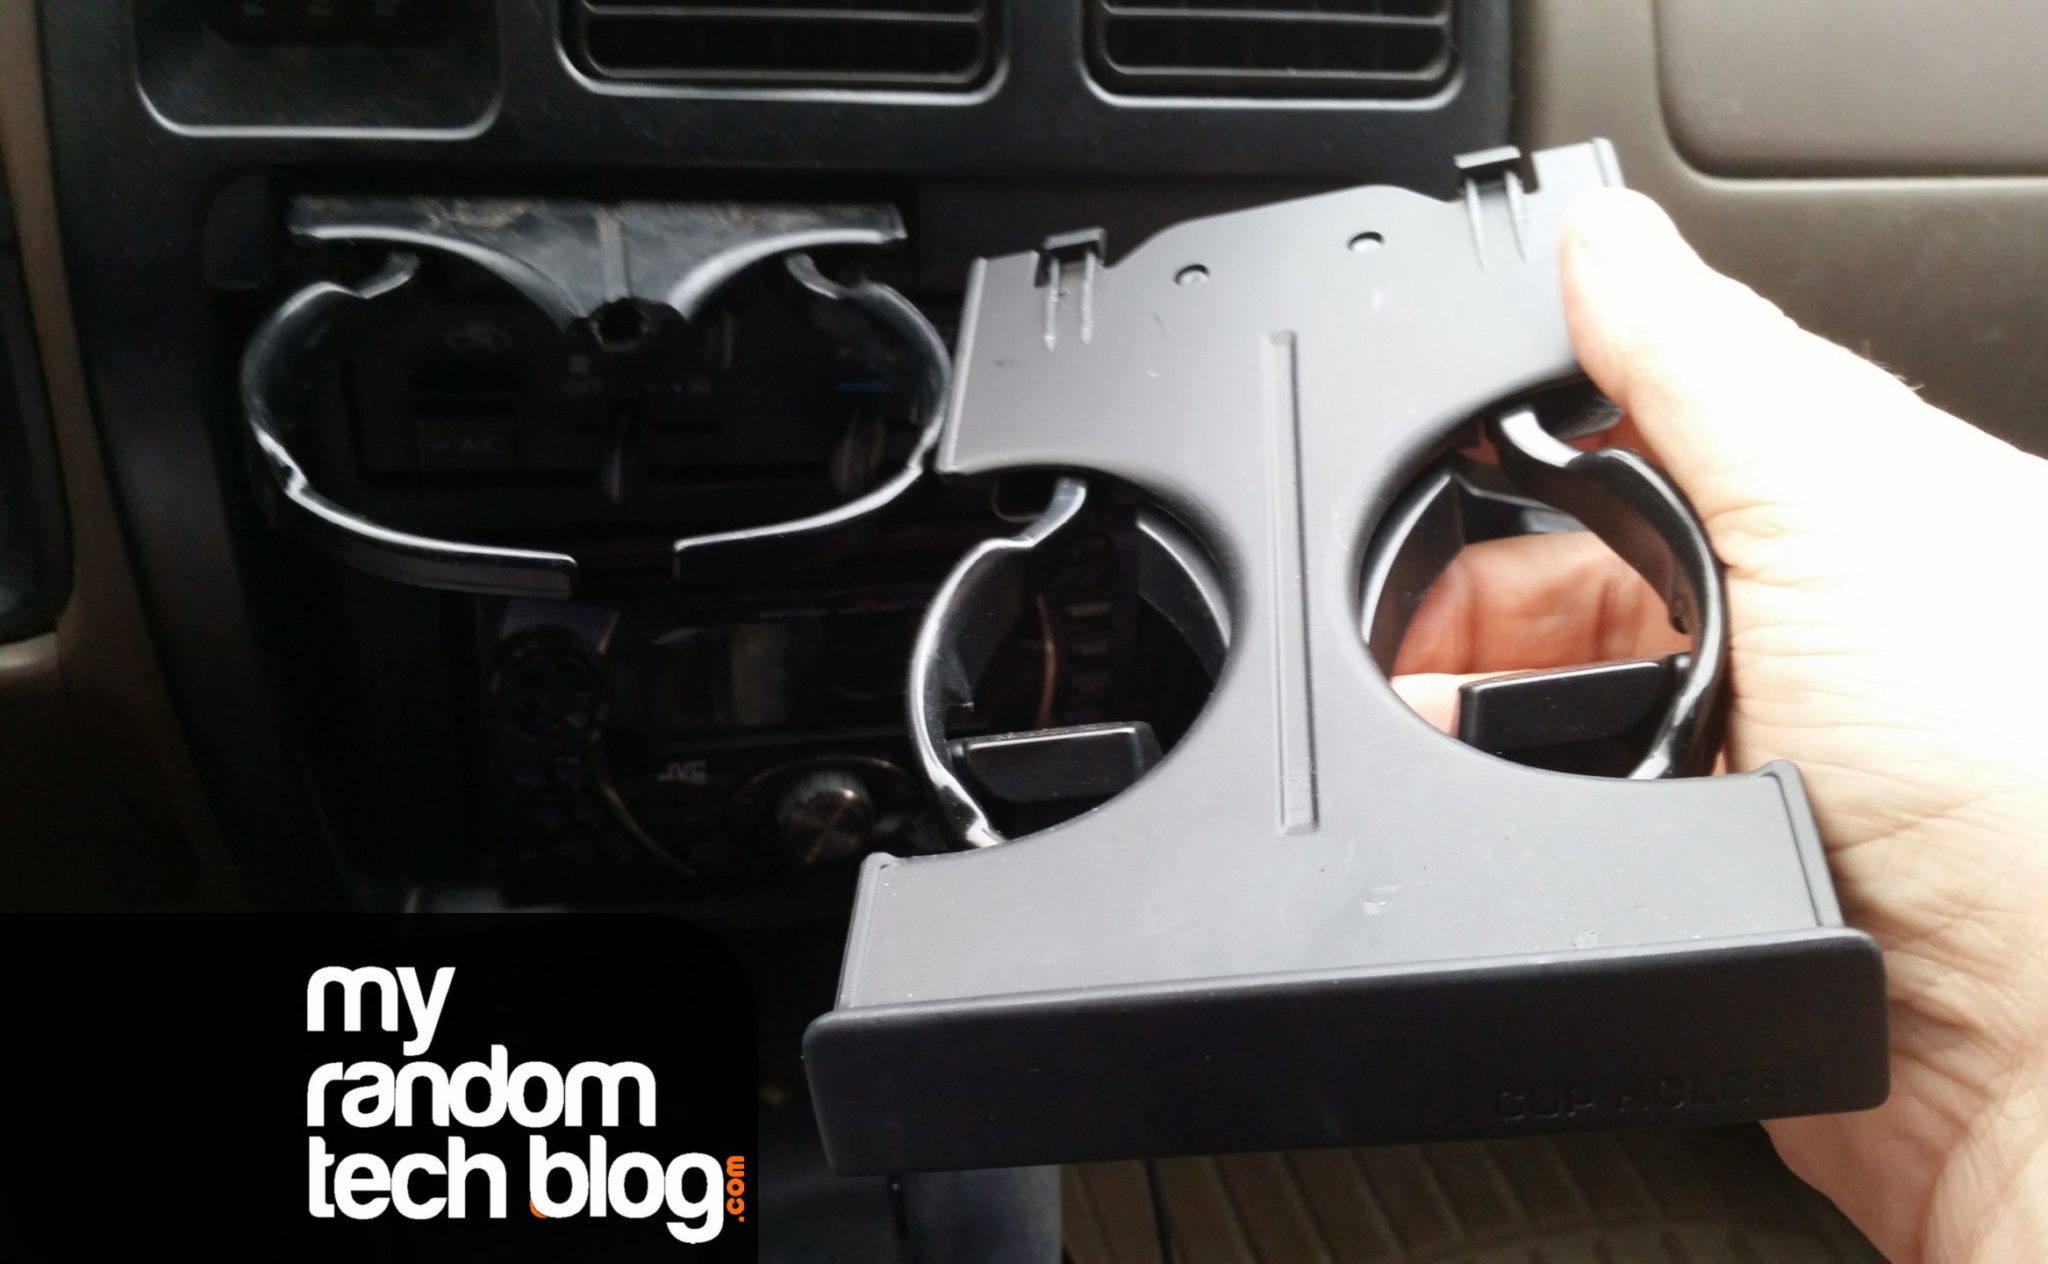
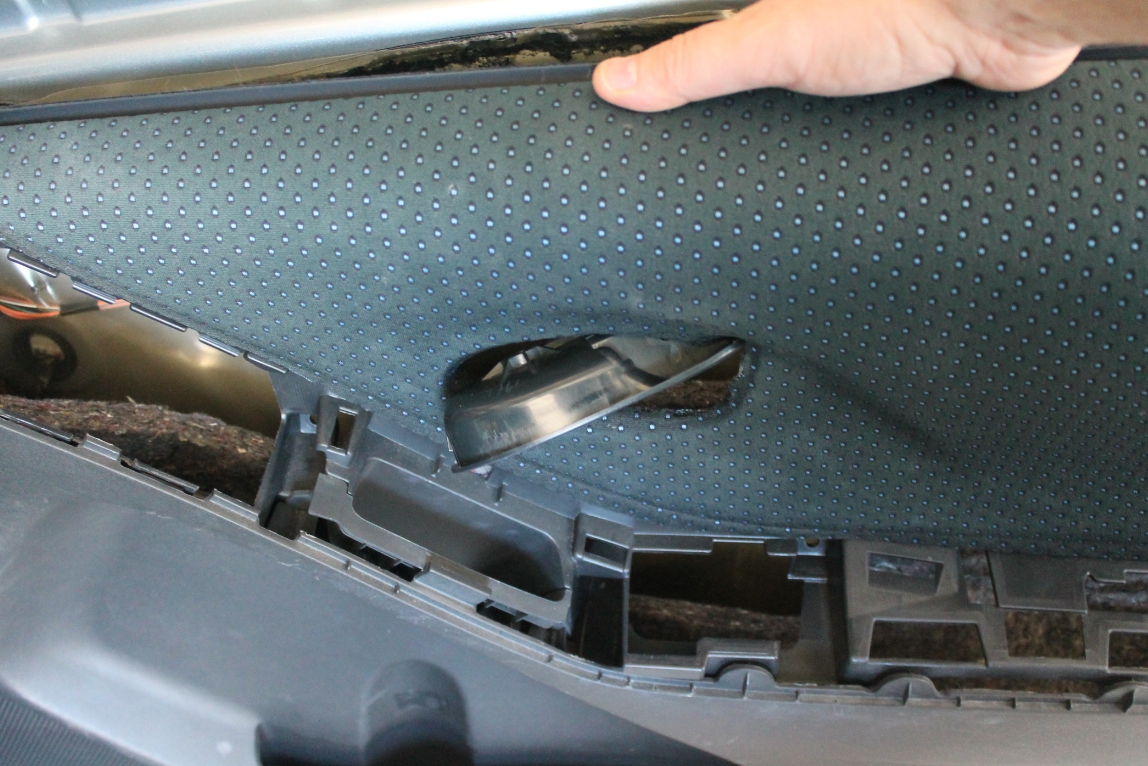
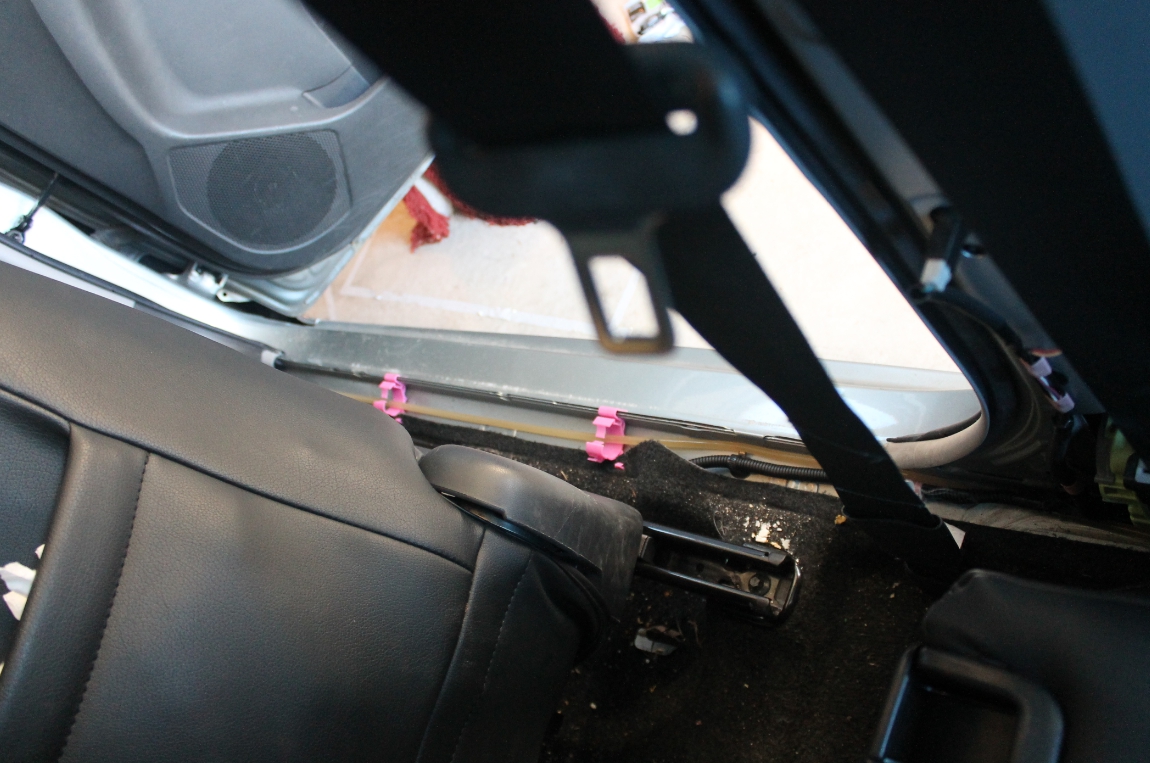
Here are two that I did have. This shows the floor panel that runs between the front and the back pulled up.. Forgot what that’s called. BTW, did I mention this was a hatchback? And wow, look at that garbage on the floor. I should have grabbed the shop vac.
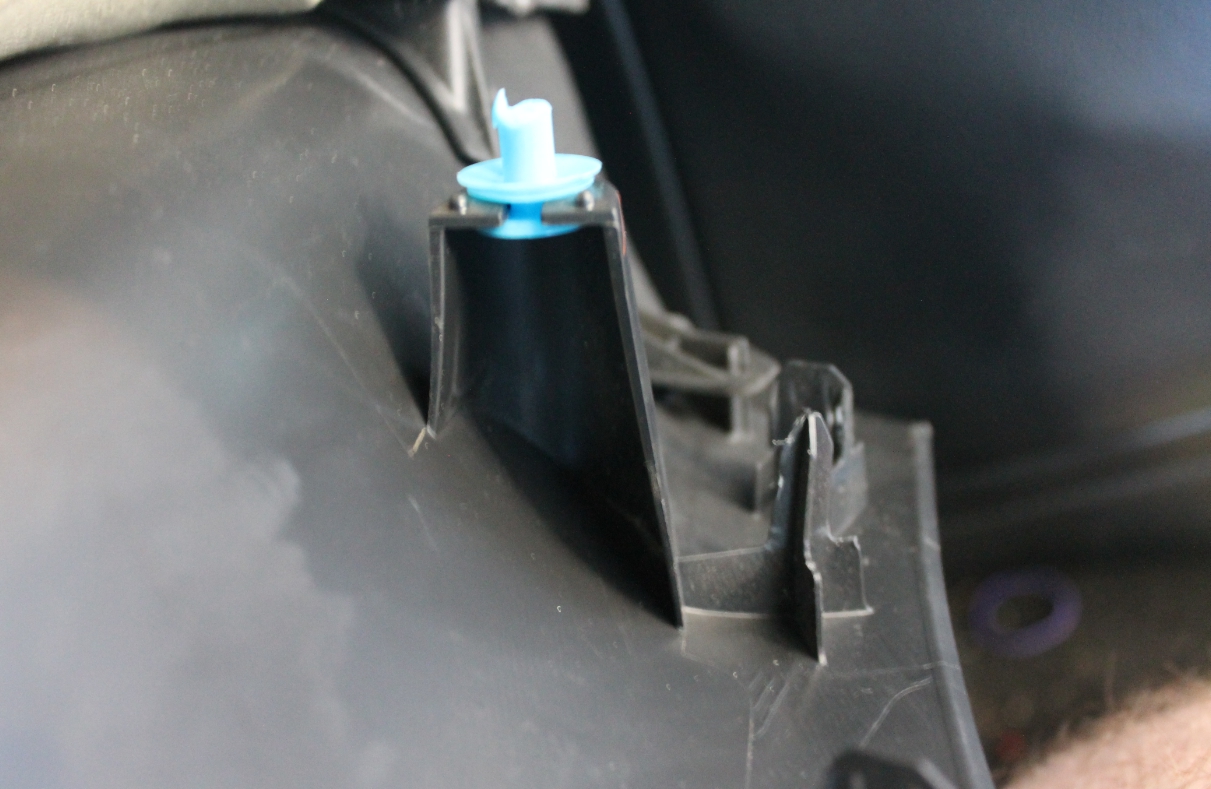
Here is the clip I mentioned removing the rear side panel. 🙁 I was in to much of a hurry and just tugging on stuff. I should have been more careful. [If I replace it, I will grab the part number and add it here]
SUMMARY:
I am sorry the article isn’t as complete as I had wanted, but I still hope someone finds this useful or entertaining in some way. As for the review of the speakers themselves. They sound great. Much better then the ones I had already in the Yaris. My audio books sound much better as well as the music. The best way I can explain the difference would be they are less muddy. I can hear the voices much more clearly. I do recommend these if you are looking for a cheap 3 way speaker and amazon had a great price.
Now I have an older model head unit the X2600BT which I am really happy with. The Bluetooth works great for playing my audiobooks from my phone. But my head unit is a quite few years old now. If I was going to buy a new head unit now (Which I am thinking about doing) I would go with a NEX model that has both Android auto and Apple car play. The prices have really dropped and I think I would really like the features. I might transfer my existing head unit into my truck.
Cheers!
- Parts List:
Pioneer TS-A1676R 6.5″ 3-way speaker
6.5″ speaker adaptor
Toyota wire adaptors