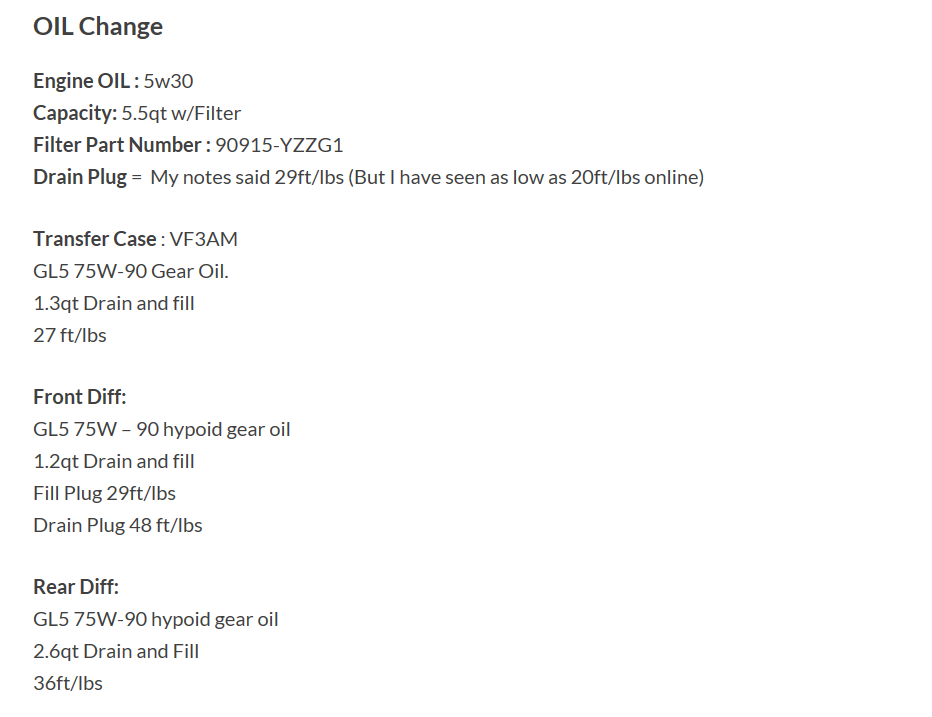
How to replace 90981-11018 Bulb behind your heater panel.
I just had to replace the bulb in my 97 Toyota 4runner heater panel, so decided to snap a few pics of how I did it. Now just a warning. I have tried some local bulbs from the retail store in the shifter area and they did not fit. they were just slightly to large. So in turn I ended up going to the dealership to purchase them.
Disclaimer: I am not responsible if you try to fix yours yourself. If you are unsure how to do it you should seek a professional. You may injure yourself or 4runner if you do not know what you are doing. This is not an instructional post on how to do it safely. This post is for entertainment purposes only.
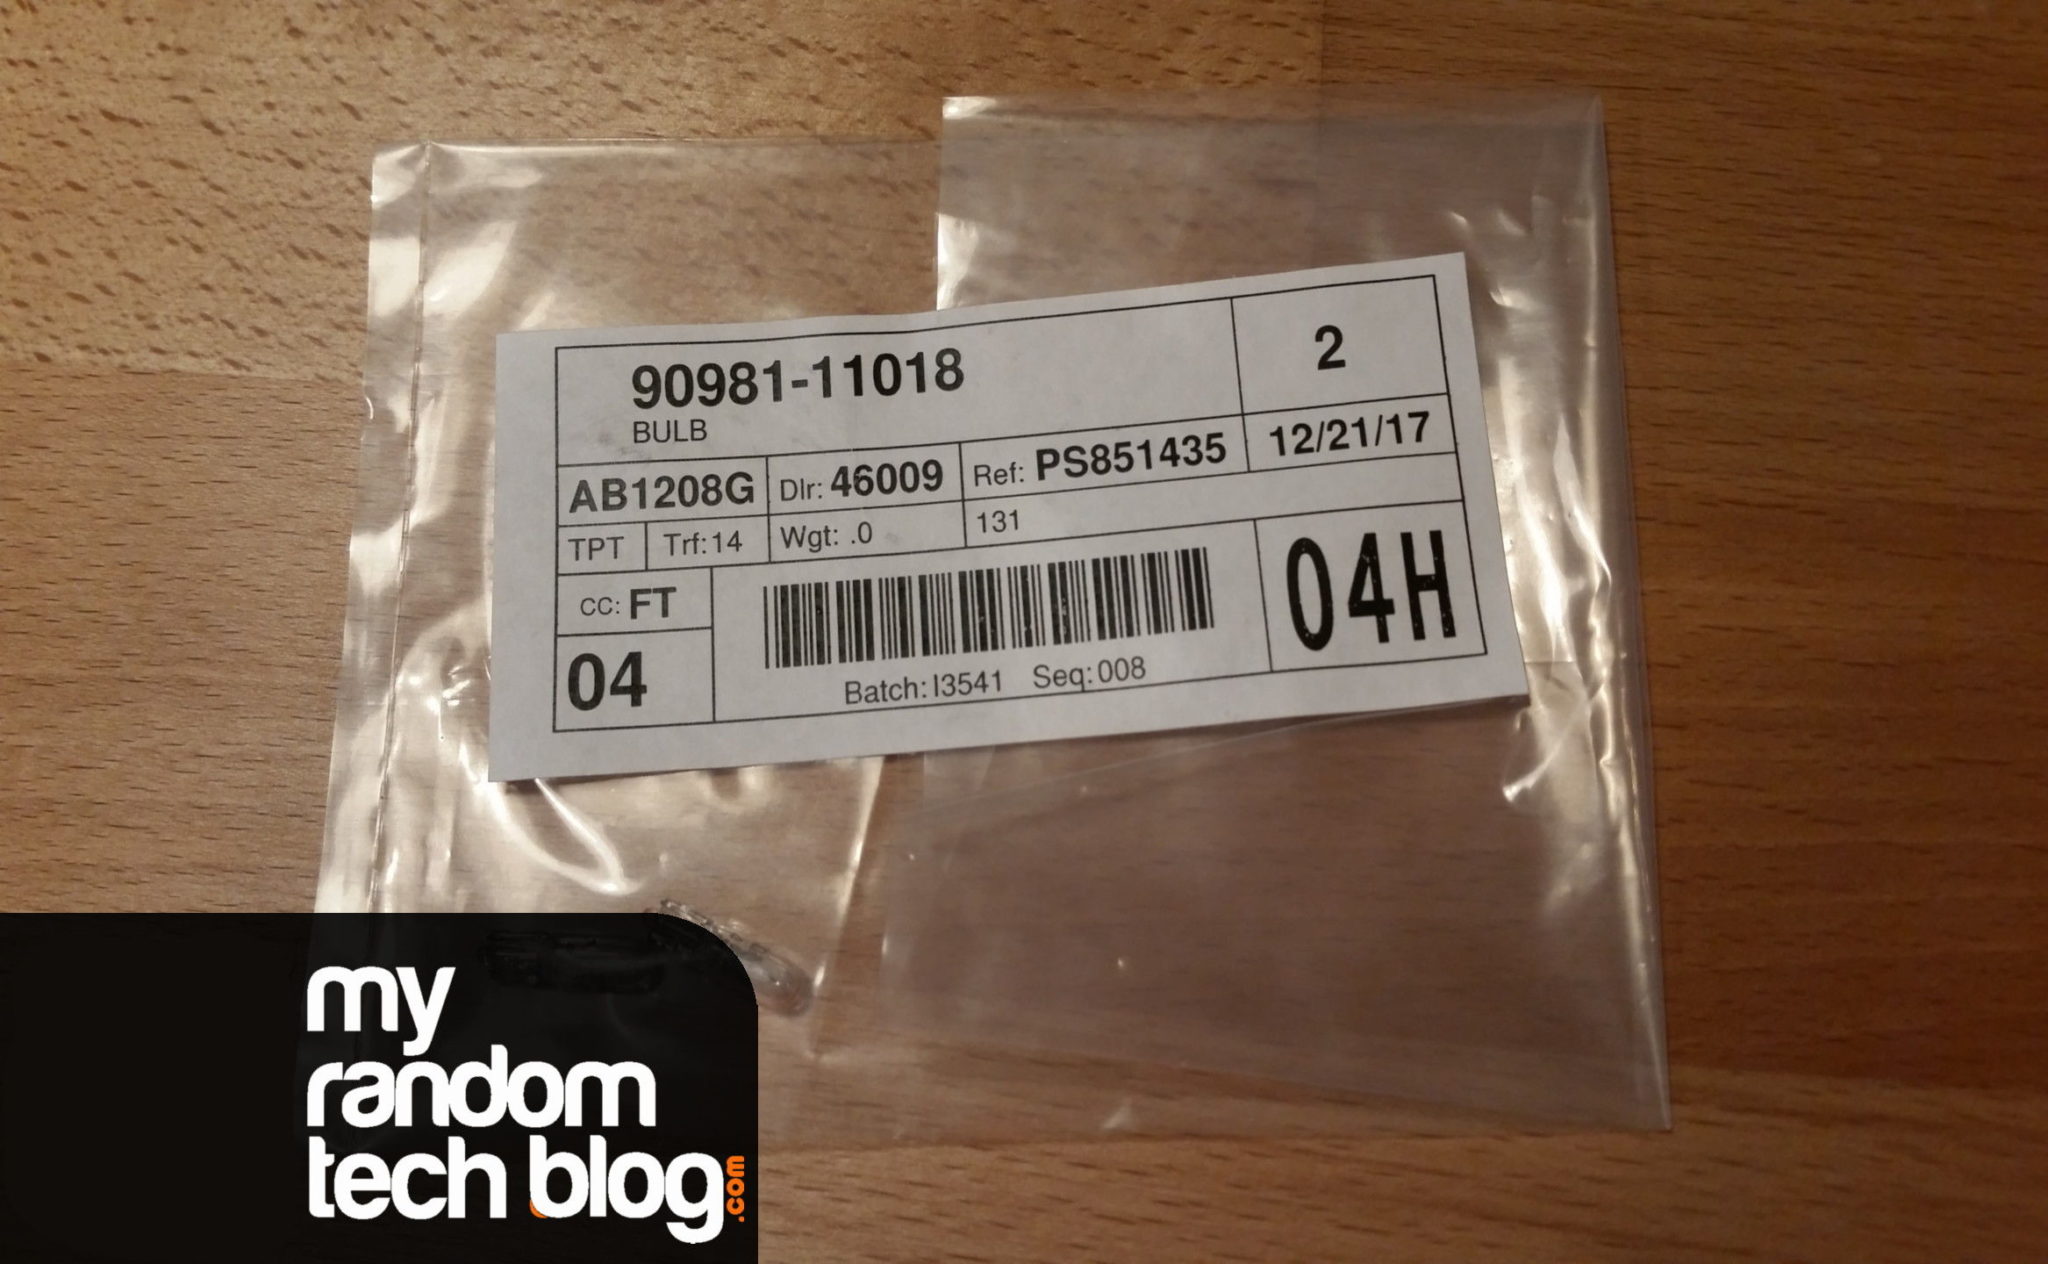
These were pricier at the dealership over generic bulbs, but again, the generic bulbs I tried were slightly to big. After getting them from the dealer I now have the part number (90981-11018) and found you can also find them on Amazon here.
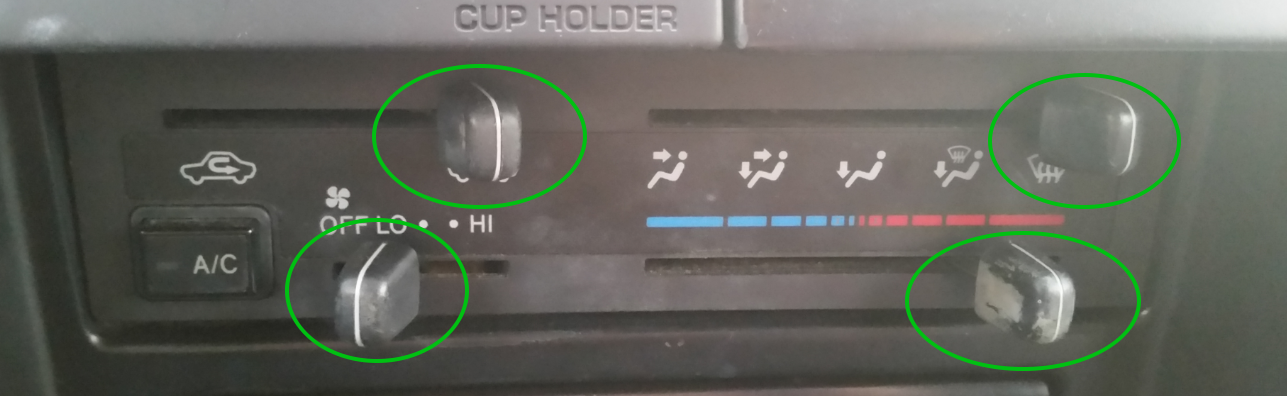
First remove the knobs.
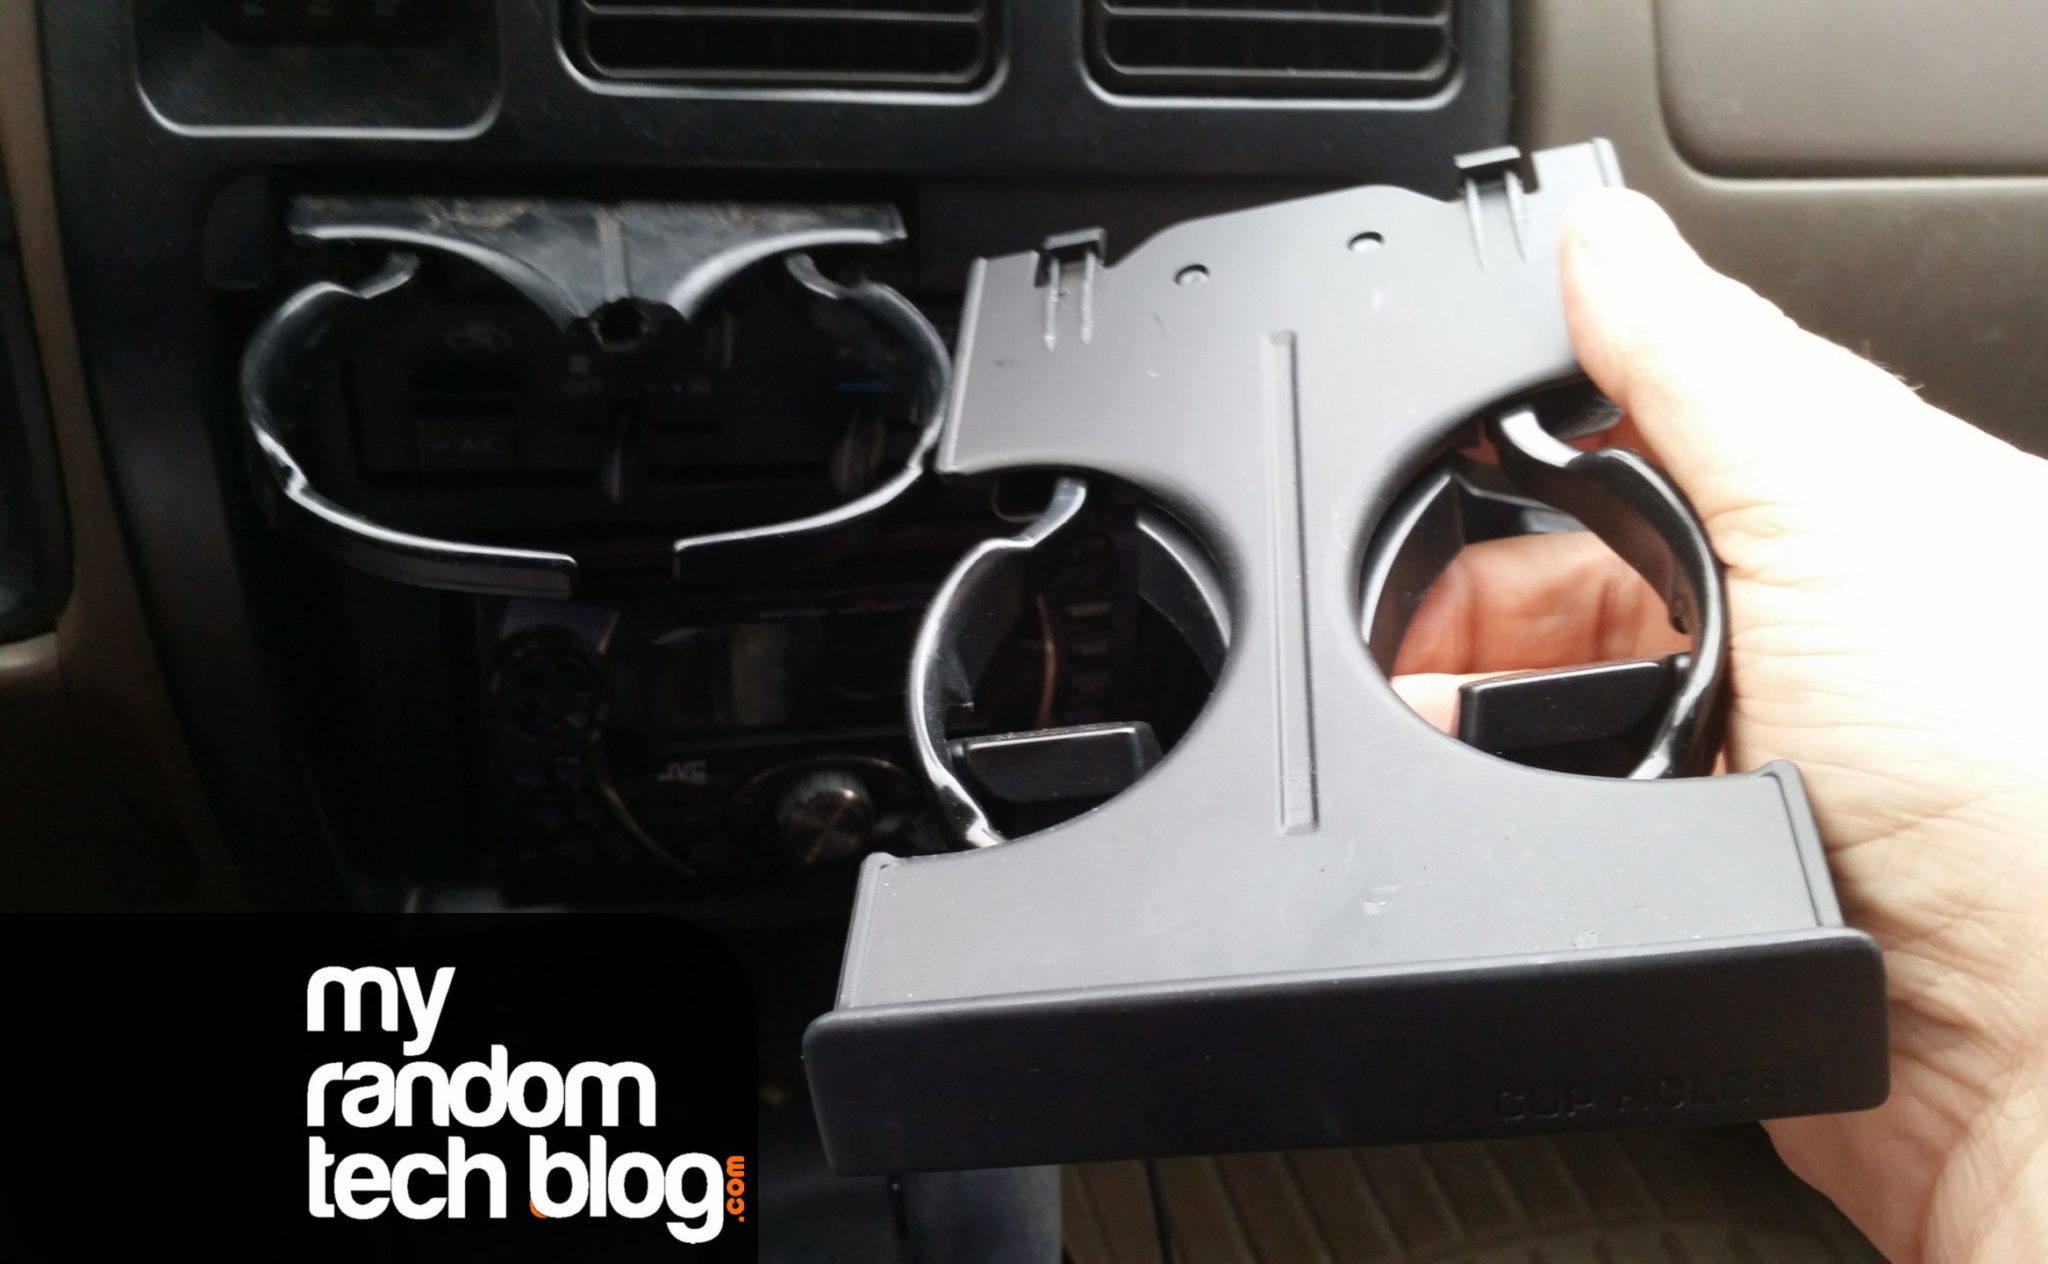
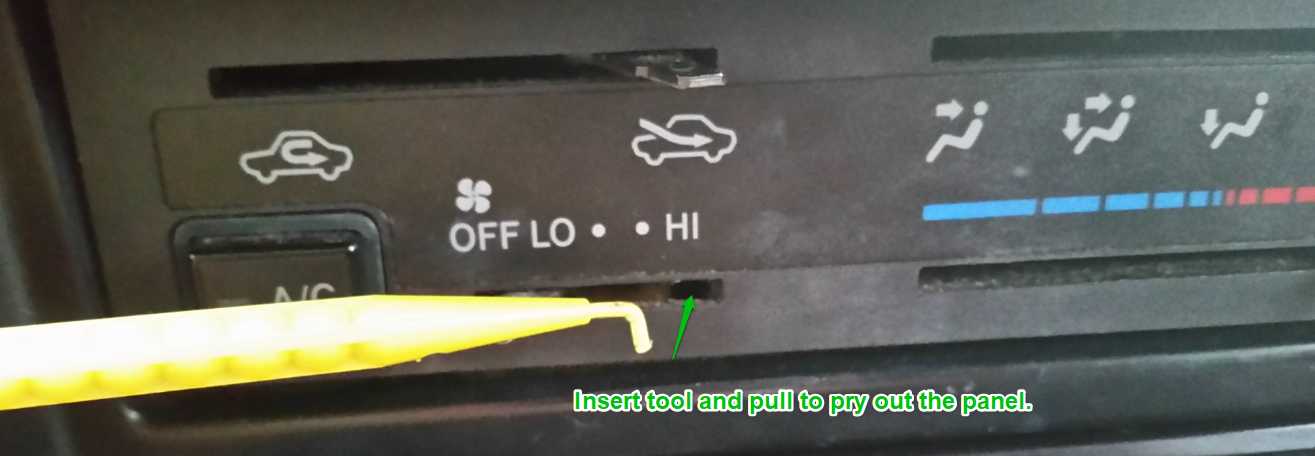
With the knobs removed, use a spudger type tool to insert into the panel and pull to pry it out from one side.
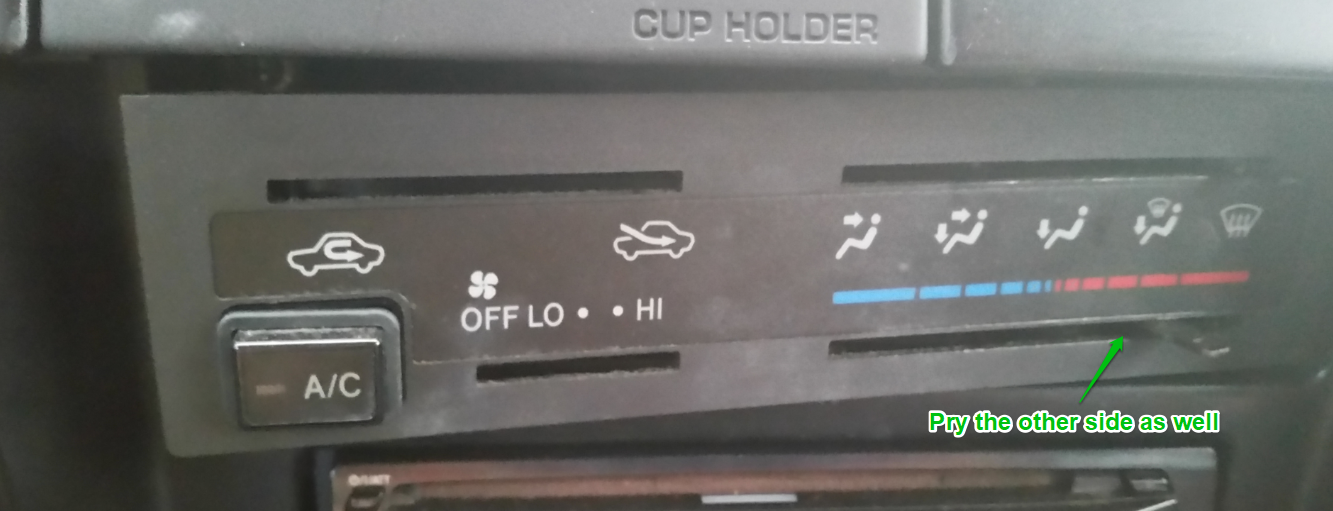
Now pry the other side.
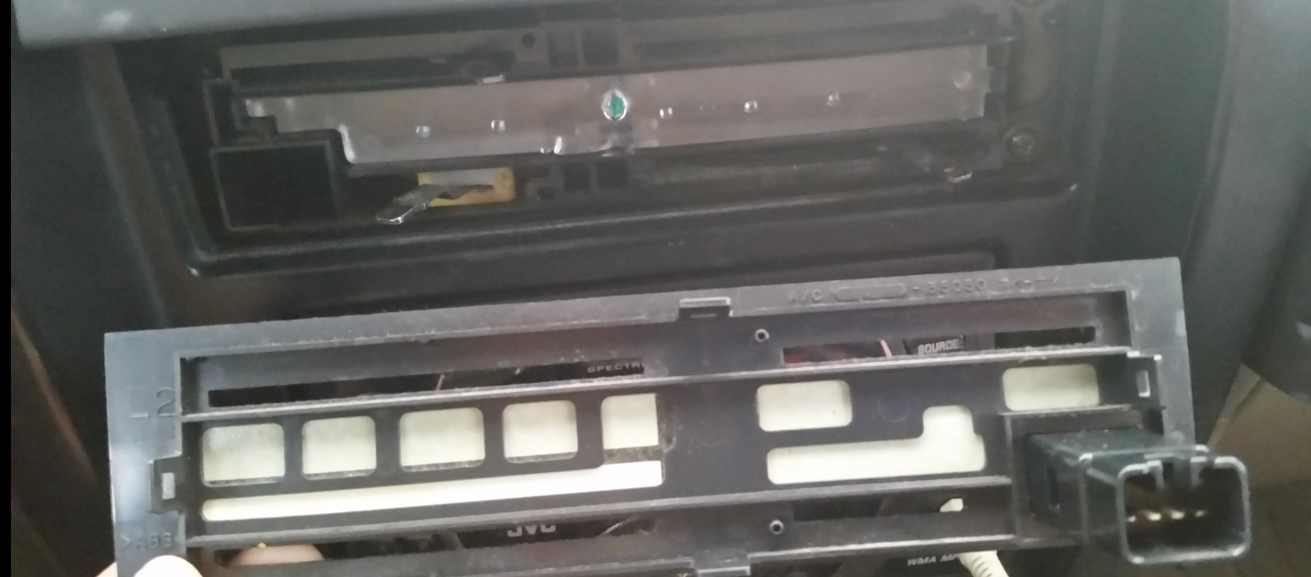
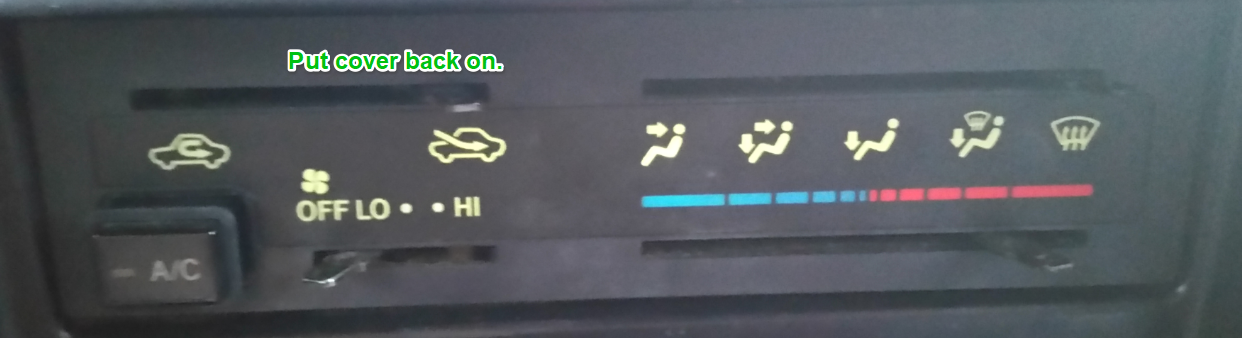
Front panel removed.
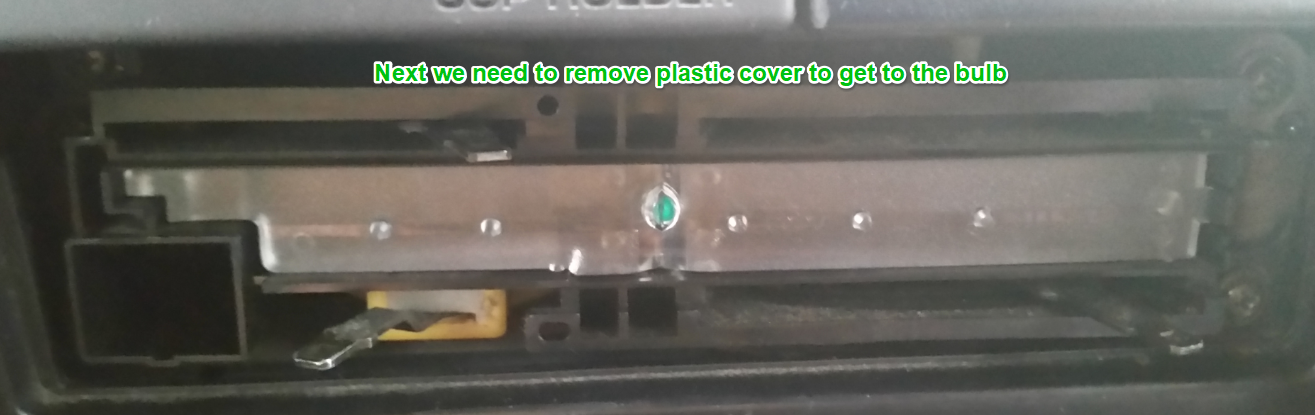
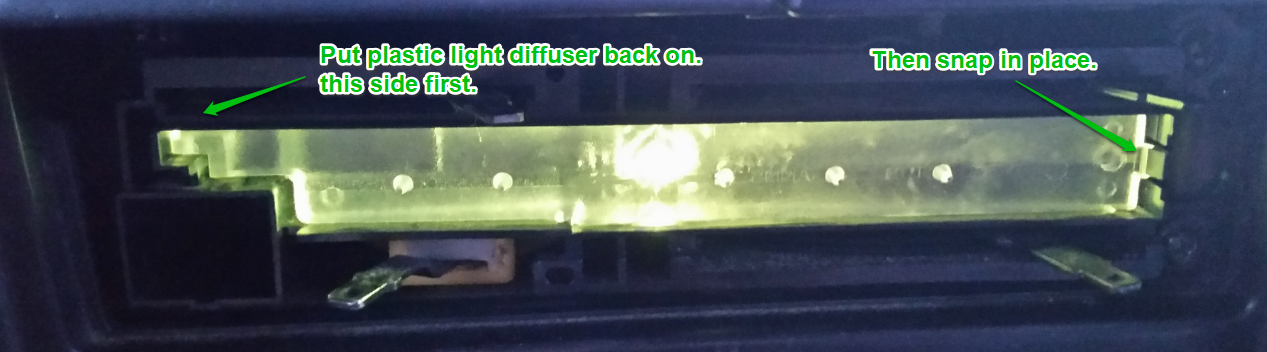
Next is to remove the plastic light diffuser.
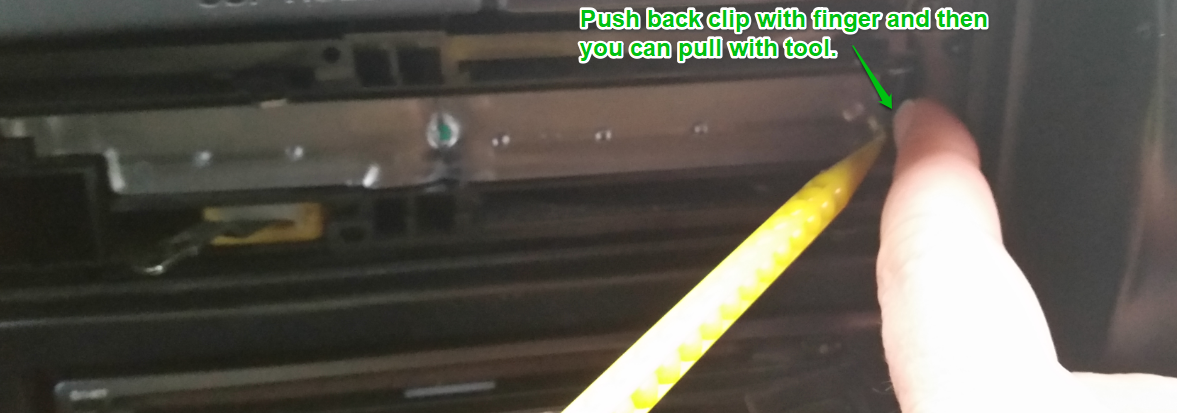
Push back on the clip on the left side and pull at the same time to release the left side.
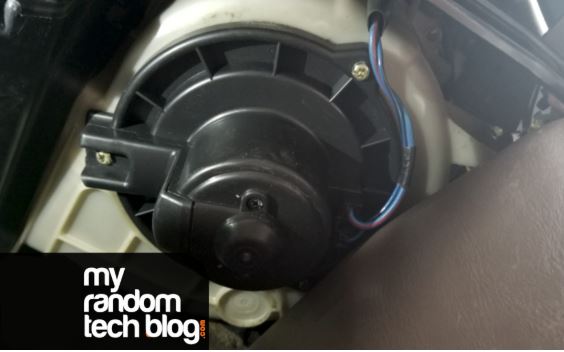
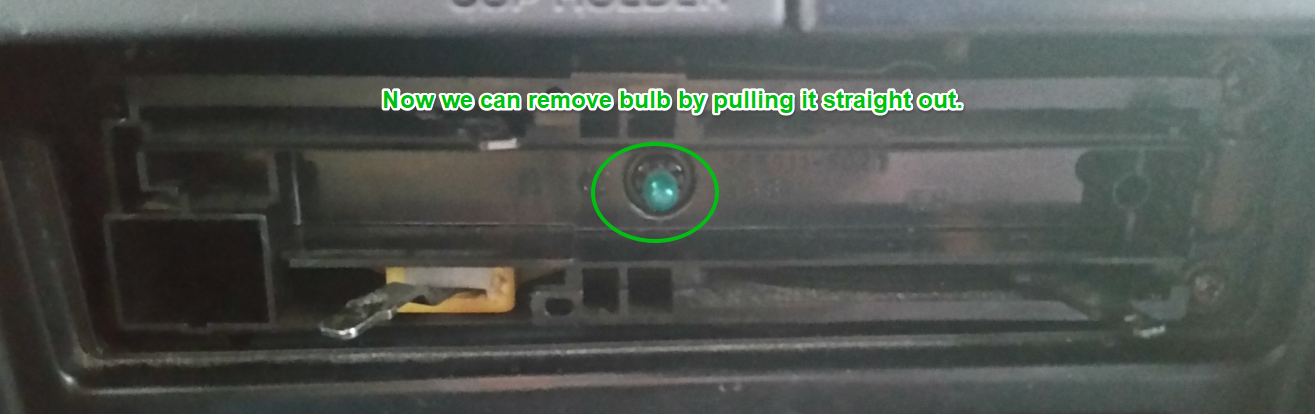
Now we have access to the light bulb. To remove it pull straight out.
Now we need to remove the little green plastic cover.
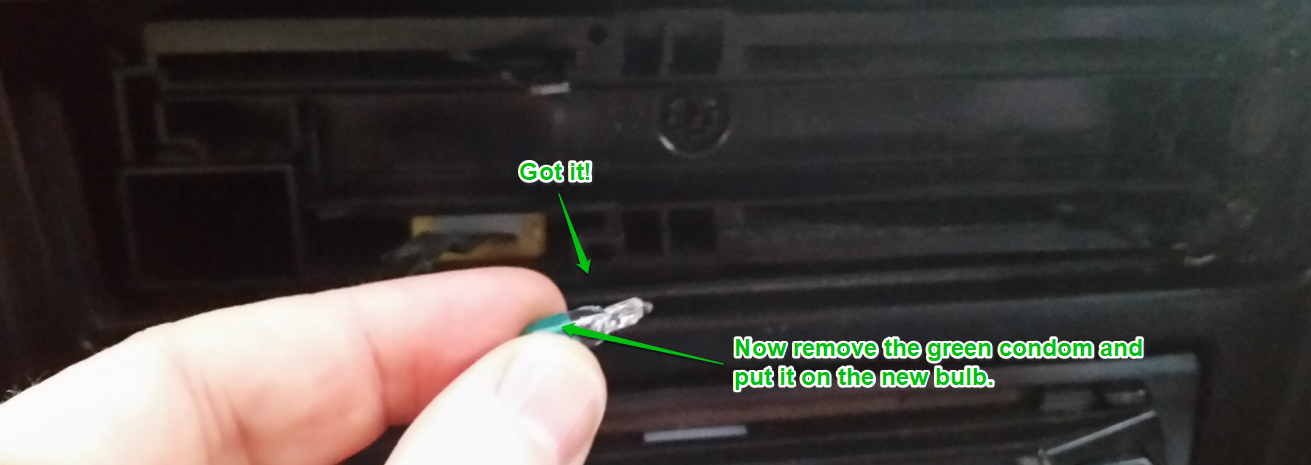
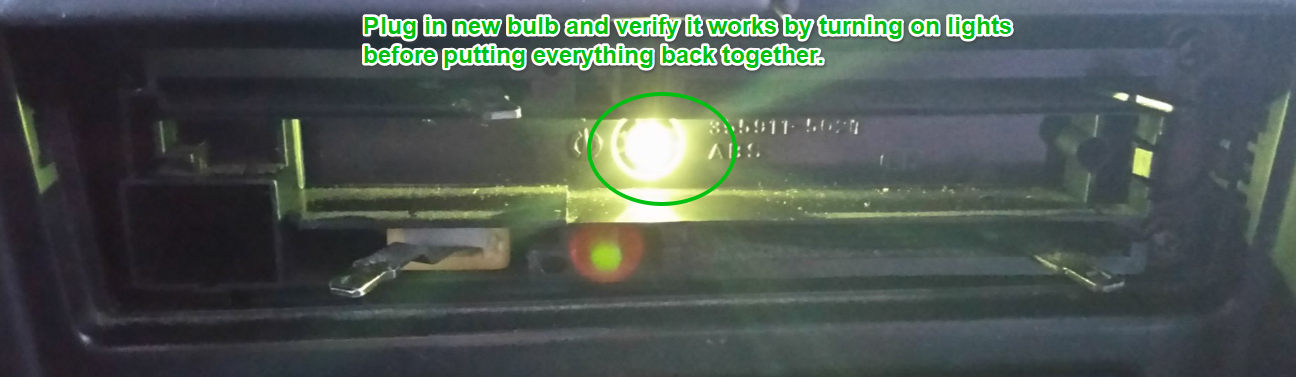
Put the cover on the new bulb and plug in the new bulb to test it before putting everything back together.
Now its just the reverse of what we did earlier.
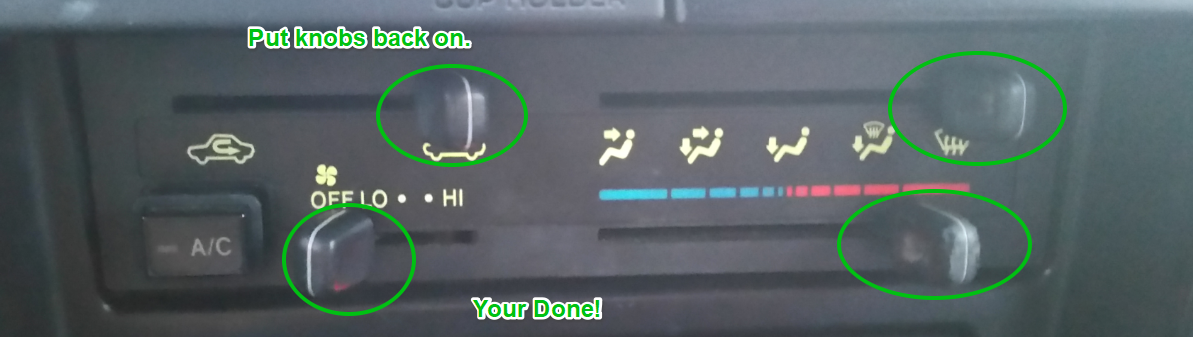
Your done! I hope this helped you out. I was also looking into replacing these with LED bulbs. was thinking they may last a little longer. If I do that I will update this post. But I think I would want to do all the bulbs at once so they all look the same.
BTW – The 4runner now has over 280,000 miles 🙂 What a reliable vehicle it has been. I don’t think I will ever get rid of it.